Last updated November 17, 2026




Free written scope consultation - allowances, timeline, and change-order rules on paper before a single trade is scheduled
Driveway & Pavers Warning Signs Every Homeowner Should Know
A single paver that rocks underfoot is a $50 problem. That same paver, left rocking through one rainy season, is a $2,000 problem, because every wheel load that crosses it drives water deeper into the base layer beneath it. We’ve pulled up pavers in Newport Beach that looked fine on the surface and found the bedding sand underneath washed out and the compacted base gone soft. The homeowner felt one wobbly stone. The repair bill told the rest of the story.
Pavers are one of the few exterior systems that announce their failure well in advance. The trick is knowing which signals mean “fix this now” and which mean “watch it for a while.” This guide walks you through the specific visual and functional warning signs, what each one actually tells you about what’s happening underground, and where the line sits between a $400 afternoon and a $4,000 section replacement.
Quick Answer
The warning signs that matter most on a paver driveway are: pavers that rock underfoot or sit lower than their neighbors, sand washing out from the joints, weeds sprouting in the seams, edges that have spread past the restraint, and water that pools instead of draining. Any one of these means the base or the restraint is starting to move. A paver that suddenly sinks or a section that lifts after rain is the one signal that means stop driving on it and get it looked at before the next storm.
Styles & brands we work with
- Kitchen remodeling
- Bathroom remodeling
- Home additions & ADU
- Roofing
- Windows & doors
- Driveway & pavers
- Fence
Table of Contents
- Normal Settling vs. Progressive Base Failure: How to Tell the Difference
- Rocking Pavers: The Cheapest Warning Sign You’ll Ever Get
- Sand Washing Out of the Joints and What It Means
- Why Weeds in the Joints Are a Drainage Warning, Not a Cosmetic One
- Edge Restraint Failure: The Problem You Catch Before It Shows
- Water Pooling Patterns and What They Tell You About Grading
- The One Warning Sign That Means Stop Driving on the Driveway
- A 10-Minute Inspection You Can Do Yourself
Normal Settling vs. Progressive Base Failure: How to Tell the Difference
All paver driveways settle a little. The base compacts further under load, the sand bedding finds its level, and a handful of stones end up a millimeter or two off from their neighbors. That’s normal, it’s expected, and on a properly built driveway it stops within the first year or two. The question worth asking isn’t “is this driveway settling?” because every driveway settles. The question is “is this settling, or is this failure?”
Here’s the distinction that matters. Normal settling is stable. A paver sits slightly low, but it doesn’t move when you step on it, water still runs off it, and if you checked it again in a year it would look exactly the same. Progressive base failure is active. The stone moves when you step on it, the gap next to it widens over time, and every rain event makes it worse. One is a fixed condition. The other is a process that’s still running and will keep running until someone digs in and fixes the layer underneath.
You can test which one you’re looking at with a simple check:
- Mark the paver. Put a piece of tape or chalk a line across the joint on either side of a suspect stone.
- Wait. Give it two or three weeks of normal driving.
- Re-check the marks. If the paver has dropped further relative to the tape, you have movement. If the marks still line up, the paver is stable and settled.
In our experience across Newport Beach, the driveways that fail fastest are the ones where the original base went in too shallow. In neighborhoods close to the back bay, where the soil holds more moisture and the water table sits higher, an under-depth base is a slow-motion problem. All it takes is one wet winter to start the process off. The mark-and-wait test tells you whether it’s already started.
Rocking Pavers: The Cheapest Warning Sign You’ll Ever Get
A rocking paver is the earliest, cheapest, most fixable signal a driveway ever gives you. It means the bedding sand directly under that stone has shifted or been displaced, so the paver now pivots on a high point instead of sitting flat on a full bed of cushion. That’s it. The stone itself is fine, the base is usually still fine, and lifting it out, re-bedding it on fresh sand, and setting it back down is a small repair.
Left alone, the sequence is predictable:
- The rocking motion creates a gap under one edge of the paver.
- That gap becomes a funnel. Rainwater, hose runoff, and wash water run straight through it into the base.
- The base layer softens and loses its compaction.
- Soft base spreads under load. The pavers around the original one start to rock too, then drop.
- A single-stone repair becomes a section repair, and a section repair means cutting out and re-compacting base underneath a dozen or more stones.
That’s the $50-to-$2,000 jump. We’ve seen it happen over one rainy season in Newport Beach more times than we can count, because our rain comes in concentrated bursts. A paver might rock for two dry months with no visible consequence. Then February hits, the water finds that gap, and by March you have a depression in the driveway instead of a wobble.
Here’s the practical rule: if a paver rocks, it gets re-bedded before the wet season. Test it by pressing your foot on opposite corners of the stone. No movement, you’re fine. Any movement, that’s the warning. Get it on the schedule.
Sand Washing Out of the Joints and What It Means
The sand between pavers isn’t decoration. It does two jobs: it locks the stones together so they act as a single surface instead of individual bricks, and it seals the joints so water runs off the top of the driveway rather than through the joints and into the base. When you see joint sand washing out, one or both of those jobs has stopped working.
Sand loss shows up in a few specific ways:
- Visible depth to the joints. Instead of sand sitting flush with the paver surface, the joints look like empty grooves a quarter inch or more deep.
- Sand collecting at the bottom of the slope or in the street gutter after a rain. That’s your joint sand on the move.
- Pavers that move slightly in place if you step on one with your weight on two or more at a time. No sand lock between them means they can shift against each other.
- Wider joints in high-traffic areas, typically the wheel paths, because that’s where the most load and the most surface water pass through.
Replacing joint sand is routine maintenance and it’s genuinely a homeowner task on a dry day, no contractor needed. What isn’t routine is why the sand left. Two causes dominate: material breakdown (the joint sand degrades and blows or washes out over time, which is normal and happens every few years) or drainage failure (water is passing through the surface instead of running off it, which washes sand out fast and points at a real problem).
If you’re re-sanding the same joints twice in one year, stop and look downstream. Fast, repeated sand loss means water is moving through the driveway, not across it. That’s a drainage warning, and it’s the kind of thing worth having someone look at rather than re-sanding a third time.
Why Weeds in the Joints Are a Drainage Warning, Not a Cosmetic One
Everyone knows weeds grow between pavers. What most homeowners don’t know is why. A weed needs three things: a place for the seed to lodge, moisture to germinate it, and soil to root into. On a paver driveway, all three of those come from the same source: gaps in the joints where sand has washed away and fine sediment has collected in its place. A dense, properly sanded joint has no room for seed and no moisture sitting in it. A washed-out joint is a planter.
So when we see a driveway where weeds are sprouting thickly along one seam or in one wheel path, we don’t see a landscaping problem. We see a moisture map. The weeds are telling us exactly where water is pooling and draining through the surface instead of off it. Here’s what the pattern usually reveals:
- Weeds along the edge suggest water is running off the surface at that edge and soaking into the joint there, which can point at either a low edge or a restraint issue.
- Weeds in the wheel paths suggest joint sand has washed out where the surface water concentrates, usually a sign the driveway’s slope isn’t shedding water fast enough.
- Weeds in one localized patch often mean water is pooling in that spot, and the underlying cause is usually grading, not a settling stone.
- Weeds everywhere at once usually means the joint sand is simply past its service life and needs replacing, which is routine.
Pulling the weeds and re-sanding is the right first step. But if the weeds come back in one specific area faster than anywhere else, that spot is telling you where the water is going. In Newport Beach, where most of our rain comes in a few heavy storms, water that lingers in the joints through the wet season does the most damage in the shortest time. That’s the window where you want the drainage question answered.
Edge Restraint Failure: The Problem You Catch Before It Shows
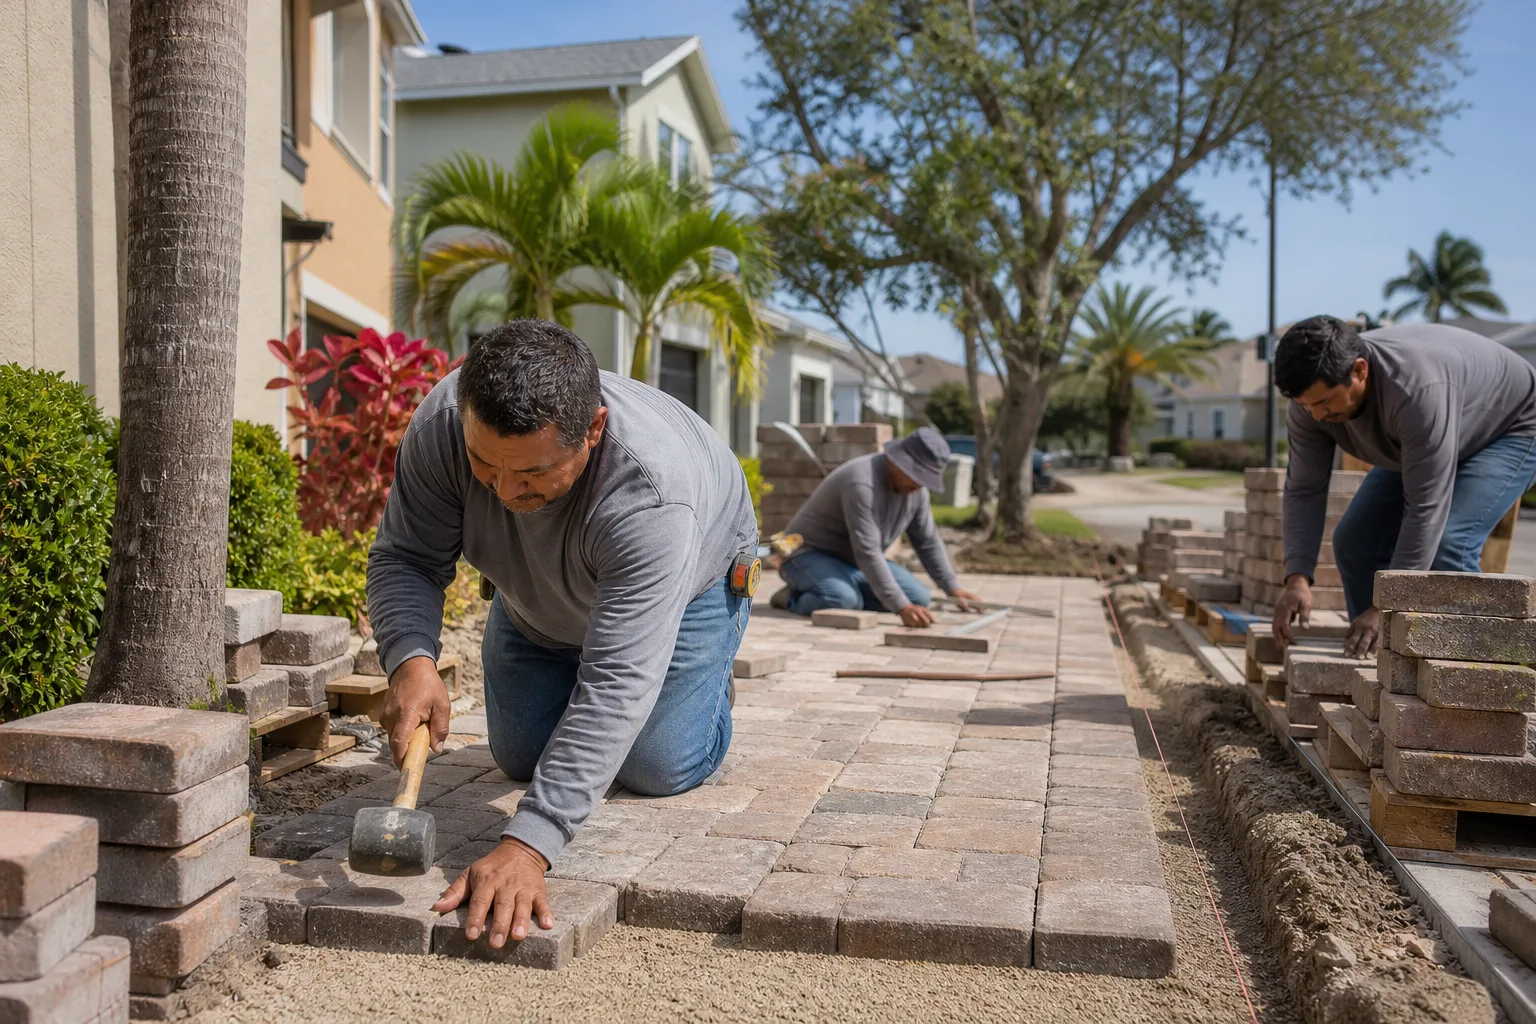
Pavers on a driveway want to spread. Thousands of pounds of car weight push on them from above, and the stones push outward at the perimeter. The edge restraint is what keeps that from happening. It’s a rigid border, usually a concrete curb, a plastic edge profile, or an aluminum channel, pinned down along the outside edge of the paver field. If those pins work loose or the restraint cracks, the entire paver field has nothing holding it in from the side.
The tricky part is that restraint failure is easy to catch early if you know to look for it, and almost invisible once it starts spreading, because the spreading happens slowly and you don’t notice the field getting wider. Here’s what to check along every edge of your driveway:
- Walk the perimeter with a light. Look at where the outer row of pavers meets the edge restraint, and check that the pavers are tight against it, not pulling away.
- Check the restraint itself for cracks or gaps. A hairline crack in a concrete curb is a red flag, because it means the pin underneath has likely loosened.
- Press down on the restraint with your foot. It should be solid. Any give in the restraint means it’s no longer pinned into solid material.
- Look at the outer joint. A visible gap opening up between the outer pavers and the restraint, even a quarter inch, means the paver field is starting to spread toward the edge.
- Check for pavers on their side. One paver in the outer row that’s tipped up or rotating is a warning that the row is under pressure from behind.
Restraint repair is one of the cheaper fixes in paver maintenance, and it’s one of the most expensive if you ignore it. A failed restraint lets the whole field spread, which opens every joint on the driveway, which lets water into the base, which starts the whole settling process. We’ve seen driveways in Newport Beach where the only real problem was a loose edge curb that had been ignored for years, and by the time the homeowner called us, the outer three rows had all spread and needed pulling up and resetting, not just a restraint fix.
Water Pooling Patterns and What They Tell You About Grading
Water is the single biggest enemy of a paver driveway, and the way water behaves on your driveway tells you more about its condition than any visual check. You don’t need fancy equipment. You need one hose, one dry afternoon, and a few minutes of observation.
Run the hose across the surface of the driveway and watch where the water goes. Then classify what you see:
- Water sheds off the surface and exits the driveway within a few minutes. That’s a healthy graded driveway. Note it and move on.
- Water pools in a low spot but drains away within a couple of hours. That’s a localized grading issue that’s usually catchable early, either a low paver or a small area of settled base. Fixable.
- Water pools in the same spot and stays past 24 hours. That’s a grading failure or a base that’s already sagging. It needs an inspection, because any standing water on pavers means water is also soaking into the joints and base below.
- Water runs off the driveway but pools against the house, garage, or a fence line. This is drainage being routed the wrong way, and it’s a bigger problem than it looks, because it’s not a driveway issue anymore, it’s a foundation moisture issue.
- Water disappears from the surface quickly but the joints stay wet for days. This is the sneaky one, because the surface looks fine. It means the joints are draining rather than the slope, which is exactly the pattern that washes out joint sand and undermines base.
Newport Beach sits in a climate where most of our annual rain lands in a compressed window. A driveway that pools for a day in April does far less harm than one that pools for a week in January. If you see standing water during the wet season, that’s the pattern worth acting on. A grading correction at the first sign of pooling is a small job. A driveway that’s been pooling through several wet seasons has usually taken the base down with it, and that’s when the repair ticket grows.
The One Warning Sign That Means Stop Driving on the Driveway
There’s exactly one warning sign that means park the cars on the street and call a contractor today, not next week: a visible depression or a section of pavers that has shifted suddenly, especially if it appeared after a rain.
Here’s why it’s different from everything else on this list. Every other sign, rocking, sand loss, weeds, edge spread, slow pooling, is a process that progresses gradually, and you have time to schedule the fix. A sudden depression is different. It means the base layer under that section has failed all at once. It could be a collapsed utility trench that was never properly compacted, a washout that finally broke through, or a soft spot that’s been working its way up for years. Whatever caused it, the paver surface above it is now unsupported.
Driving on a supported paver surface distributes the load across dozens of stones and the base below. Driving on an unsupported section puts the entire car weight on a handful of stones with nothing underneath them, and every pass cracks pavers, damages more of the base, and pushes the collapse wider. What might have been a small utility or washout repair can become a full section rebuild.
If you see it, here’s what to do:
- Get the cars off the affected area. Park on the street or on a stable part of the driveway until someone has looked at it.
- Do not try to drive over it to see how bad it is. That is the one test that makes it worse.
- Take photos and note when it appeared. The timing is useful diagnostic information, especially if it showed up after a rainstorm.
- Keep people off it, including kids and pets, until the cause is understood, because a soft base can look solid right up until a foot goes through.
- Call for an inspection. A contractor can identify whether it’s a base failure, a utility problem, or a washout, and that answer determines the fix.
This is the one signal where we’d never tell a homeowner to “watch it for a while.” Watching it is how a fixable spot becomes a driveway rebuild.
A 10-Minute Inspection You Can Do Yourself
A full paver inspection is a contractor job, but you can catch most warning signs yourself in about ten minutes with nothing but a hose, a piece of chalk, and a walk around the driveway. Run this once in the spring and once in the fall, and you’ll know more about your driveway than most homeowners ever will.
- Walk the whole surface. Step on every paver along the wheel paths and the outer rows. Note any stone that moves.
- Look at the joints. Are they flush with sand, or are they grooved and empty? Any depth to a joint means sand loss.
- Look for weeds. Any weed cluster is a moisture map. Note where the clusters are.
- Walk the perimeter. Check the edge restraint and the outer paver row for cracks, give, or gaps.
- Chalk-mark any suspect pavers. Use the mark-and-wait test from earlier to determine settling vs. failure.
- Run the hose. Run water across the driveway and watch where it goes. Note any pooling that lasts more than a couple of hours.
- Check the perimeter again after the hose test. Water that exits toward the house, garage, or fence needs a second look.
- Log anything you found. A photo album on your phone is enough. This record tells you whether a problem is stable or progressing, and it’s exactly what a contractor wants to see.
The most important thing the inspection does is give you a baseline. Newport Beach driveways live through dry summers and wet winters, and the same driveway can look very different in August and February. Knowing what your driveway looked like in the dry season makes it obvious what changed in the wet season. When you do call us for a driveway & pavers project in Newport Beach, that record is the fastest way to get an accurate assessment and a straight answer.
Common Mistakes to Avoid
- Treating a rocking paver as cosmetic. A wobble underfoot is the cheapest warning sign a driveway ever gives you. Waiting until the wobble becomes a depression turns a re-bedding job into a base repair.
- Re-sanding joints without checking drainage. If sand is washing out faster than it should, re-sanding the joints is treating the symptom. The cause is water moving through the surface instead of off it.
- Pulling weeds and calling it done. Weeds in a specific patch are telling you where the water is going. Pulling them without asking why they clustered there hides the warning instead of fixing it.
- Ignoring a cracked edge curb. A hairline crack in the concrete restraint is the visible sign that the pin below has lost grip. Left alone, that little crack lets the entire outer row spread, and spreading outer rows are a much bigger job than a restraint repair.
- Driving over a sudden depression to “see how bad it is.” That’s the one test that makes it worse. If a section has visibly dropped, especially after rain, keep the cars off and get an inspection.
- Assuming all pooling is the same. A spot that drains in two hours is a small grading tweak. A spot that holds water for a day or more is a base failure in the making. Newport Beach’s concentrated winter rain turns the second kind into a problem fast.
- Hiring on the lowest bid without a base scope. The part of a driveway you never see is the part that fails first. A bid that doesn’t spell out base depth, compaction, and drainage is a bid that’s cutting the corner that matters most.
See the difference
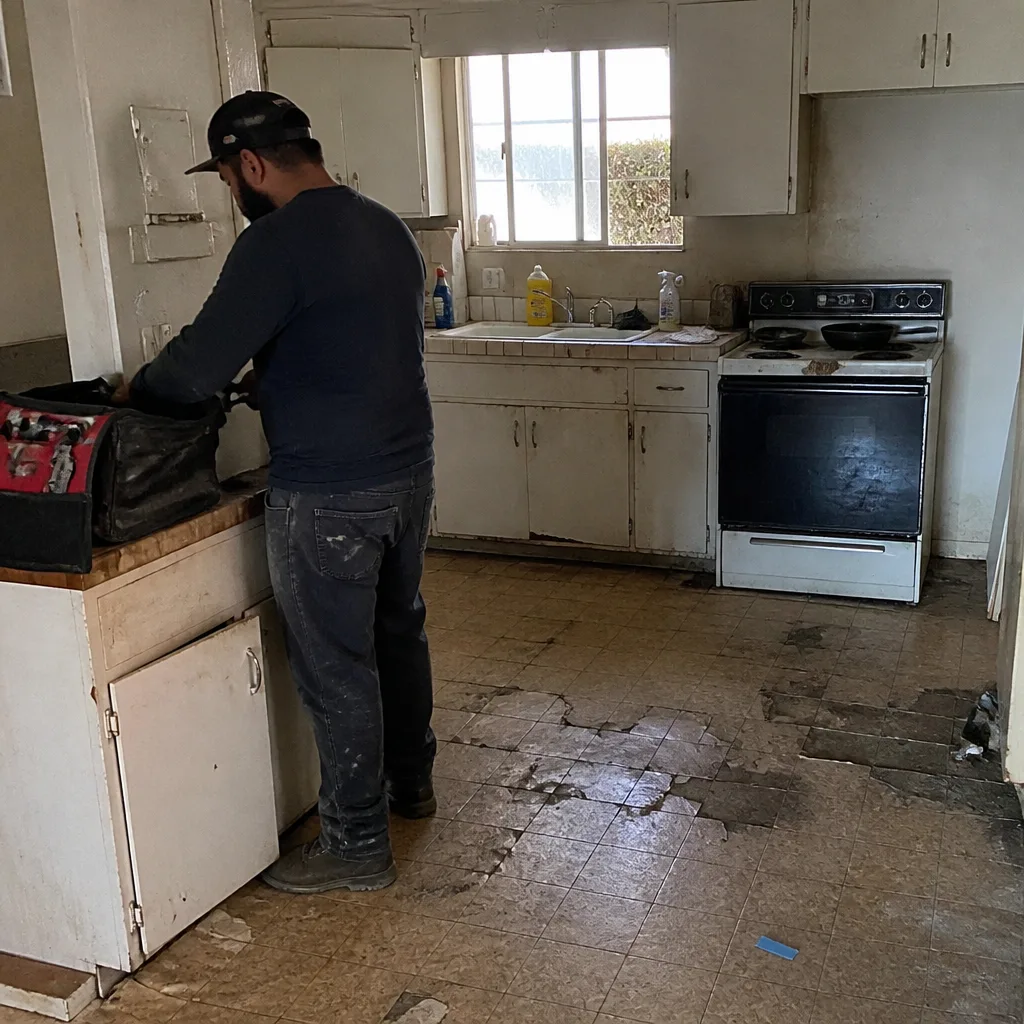 Before
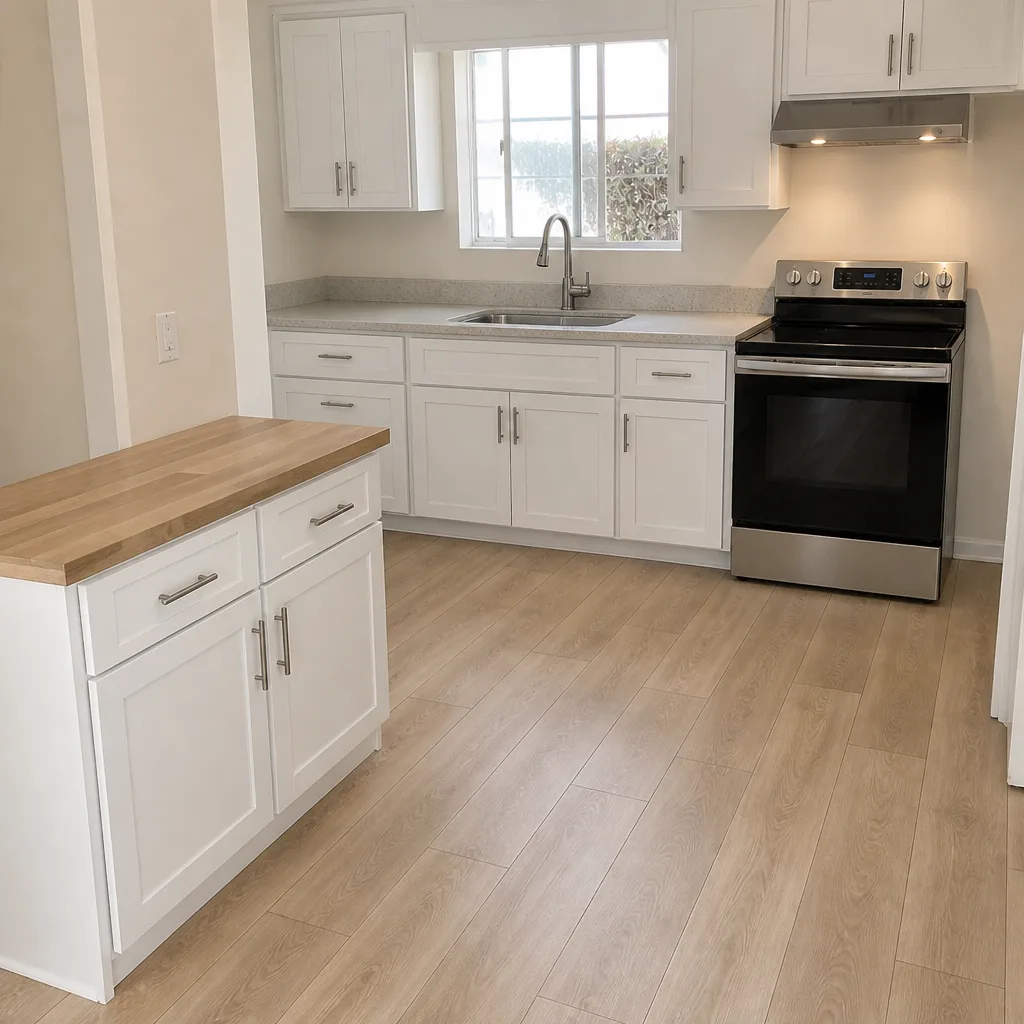 After
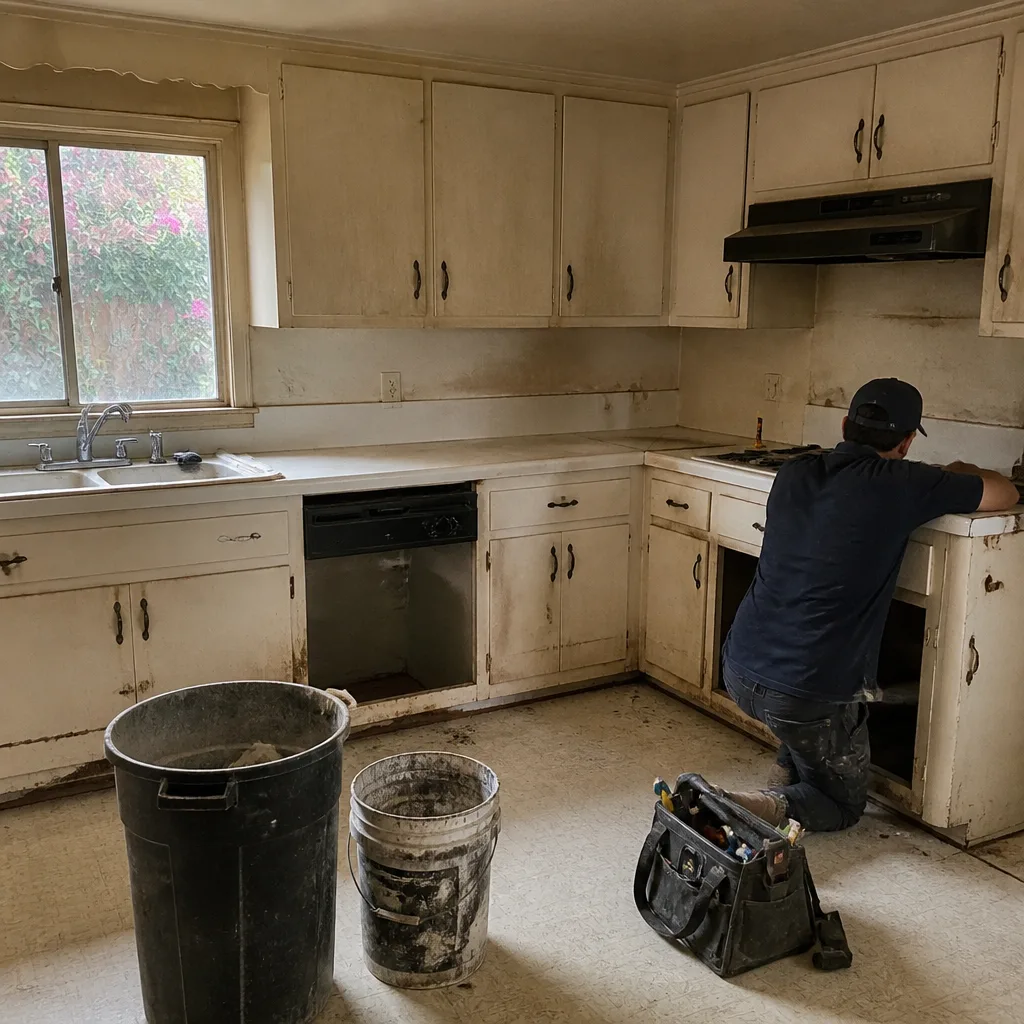 Before
 After
 Before
 After
When to Call a Professional
Most of what’s on this list is watch-and-wait. But a few situations are worth a call. If any section of your driveway has visibly dropped or shifted, especially after a rainstorm, that’s an inspection today. If a paver rocks and keeps rocking after a re-bedding attempt, the base under it has a problem you can’t reach from the surface. If water pools for more than a day after a storm, or drains toward the house or garage, that’s a grading and drainage issue that needs eyes on it. If the edge restraint has given way and the outer row is spreading, get a quote before the field opens any wider. And if you’re remodeling the front of the house, coordinating a driveway repair with fence installation in Newport Beach or a new approach can save you money versus doing them separately.
Groundwork Construction Co. of Newport Beach offers free estimates in Newport Beach with a written, line-item scope covering base, drainage, restraint, and pavers, so you know exactly what you’re paying for and why. Call (833) 749-3967 and we’ll set up a time to look at it.
Frequently Asked Questions
Normal settling is stable and stops within the first year or two; failure is active and gets worse over time. The test: chalk-mark the joints on either side of a suspect paver, wait two or three weeks of normal driving, and re-check. If the paver has moved further, the base is failing. If the marks still line up, the paver is stable and settled. Call (833) 749-3967 if you want a second opinion before the wet season.
Weed growth in pavers usually means joint sand has washed out, leaving gaps where seed lodges and moisture collects. Abundant weeds in one patch or along one seam are a moisture map showing where water is draining through the surface instead of running off it. Pull them and re-sand, but if they return in the same spot faster than elsewhere, call (833) 749-3967 to check the drainage.
A rocking paver is a real problem, and it’s the cheapest warning sign you’ll get. The rocking motion opens a gap under the stone, and that gap funnels rainwater into the base layer, softening the compaction that keeps the whole surface stable. A single-stone re-bedding is a small job; a soft base section replacement isn’t. If a paver rocks, get it re-bedded before the wet season. Call (833) 749-3967 for a free estimate in Newport Beach.
Water pooling on a paver driveway usually points to either a localized grading issue or a base that has already sagged. Pooling that drains within a couple of hours is typically a small grading fix; pooling that lasts more than a day means water is soaking the joints and base. In Newport Beach, our concentrated winter storms turn the second case serious fast. Call (833) 749-3967 to have it assessed.
Paver driveway repair in Newport Beach usually breaks down by scope: a single-paver re-bedding job runs in the low hundreds of dollars, joint re-sanding runs in the low-to-mid hundreds for a typical driveway, edge restraint repair runs in the mid hundreds, and a section re-base (cutting out pavers, removing soft base, re-compacting, and re-bedding) runs into the low thousands. The spread is why it’s worth getting a written line-item scope before work starts. Call (833) 749-3967 for a free estimate with exact pricing.
Permit requirements in Newport Beach depend on the scope: like-for-like paver replacement usually doesn’t require one, while repairs that touch drainage connections or involve structural changes to approach or apron areas often do. The safest answer is to ask before work starts. We pull the permits where required and handle the inspection, so it’s not your paperwork to chase. Call (833) 749-3967 and we’ll tell you what your specific repair needs.
The Bottom Line
Paver driveways announce failure well before they fail. A rocking stone, sand in the street gutter, weeds clustered in one seam, a cracked edge restraint, water pooling in one spot, these are the driveway telling you what’s happening three layers down. Every one of them has a cheap fix at the first sign and an expensive fix at the last. The rock you catch this month is the base you don’t have to rebuild next winter. Newport Beach’s concentrated rainy season shortens that window, so the value of catching any of these early is higher here than almost anywhere else. Run the ten-minute inspection a couple times a year, chalk the things that worry you, and call us when something moves. When you’re ready to fix what you find, do it with a contractor who puts the scope in writing. That’s what we do.
Whether you’re patching a single section, re-grading an entire driveway, or looking at a repair alongside a home addition or ADU in Newport Beach, the estimate is free and the pricing is upfront. Groundwork Construction Co. stands behind every project with the 730-Day Done Right Promise. And when you’re considering what else might need attention around the front of the house, take a look at Groundwork Construction Co. of Newport Beach for the full range of services. Call (833) 749-3967 to schedule your free estimate today. A live person answers, 24/7. If it’s not done right, we make it right.
Written by the team at Groundwork Construction Co. of Newport Beach.