Last updated November 17, 2026





Free written scope consultation - allowances, timeline, and change-order rules on paper before a single trade is scheduled
Fence Installation Troubleshooting: Common Problems and How to Fix Them
A fence post that leans at year three almost always had a compromised concrete cure or an undersized hole at year zero. By the time the lean is visible, the fix usually means pulling the post entirely, not pushing it back and re-packing the base. That’s the uncomfortable truth about fence failures: the decisions that determine whether a fence lasts fifteen years or five are made on the first day of installation, long before any homeowner can evaluate the finished work. In Newport Beach, where marine air, sandy coastal soil, and occasional Santa Ana wind events test every outdoor structure, those first-day decisions matter more than most people realize. This guide teaches you how to read a failing fence, diagnose what actually went wrong, and decide whether you’re looking at a repair or a replacement.
Quick Answer
Most fence problems (leaning posts, sagging gates, warped boards, cracked concrete footings) trace back to one of three root causes: an undersized post hole, the wrong concrete mix or a rushed cure, or a material that couldn’t handle local moisture and wind. Diagnose soil movement versus concrete failure versus post rot before you spend a dime, because each one has a different fix and only one of them is worth repairing in place. If the post itself has moved inside the concrete, the section needs to be rebuilt, not patched.
Styles & brands we work with
- Kitchen remodeling
- Bathroom remodeling
- Home additions & ADU
- Roofing
- Windows & doors
- Driveway & pavers
- Fence
Table of Contents
- Why Is My Fence Post Leaning?
- How to Diagnose a Leaning Post: Soil, Concrete, or Rot
- Gate Sag: Hinge Failure vs. Post Movement vs. Frame Racking
- Wood Fence Warping and Splitting: Installation Error, Weathering, or Defect?
- Repair or Replace? How to Evaluate a Section Yourself
- What Records to Pull Before You Call Anyone
- Coastal Newport Beach Factors That Accelerate Fence Failure
Why Is My Fence Post Leaning?
A leaning fence post means the post has lost its anchor, and there are only three ways that happens. The soil around it moved. The concrete around it failed or was never adequate. Or the post itself has rotted out below grade, so what looks like a solid post is actually a shell sitting in a loose socket. Each cause looks similar from the sidewalk and demands a completely different repair.
The reason this matters so much is timing. Post hole depth and concrete mix are set on installation day, and you can’t see either one once the fence is standing. In our experience installing fences along the Newport Beach coastline and inland neighborhoods like Dover Shores and Eastbluff, we’ve pulled posts that were set 12 inches deep in dry-pour concrete and watched them fail inside four years, while posts set 30 inches deep in properly mixed concrete are still plumb after a decade of salt air and wind.
The most common culprits we see:
- Undersized holes. A hole should be about three times the post’s width. An 8-inch hole is wrong for a 4×4 post; it needs closer to 10 to 12 inches in diameter.
- Shallow depth. In Southern California the rule of thumb is one-third of the post’s above-grade height buried. A 6-foot fence needs at least 24 to 30 inches below grade.
- Dry-pour concrete. Pouring dry mix into the hole and letting groundwater set it produces weak, crumbly footings. It needs water mixed in.
- Poor drainage. Water pooling against a post base softens soil and lets the post work loose.
- Post rot at grade. The soil line is where moisture sits longest, and it’s the first place a wood post begins to fail.
If your post is leaning and you’re in Newport Beach, your first move is to figure out which of those five is happening, not to push the post back and hope. That’s the subject of the next section.
How to Diagnose a Leaning Post: Soil, Concrete, or Rot
You can diagnose a leaning post in about ten minutes with a shovel, a pry bar, and your hands. Here’s the sequence we walk through on a service call, and you can run it yourself before you call anyone.
- Grab the post and rock it by hand. If the whole concrete footing moves with the post, the soil around the footing is the problem. If the post wobbles inside a stationary concrete plug, the post-to-concrete bond has failed and the section needs to be rebuilt. If the post feels solid but the whole assembly tilts, you likely have footing movement or a broken footing.
- Dig a small trench beside the footing, 6 to 8 inches down. Look at the concrete. Crumbly, sandy, or powdery concrete means a bad mix or an improper cure. Solid concrete that looks intact but has rotated means the footing itself was undersized for the soil.
- Probe the base of the post with a screwdriver. If the blade sinks easily into the wood below grade, you have rot, and the post is finished. No amount of re-packaging fixes a rotted post.
- Check the surrounding soil for softness. In Newport Beach, the sandy and loamy soils near the Back Bay and on the peninsula hold water differently than the clay-heavy soils inland, and the fix (deeper footing, better drainage, or a re-set) depends on which you have.
Here’s the summary that matters:
- Soil movement: the footing is intact but rotating in soft or waterlogged ground. Fix: reset the footing with a wider hole and compacted gravel base.
- Concrete failure: crumbly or undersized footing. Fix: pull and replace the footing entirely.
- Post rot: the wood below grade is failing. Fix: new post, and evaluate whether the same rot is in adjacent posts.
If all three tests point to a single bad post and the rest of the run is solid, a targeted repair is worth it. If you’re finding the same problem at two or more posts, the fence was likely installed wrong across the whole run, and you’ll be chasing failures for years. That’s the moment a full replacement estimate becomes the smarter money.
Gate Sag: Hinge Failure vs. Post Movement vs. Frame Racking
A sagging gate has three possible causes, and confusing them is why so many DIY fixes make things worse. The gate hangs on two hinges attached to a post, and the gate itself is a framed panel with a diagonal brace. Any of those three components can be the source of the sag.
How to tell which one
- Hinge failure. The gate sags but the post is plumb and the gate frame is square. Look at the hinges: stripped screws, torn-out hinge plates, or a hinge that’s pulled away from the wood all point to hinge failure. This is the easiest fix, but only if the surrounding wood is solid.
- Post movement. The gate sags toward the ground and the gate post behind the hinge leans with it. Grab the gate post and rock it. If the post moves, the gate isn’t the problem; the post footing is, and it needs the same diagnosis covered above.
- Frame racking. The gate’s outer rectangle has gone out of square, so the latch side drops even though the post and hinges are solid. Measure the two diagonals of the gate frame: if they don’t match, the frame has racked, meaning the diagonal brace is missing, loose, or on the wrong orientation.
Why over-tightening hinges makes it worse
When a gate sags, the reflex is to crank the hinge screws tighter or swap in longer screws. Do that on a post that’s already loose at the base and you’re driving the whole post in the direction of the sag. On a warped gate frame, extra hinge torque just bends the hinge plate and cracks the wood around it. The hinge should hold the gate in place, not hold the sag up. If the post or frame is the real culprit, tighter hinges accelerate the failure.
We see gate sag constantly in Newport Beach because gate posts are the ones homeowners grab, lean on, and swing daily. A gate post needs to be plumb, set deep, and braced, and it needs to be a step up in size from a standard line post because it carries more load. If your gate post is a standard 4×4 doing a 6×6’s job, that’s the root cause, and hinge work won’t fix it.
Wood Fence Warping and Splitting: Installation Error, Weathering, or Defect?
Wood fences warp, bow, cup, and split. Some of that is normal, and some of it means the fence was installed wrong or built from bad material. Knowing the difference matters because only one of those three categories belongs on a warranty conversation.
Installation error
Warping that shows up in the first year and follows a pattern is almost always installation. Here’s what we look for:
- Boards tight against each other with no gap. Wood boards need a small gap (typically 1/8 to 1/4 inch) so they can swell and shrink with the seasons. Boards jammed together buckle and cup as they take on moisture.
- Back rails too far apart. A picket with more than 8 inches of unsupported span sags between rails and cups.
- Nailing pattern wrong. Fasteners set too close to the board edge split the wood; fasteners in the center of the board with no others let the board pivot and cup.
- Posts not on a consistent spacing. Spans over 8 feet loaded with wind force cause rails to sag and twist the boards.
Normal weathering
Over years, all wood fence boards develop fine surface checks, a slight gray drift in color, and minor surface warping. That’s the material doing what wood does in an exposed environment. In Newport Beach, the salt air and coastal humidity accelerate the cosmetic aging, so a board that looks weathered at year four here may look new at year eight in a drier climate. Surface checking is not a defect.
Material defect
Some split and warp is baked into the lumber itself: knots, pith, and grain-direction issues. A board that splits down its full length along the grain within months of installation, or that cups sharply enough to open a gap larger than your finger in a season, is a material problem. So are boards that are sawn from the pith (the center of the tree) or that show visible heartwood defects. A reputable installation pulls those boards before they go up. If your fence is full of them, that’s a supplier or install-quality issue.
The practical test: does the warp look random and spread out (weathering), or does it follow a pattern in a specific direction across a run (installation error), or does it concentrate in boards you can see were cut from the center of the tree (defect)? Label the pattern before you call anyone.
Repair or Replace? How to Evaluate a Section Yourself
You can decide whether a fence section needs repair or replacement without paying for a contractor visit. Work through this checklist. It will tell you what you’re looking at and roughly what it should cost to fix.
- Count the failing posts in a single run. One failed post out of eight is a targeted repair. Two or more in the same run means the run was installed wrong, and the odds are good the rest will follow.
- Test the wood above and below grade. A post that’s solid at grade but loose in its footing can be re-set. A post that’s soft below grade gets replaced. A post that’s soft in both the footing and above is a full remove-and-replace.
- Inspect the rails and pickets at the failed post. If the pickets around the bad post are sound and the rails are intact, you’re replacing one post and re-hanging the section. If the rails are cracked or the pickets are cupped, plan on replacing the whole section while you’re in it.
- Look for footing failure patterns. On a coastal property, a footing that’s failed on the ocean-facing side of the fence points to wind load, and the adjacent posts will fail the same way. Plan the repair on that entire exposure.
- Check the fence tie-in at the ends. A run that terminates at a house wall or a gate needs a properly braced end post. If the failure is at the end post, the run is under-braced and the fix needs to address the whole run, not just the bad post.
Rough numbers for Newport Beach, as a starting frame for your own budgeting: a single post replacement (pull, re-dig, re-set with proper concrete) runs a few hundred dollars per post, and a full section replacement runs into the low four figures when you’re replacing posts, rails, and pickets together. A full fence replacement is a bigger project priced per linear foot, and the honest answer is that once you’re replacing more than a quarter of a run, workmanship and materials for a fresh install usually cost less per installed foot than piecemeal repairs spread over several years. If you want a straight comparison, our guide on Fence Installation in Newport Beach walks through materials and post-to-post pricing.
What Records to Pull Before You Call Anyone
If you’re about to have a warranty or accountability conversation with the installer of a failing fence, the paper trail matters more than the argument. Pull these documents before you pick up the phone. Contractors respond to specifics, not general complaints.
- The original contract and the proposal. Look for the stated scope, the post size and depth, the concrete spec, and the material brand. Vague contracts are why so many fence failures become “the homeowner’s problem.”
- The final invoice and any signed change orders. This is your record of what was actually installed, including materials substitutions.
- The written warranty. Every install should come with a written workmanship warranty. Find the length, and check whether it covers the footing and post set or only the material.
- The material warranty documents from the manufacturer of the wood, vinyl, or composite. Those cover material defects and not installation errors, and they’re usually separate from the installer’s warranty.
- Dated photographs. Take photos now, at the same angle and distance, and back them up. A date-stamped photo of a leaning post is worth ten phone calls of description.
- The permit and inspection records, if one was pulled. In Newport Beach, fence permits depend on the height and location of the fence, and whether it sits on a property line, a slope, or in a coastal zone. If a permit was pulled, inspection sign-off gives you documented evidence that the post footings were checked.
- Any contractor communication about the install. Emails, texts, and messages that note concrete mix, cure time, or days on site are useful for the conversation.
Here’s a document checklist you can write down before the call:
- Contract with stated post spec and warranty
- Final invoice and change orders
- Separate written workmanship warranty
- Material warranty paperwork
- Dated photos of the failure
- Permit number and inspection sign-off (if applicable)
- Email/text thread with the original installer
If some of those are missing, that’s a story on its own. A fence installed without a written workmanship warranty, or without a stated post depth on the contract, gives an installer a lot of room to leave you holding the bill. Our Groundwork Construction Co. of Newport Beach home page explains the 730-Day Done Right Promise, which is the standard we build every fence to. If it’s not done right, we make it right.
Coastal Newport Beach Factors That Accelerate Fence Failure
Fence failures that look identical to inland jobs have a shorter fuse here. The Newport Beach coastal environment is hard on outdoor wood and metal, and the difference is measurable.
Salt air. Salt-laden air accelerates corrosion on metal fasteners and hinges, and the salt film holds moisture against the wood and vinyl surfaces that feeds rot and mold. Stainless steel or hot-dip galvanized fasteners matter here more than they do a mile inland, and a fence built with cheap wood screws will show it inside three years.
Marine layer humidity. The overnight marine layer pushes relative humidity high across the peninsula and the Back Bay area, and wood sitting wet overnight and drying in the afternoon sun cycles dimensionally every 24 hours. That daily swell-and-shrink cycle is a major driver of cupping and board movement. Correct spacing and correct nailing pattern on install day prevent it, and a fence installed with boards jammed together shows the results by year two.
Wind load. Santa Ana wind events and onshore sea breezes put steady lateral load on fences, especially on properties with a view exposure. Footings sized for a calm inland lot are undersized on a bluff or a peninsula lot, and that’s why the ocean-facing posts go first.
Soil. Sandy and loamy coastal soils drain fast, which is good, but they also hold a footing less firmly than clay does once the footing starts to work. A footing that’s undersized in coastal soil moves at year three; the same footing inland might sit still for a decade.
Coastal Commission and zone rules. Fences on bluff-top or coastal-zone properties in Newport Beach can sit under different rules than inland, and the post depth and height have real compliance implications. Whatever the code footprint, the install-day answer is the same: deeper hole, wider hole, properly mixed concrete, and finish that stands up to salt. For a full-scope contractor who can handle the fence and the surrounding landscape and driveway work together, see our Driveway & Pavers in Newport Beach guide, which covers the transitions from fence line to hardscape.
Common Mistakes to Avoid
- Pushing a leaning post back and re-packing the base. If the post is already loose in the concrete, the footing is done. Re-packing digs the hole deeper on the next failure, and the post comes loose again within a season.
- Cranking hinge screws tighter on a sagging gate. Over-tightening hinges on a moving post accelerates the failure and cracks the wood around the hinge plate. Find the real cause first.
- Replacing only the rotted post and leaving the adjacent ones. Rot spreads through shared rails and footings. If one post in a run is rotting below grade, the next three are usually on the same clock.
- Pouring dry concrete into the hole without mixing water first. Dry-pour footings produce weak, crumbly concrete that cracks within a few years. Mixed concrete set at the correct depth is what holds a post.
- Installing boards with no expansion gap. Wood jammed board-to-board in Newport Beach’s overnight marine-layer humidity cups and buckles. The gap on install day is what keeps the fence flat.
- Skipping the written workmanship warranty conversation. A handshake on a post depth and no warranty in writing means accountability is only as good as the installer’s memory. Get it on paper.
- Assuming a fence permit isn’t needed in Newport Beach. Height and location rules apply, and whether a fence needs a permit depends on where it sits on the lot. A fence pulled without a permit can complicate a resale. Check before, not after.
See the difference
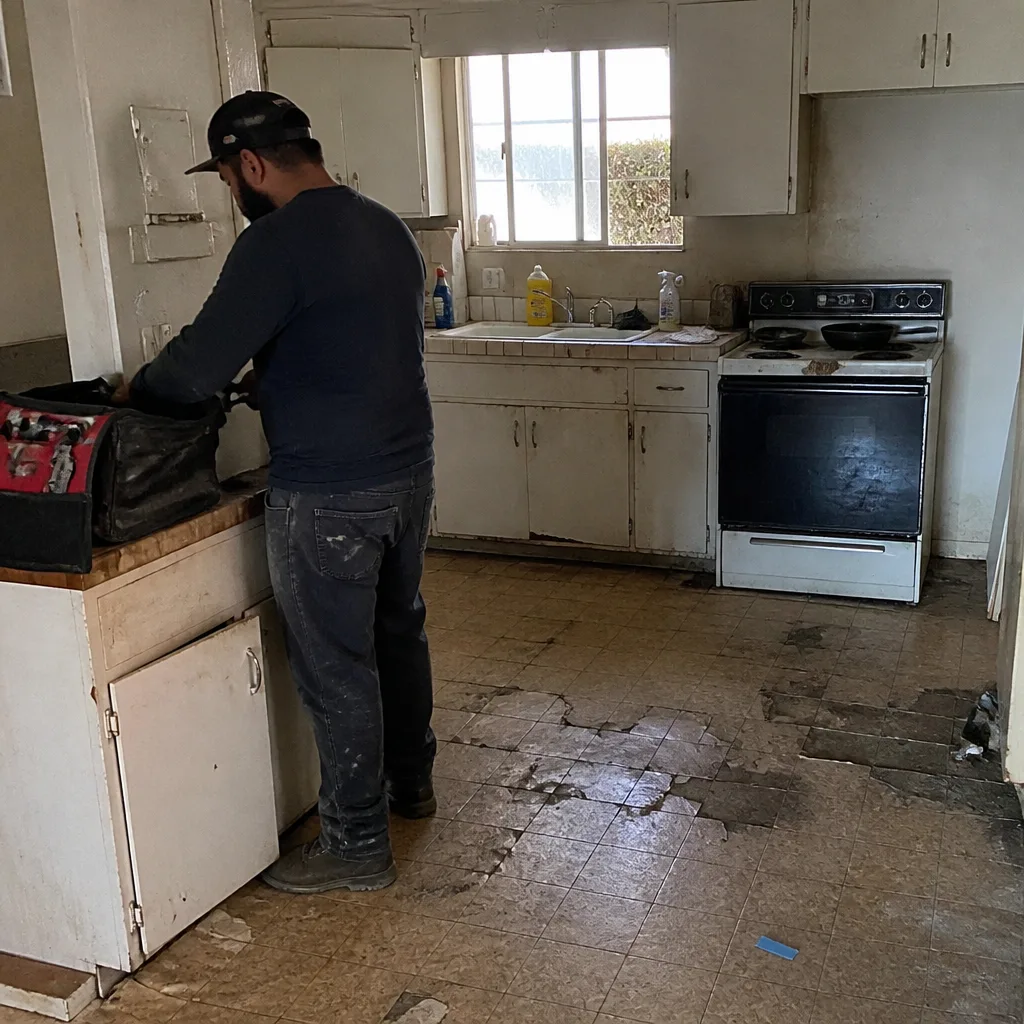 Before
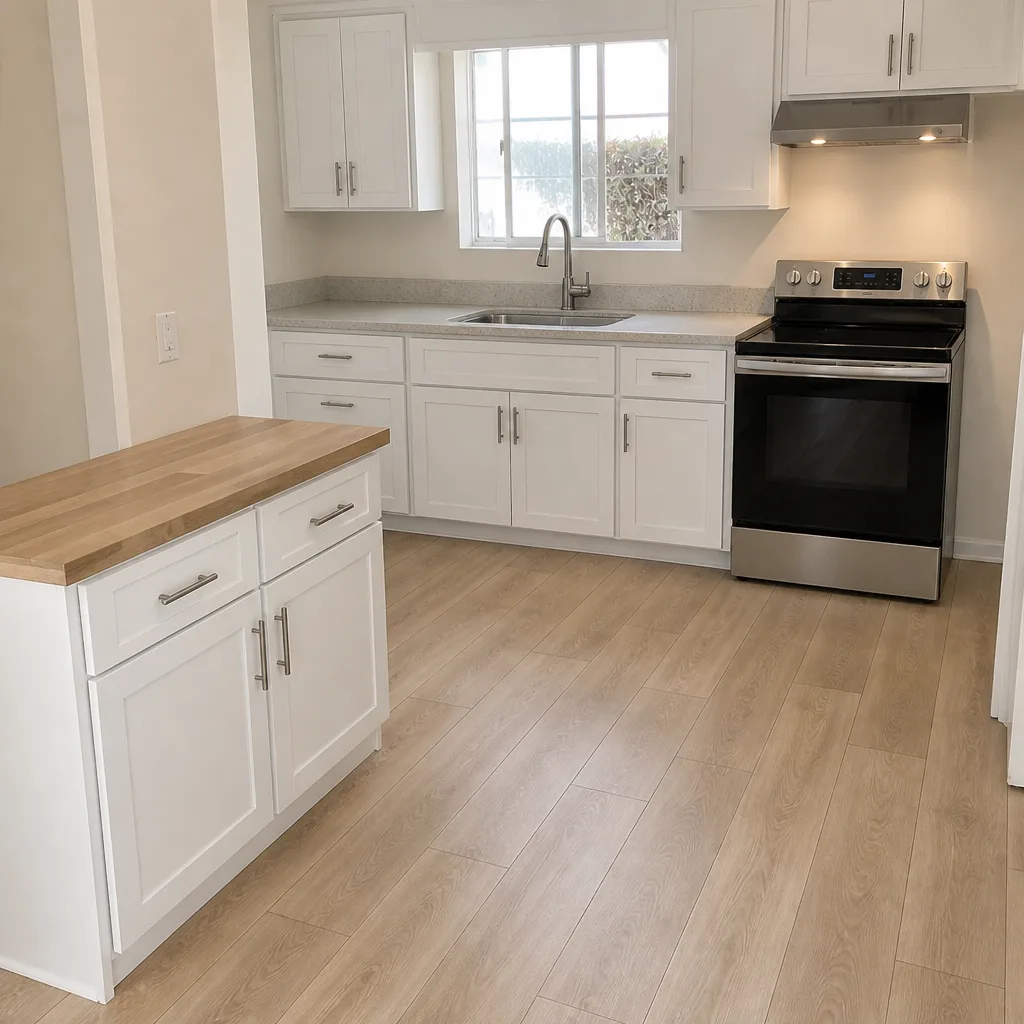 After
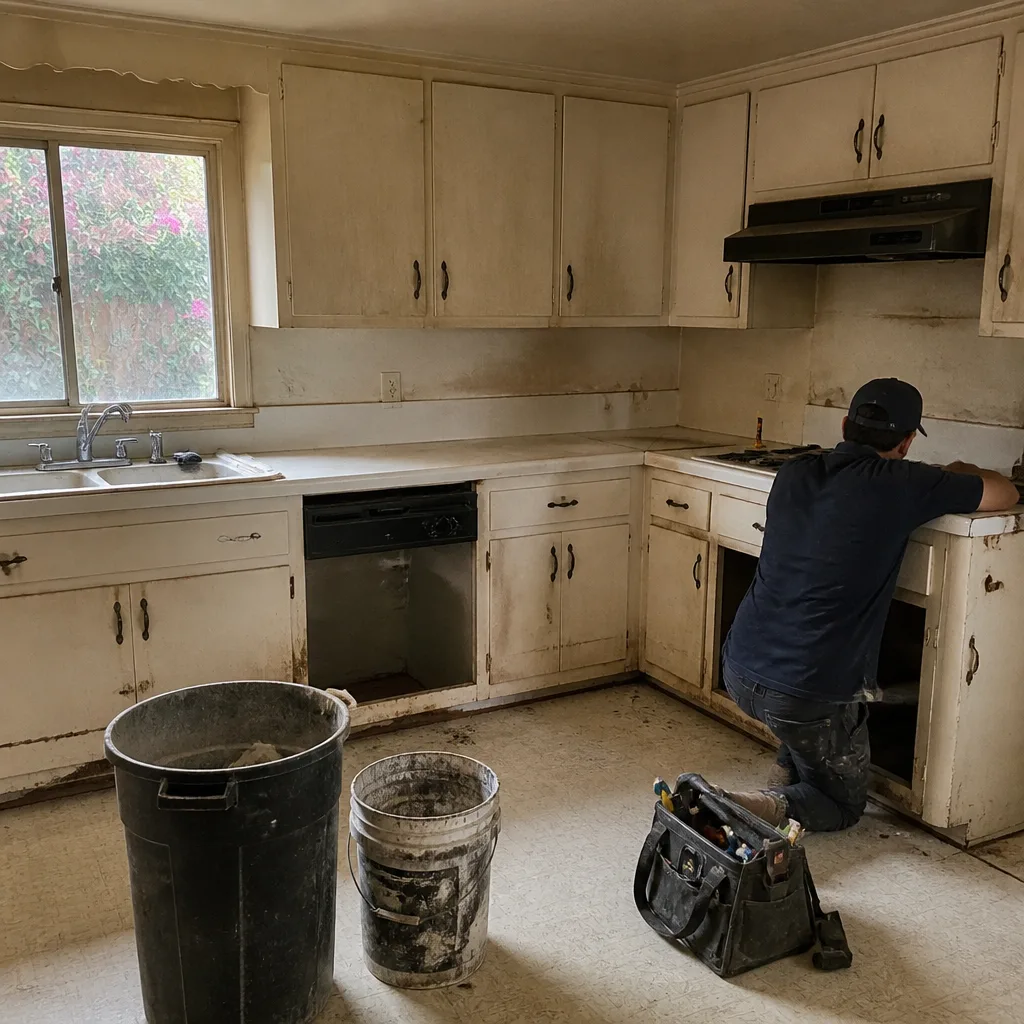 Before
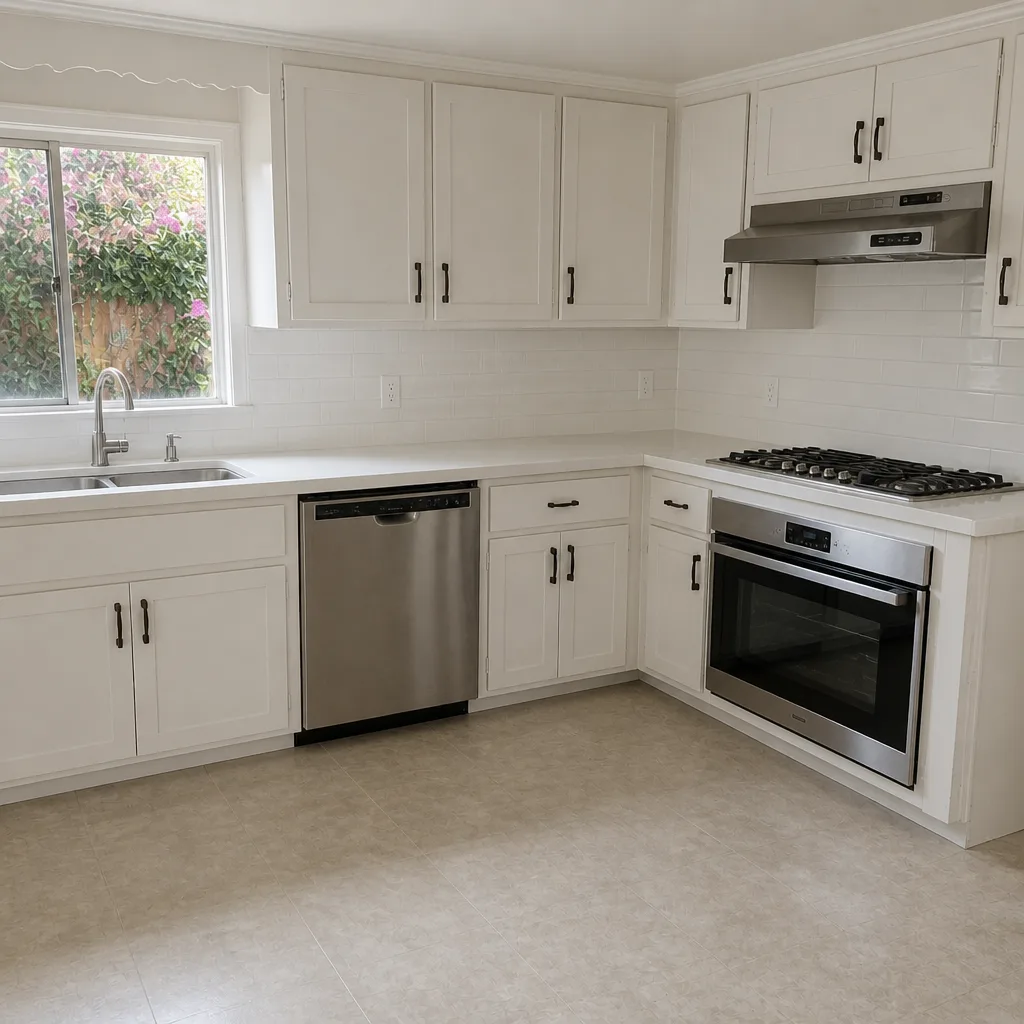 After
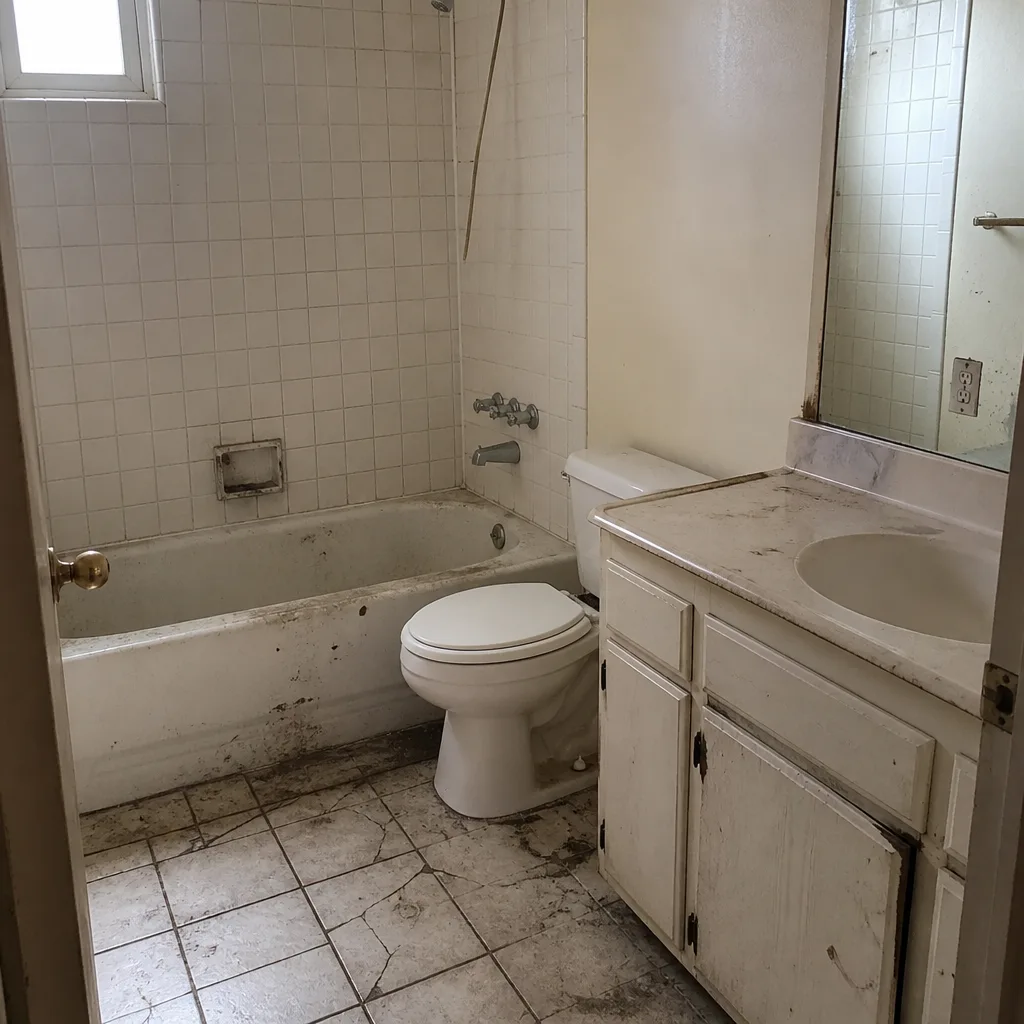 Before
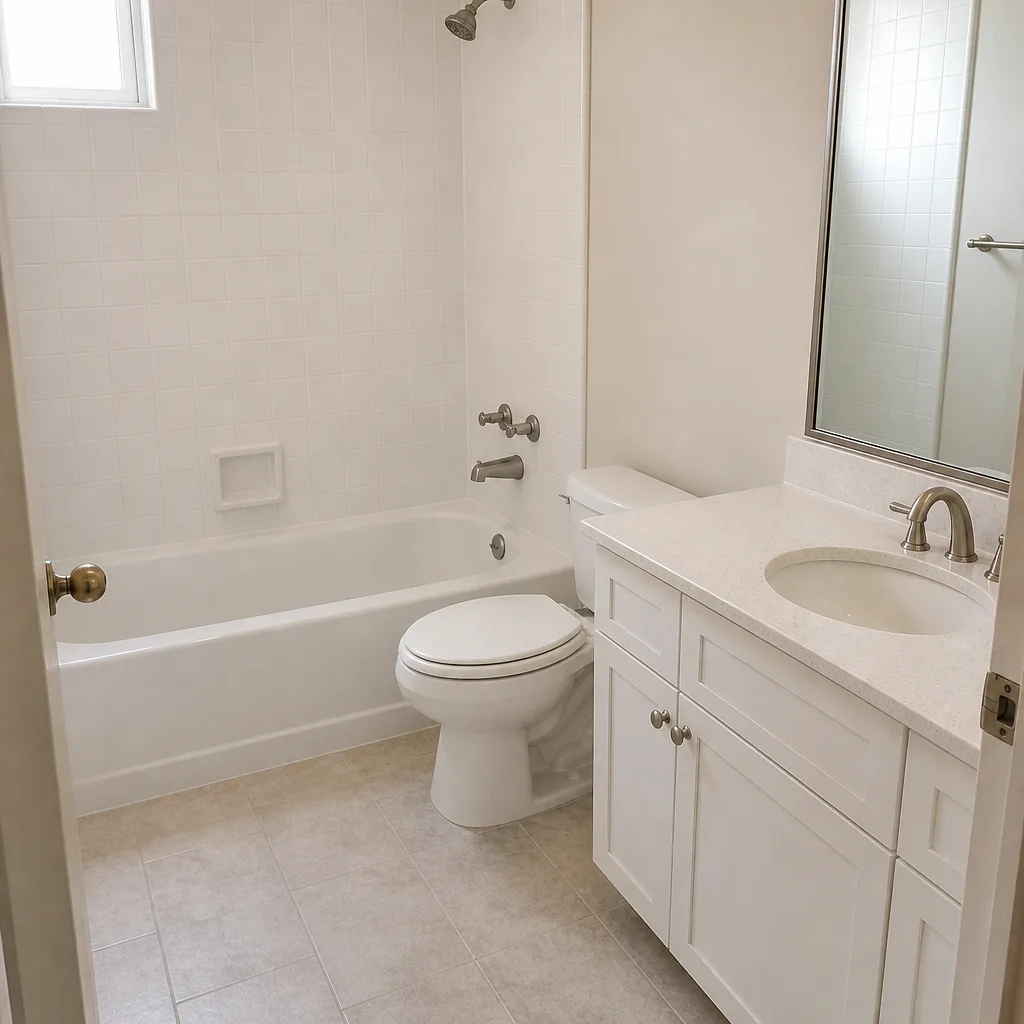 After
When to Call a Professional
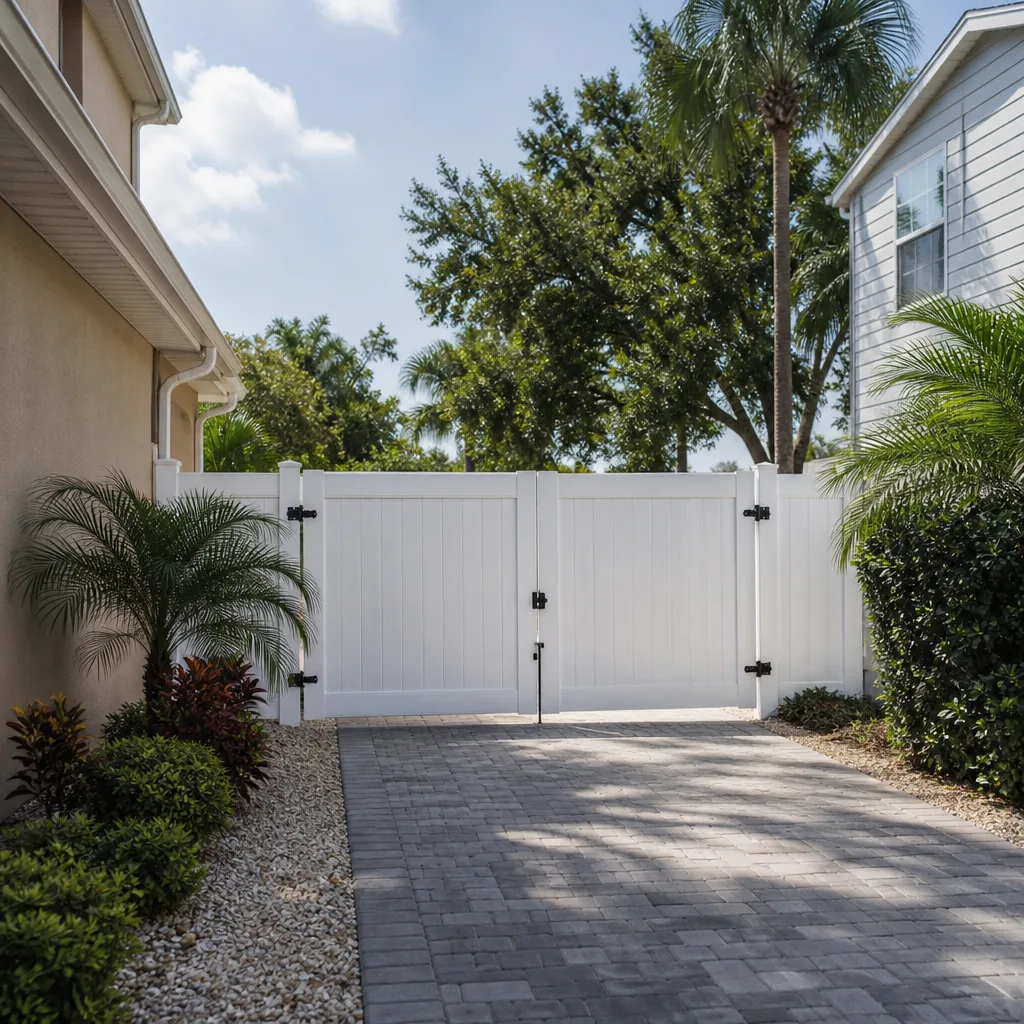
Call a professional when the post has failed at grade or below, when two or more posts in a run are moving, when a gate post is a standard 4×4 doing a 6×6’s job, or when the fence sits in coastal soil, on a slope, or a bluff-top property. Those are the scenarios where a repair without proper footing work just buys you the same call in two years. And call when you don’t yet know which of the three failure modes you have, because the diagnosis is the entire decision and guessing is expensive.
Groundwork Construction Co. of Newport Beach offers free estimates in Newport Beach for fence repair and replacement. Our technicians arrive in uniform, background-checked, and ready to tell you what actually happened to the fence, not just what it costs to replace. Call (833) 749-3967 and you’ll reach a live person, 24/7. There’s no voicemail, no waiting until Monday. If the fence sits alongside a larger outdoor improvement you’re planning, our Home Additions & ADU in Newport Beach guide explains how we scope a project that runs from foundation to finish line.
Frequently Asked Questions
A post that leans within the first five years was almost always set with an undersized hole, a shallow depth, or dry-pour concrete. Check whether the post rocks inside a stationary footing (post bond failure) or whether the footing itself moves in the soil (undersized footing); each has a different fix, and dry-pour concrete is the most common single culprit. Call (833) 749-3967 for a free diagnosis if you’re not sure which you have.
You can reset a post yourself if the post is sound above and below grade and the footing is intact but the soil has moved. If the post is rotted below grade, crumbly concrete surrounds it, or the whole footing has rotated, a DIY re-pack just delays the failure. The diagnosis is the work, and getting it wrong costs more than a service call.
Gate sag usually means the gate post is moving, or the gate frame has racked, and neither is fixed by hinge torque. Rock the gate post: if it moves, the post footing is the problem; if the post is plumb and the gate’s diagonals measure unevenly, the frame has racked and needs rebuilding. Over-tightening hinges on either problem makes it worse. Call (833) 749-3967 for a free estimate on the actual fix.
A properly installed wood fence in Newport Beach lasts around 12 to 15 years with maintenance, and a vinyl or composite fence lasts 20 or more, but salt air and marine-layer humidity shorten both against an inland comparable. Post rot at grade is the limiting factor on wood, and wind load on ocean-exposed footings is the limiting factor on the structural side. Post depth and correct concrete on day one are what separate a 15-year fence from a 5-year one.
Not with us. We quote upfront pricing in writing, with the number we see as the number you pay, and no change orders after the work begins. If a hidden detail turns up once the post comes out (existing damage from a prior install, unusual soil), we tell you before we touch it, not after. That pricing standard is part of every Groundwork job, and it’s why we offer a free estimate before any work is scheduled. Call (833) 749-3967 for your free estimate.
Yes, when the fence requires one. Newport Beach requires a permit for fences and walls in some situations, and the requirement depends on height and lot location. We check the rules on every job and pull the permit and pass the inspection where one applies. If you’ve had a fence installed without a permit, we can help sort out what to do next. Call (833) 749-3967 to start with a free estimate.
The Bottom Line
Almost every fence failure is the result of a first-day decision: an undersized hole, a shallow depth, or weak dry-pour concrete. Before you spend money, diagnose the failure as soil movement, concrete failure, or post rot, and apply the correct fix, not the easiest one. Test the gate post and frame separately before you touch the hinges. Label wood warping as installation error, weathering, or material defect based on the pattern. Pull the contract, the warranty, and dated photos before any accountability conversation. And if the fence sits in coastal Newport Beach soil, on a slope, or on a bluff-top lot, treat the footing as the whole story. If it’s not done right, we make it right, and we back that in writing with the 730-Day Done Right Promise.
Call (833) 749-3967 for a free estimate from Groundwork Construction Co. of Newport Beach. A live person answers 24/7, and we’ll tell you honestly whether your fence needs a repair or a replacement before you spend anything.
Written by the team at Groundwork Construction Co. of Newport Beach.