Last updated November 17, 2026








Free written scope consultation - allowances, timeline, and change-order rules on paper before a single trade is scheduled
Home Additions & ADU Maintenance Schedule: What to Do and When
Most homeowners maintain the main house and forget the addition is a separate building system. That oversight turns a 30-minute annual inspection into a $15,000 repair within five years. The reason is simple: an addition or ADU is a new structure bolted onto an old one, and the seam between them is where water, settling, and time do their quietest work. In Newport Beach, where marine layer humidity and salt air sit against stucco and flashing year-round, that seam needs attention on a schedule, not when something finally leaks. This guide gives you that schedule, built around how new-meets-old construction actually fails.
Quick Answer
Inspect your addition’s roof tie-ins, foundation joint, and shared-wall flashings twice a year, and do a full condition review after each of the first two rainy seasons. Service the ADU sub-panel, meter, and mini-split on the manufacturer’s intervals, and clear roof drains and gutters before the first storm of the season. In Newport Beach’s salt-air climate, add a stucco and fastener check each spring.
Styles & brands we work with
- Kitchen remodeling
- Bathroom remodeling
- Home additions & ADU
- Roofing
- Windows & doors
- Driveway & pavers
- Fence
Table of Contents
- Why the Interface Zones Are Where Additions Fail
- The High-Risk Interface Zones and What to Check at Each
- The First Two Rainy Seasons: Your Most Critical Inspection Window
- A Seasonal Maintenance Calendar for Coastal Southern California
- ADU Systems: Sub-Panel, Meter, and Mini-Split Service Intervals
- The Condition-Scoring Checklist: Talk to Your Contractor Clearly
- Common Mistakes to Avoid
- When to Call a Professional
Why the Interface Zones Are Where Additions Fail
An addition is not a renovation. It’s a second building that shares a wall, a foundation edge, and a roofline with the first one, and each of those shared points is a transition between two structures that move, settle, and dry at different rates. The older house has already finished most of its settling. The new one hasn’t. That difference is why cracks and leaks almost never appear in the middle of the new room. They appear at the seam.
We’ve watched this play out across Newport Beach additions, from Dover Shores to Eastbluff. A homeowner smells damp in a new bedroom three winters after the build. The roof tie-in looked fine from the ground. Under the shingles, a quarter-inch gap had opened between the existing fascia and the new valley flashing, and the marine layer had been feeding it moisture every night. Left another season, that gap reaches the wall cavity, and the repair stops being about flashing and starts being about framing.
Three things make the interface the predictable weak point:
- Differential settlement. The new foundation settles independently of the old one, widening the joint over the first few years.
- Roof planes meeting at different pitches. A tie-in has to redirect water across two roofs that drain in different directions, and any gap in the flashing funnels it inward.
- Shared-wall moisture paths. The old wall was never designed to be an interior wall, and moisture that once dried from the outside now travels where you can’t see it.
None of that is a defect. It’s the physics of attached construction. The maintenance schedule exists to catch the predictable gap before it becomes the expensive one. If you’re still planning rather than maintaining, our Home Additions & ADU in Newport Beach page covers how we design and build those interfaces so they’re easier to maintain from day one.
The High-Risk Interface Zones and What to Check at Each
Every addition has three zones where the new structure meets the old. Learn them once, and your annual inspection becomes a 30-minute walk instead of a guess.
1. The Roof Tie-In
This is the joint where the new roof meets the existing roof or an existing wall. It’s the single most likely place for water intrusion in any addition.
- Look for lifted, curled, or missing shingles along the valley or the step flashing line.
- Check the flashing where the new roof meets the old wall for gaps, rust, or popped fasteners.
- Confirm the gutter and downspout on the new roof actually drain away from the old one.
- After a storm, look for dark streaks or granules in the gutter, which point to shingle wear at the tie-in.
2. The Foundation Joint
Where the new slab or stem wall ties into the old foundation, you get a joint that moves.
- Check for a widening gap or a step in the exterior finish along the joint.
- Look for fresh vertical cracks in the stucco near the corner where the two foundations meet.
- Watch the interior floor line for a new crack in the tile or a lifted piece of flooring near the shared wall.
- Check that the exterior sealant along the joint is intact and hasn’t dried and pulled away.
3. Shared-Wall Flashings and Transitions
Where the new wall meets the old exterior wall, the flashing and weather barrier are the only thing keeping water out of the seam.
- Run a hand along the junction for soft spots or bubbling in the stucco.
- Check the caulk line at the base of the shared wall and along window and door edges on the addition side.
- Look for efflorescence, the white chalky staining that signals moisture moving through masonry.
- Confirm any new penetrations (vents, hose bibs, electrical boxes) are sealed and not letting water track behind the barrier.
The First Two Rainy Seasons: Your Most Critical Inspection Window
If you remember one thing from this guide, make it this: the first two rainy seasons after construction are when you learn what your addition is going to do. Not year five. Those first two wet cycles are when new settlement is still active and when any flashing or sealant weakness gets tested by real weather.
Here’s the sequence we walk owners through:
- Before the first rain. Do a full walk of all three interface zones and photograph every joint. You need a baseline.
- During the first heavy rain. Walk the interior and look for damp at the shared wall and any staining at the ceiling near the roof tie-in.
- After the first rain. Re-check the exterior sealant joints and note any crack that widened.
- Three months later. Re-photograph the same joints and compare. Any measurable change is information worth acting on.
- Repeat the whole cycle through the second rainy season. By the third, the new structure has mostly settled, and you can shift to the standard twice-a-year schedule.
The marine layer makes this especially important in Newport Beach. Our wet season is short, but the humidity sits against stucco and flashing most nights of the year, so a joint that stays wet can rot a wood sill before you ever see a drip. The rain tests the seal. The marine layer is what wears it down between tests. If you’re building an addition now, our team can flag these zones and set you up with a maintenance baseline from day one.
A Seasonal Maintenance Calendar for Coastal Southern California
Newport Beach is not a four-season climate, so a standard national maintenance calendar is only half right. What matters here is the marine layer, the salt air, and the rain window from roughly November through March. Build your schedule around those, not a generic monthly checklist.
Spring (March through May): Post-Rain Damage Review
- Walk all three interface zones and note cracks that widened over winter.
- Check the roof tie-in for lifted shingles and re-seat or replace as needed.
- Inspect stucco on the addition and main house for salt-air pitting and soft spots, heavier on the ocean-facing side.
- Check exterior fasteners, hinges, and railings for corrosion, especially on salt-exposed walls.
Summer (June through August): Systems and Dry-Season Prep
- Wash the mini-split filters and check the condensate line for algae before the heavy-use months.
- Inspect the ADU sub-panel for tripped breakers or heat staining at the panel.
- Clear roof drains and gutters of debris now, when it’s easy and dry.
- Re-seal the foundation joint and base caulk line if it’s dried out.
Fall (September through November): Pre-Rain Preparation
- Clear every gutter and downspout before the first rain; this is the most common pre-storm failure.
- Test the ADU mini-split in heat mode before you need it.
- Walk the roof tie-in and confirm the valley flashing and step flashing are seated.
- Check that drainage paths carry water away from the foundation joint.
Winter (December through February): Active Monitoring
- During and after each major rain, check the shared wall and the ceiling near the tie-in for damp or stains.
- Look for any pooling along the foundation joint on the addition side.
- Note any new crack or gap and photograph it for comparison.
That same seasonal logic carries into the rest of the property. If your addition sits off a new driveway or hardscape, the drainage and surface care in our guide to Driveway & Pavers in Newport Beach is linked to how water moves against your foundation. And a new perimeter in the same build means the maintenance we cover in Fence Installation in Newport Beach matters just as much for salt-air wear.
ADU Systems: Sub-Panel, Meter, and Mini-Split Service Intervals
An ADU runs on its own set of systems, and those systems have their own maintenance clock. The three that matter most are the electrical sub-panel, the separate meter, and the mini-split heat pump. Ignore them and the ADU stops being a comfortable, rentable space.
The Sub-Panel and Separate Meter
A detached or partially detached ADU usually gets its own sub-panel fed from the main service, and often its own meter. These aren’t things you open yourself. What you do as an owner is watch and report.
- Quarterly: Look at the panel for scorching, heat discoloration, or a burning smell, and listen for buzzing. Any of those is a call-now item.
- Annually: Have the panel and meter connections checked by an electrician, including torque on the main lugs and the bonding at the detached structure.
- Annually: Confirm the ADU’s separate meter reads what you expect against your records, so a wiring or metering fault doesn’t hide for a year.
Electrical panels are dangerous to open, and a sub-panel especially so. This is a watch-from-a-distance item for owners and a job for a licensed electrician. Don’t loosen panel screws to “take a look.”
The Mini-Split Heat Pump
Mini-splits are the standard for Newport Beach ADUs because they heat and cool efficiently without ducting. Their service intervals are set by the manufacturer and mostly follow a simple rhythm.
- Every one to three months: Wash or replace the indoor filters. In dusty seasons, monthly.
- Twice a year: Rinse the outdoor coil and clear debris around the unit, keeping vegetation off it.
- Annually: Have a technician check refrigerant charge, clear the condensate drain, and inspect electrical connections.
- Fall and spring: Run it in both heat and cool mode to catch a problem before the season you need it.
Our technicians have up to 12 years of experience servicing ADU systems across Newport Beach, so we know the service rhythm these units actually need in our coastal humidity. If you’re still deciding between ADU configurations, the system layout is set at design time, which is one good reason to loop a builder in early.
The Condition-Scoring Checklist: Talk to Your Contractor Clearly
The hardest part of maintenance isn’t spotting a problem. It’s describing it well enough that a contractor can price and fix it without a return trip. We give every owner we work with a simple condition score, applied to each interface zone. It costs nothing and it turns “the roof looks weird” into something a crew can act on.
Score each zone from 1 to 5 each time you inspect:
- Score 5 – Sound. No gap, no crack, caulk and flashing intact. Note the date and move on.
- Score 4 – Cosmetic wear. Chalking or faded sealant, no movement. Plan to re-seal at the next good weather window.
- Score 3 – Watch. A hairline crack or a small gap that isn’t changing. Photograph it and compare in three months.
- Score 2 – Fix soon. A widening gap, lifted flashing, or a soft spot. Schedule a repair before the next rain.
- Score 1 – Address now. Active damp, staining, or a gap that’s opened fast. Call a professional without waiting for the season.
Write the score, the date, and one line of what you saw, next to a photo. When you call a contractor, you say: “The roof tie-in went from a 4 to a 3 over six months and the flashing at the south corner is lifting.” That’s a real appointment. A vague description is a site visit that bills diagnostic time and still leaves you guessing. The scoring habit is how owners keep control of the conversation, which is exactly what an upfront-pricing contractor needs to give you a number you can trust.
And the same scoring logic applies to the rest of the property. A fast walk with a score in hand works for the roof, gutters, and even your hardscape. You’ll find the framework carries straight across the categories we cover at Groundwork Construction Co. of Newport Beach home.
Common Mistakes to Avoid
- Treating the addition as part of the main house’s maintenance. Schedule the add-on’s interface zones as their own line item. If it’s not on a calendar, it doesn’t get done.
- Skipping the pre-rain gutter clearing. In Newport Beach, the first storm after a dry summer sends months of debris into your downspouts. Clogged drainage against the foundation joint is one of the most common avoidable water problems we see.
- Assuming fresh construction means low maintenance for years. New construction is at its highest risk of interface movement in the first two years. Watch it most when it’s newest.
- Sealing without checking. Painting caulk over a gap that’s still moving hides the problem and delays the repair. Check the joint, then seal.
- Opening the electrical sub-panel to investigate. Watch the panel from the outside and call a licensed electrician for everything inside it. The risk of an arc or shock is real, and a “quick look” isn’t worth it.
- Waiting for visible water inside. By the time water shows on the shared wall, moisture has often been traveling behind the drywall for a season. Check the exterior seams, not just the interior.
- Not keeping a photo record. Owners who photograph the same joints each season catch slow movement. Owners who don’t miss it until it’s a repair.
When to Call a Professional
Most of the schedule above is owner work: look, photograph, score, clear gutters. A few things are not. Call a professional when you see a widening gap at the foundation joint, lifted or missing flashing at the roof tie-in, soft stucco or efflorescence along the shared wall, any damp or staining on the interior near a transition, or anything at the electrical sub-panel beyond what your eyes can see from a safe distance. Those aren’t 30-minute owner fixes, and they’re the ones that stay small only if they’re caught early. Groundwork Construction Co. of Newport Beach offers free estimates in Newport Beach, and we put the findings in writing with upfront pricing so the number you see is the number you pay. Call (833) 749-3967 to schedule a walk-through before the next rain.
See the difference
 Before
 After
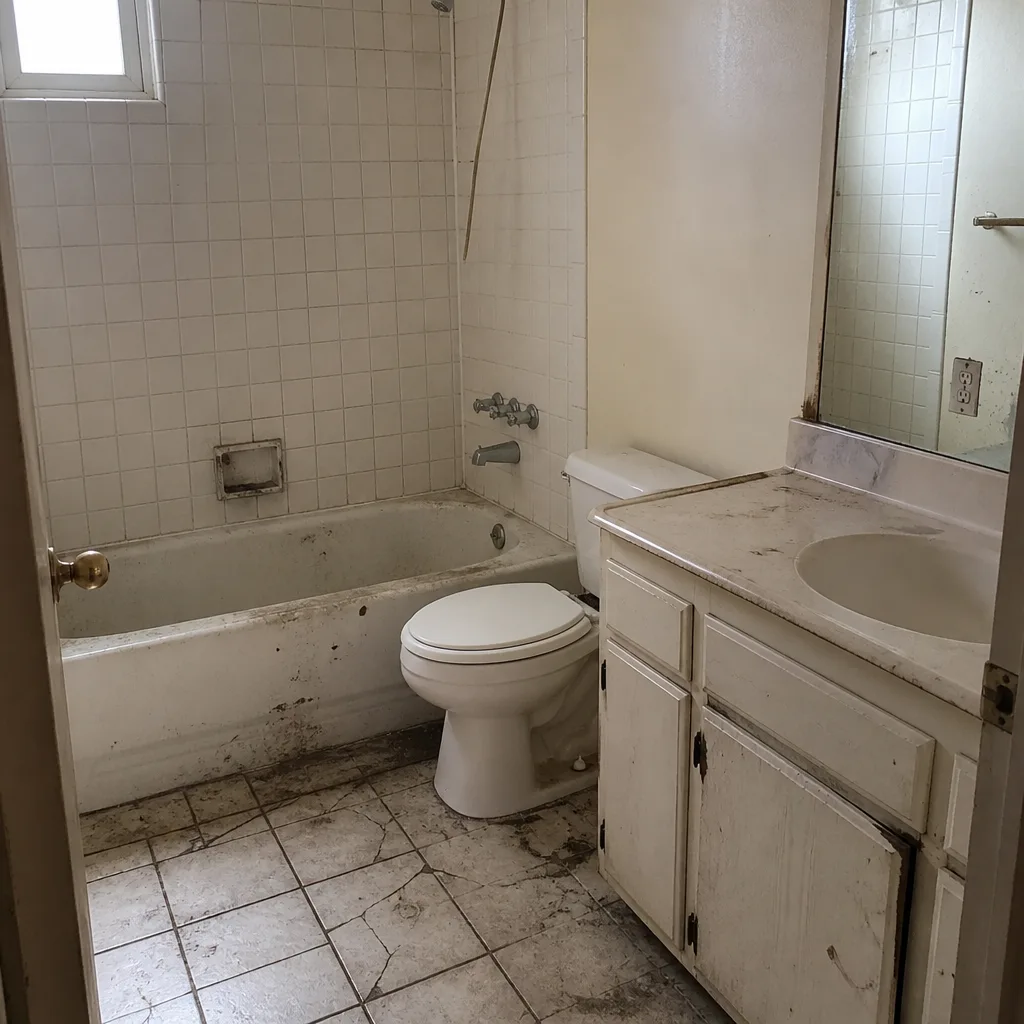
 Before
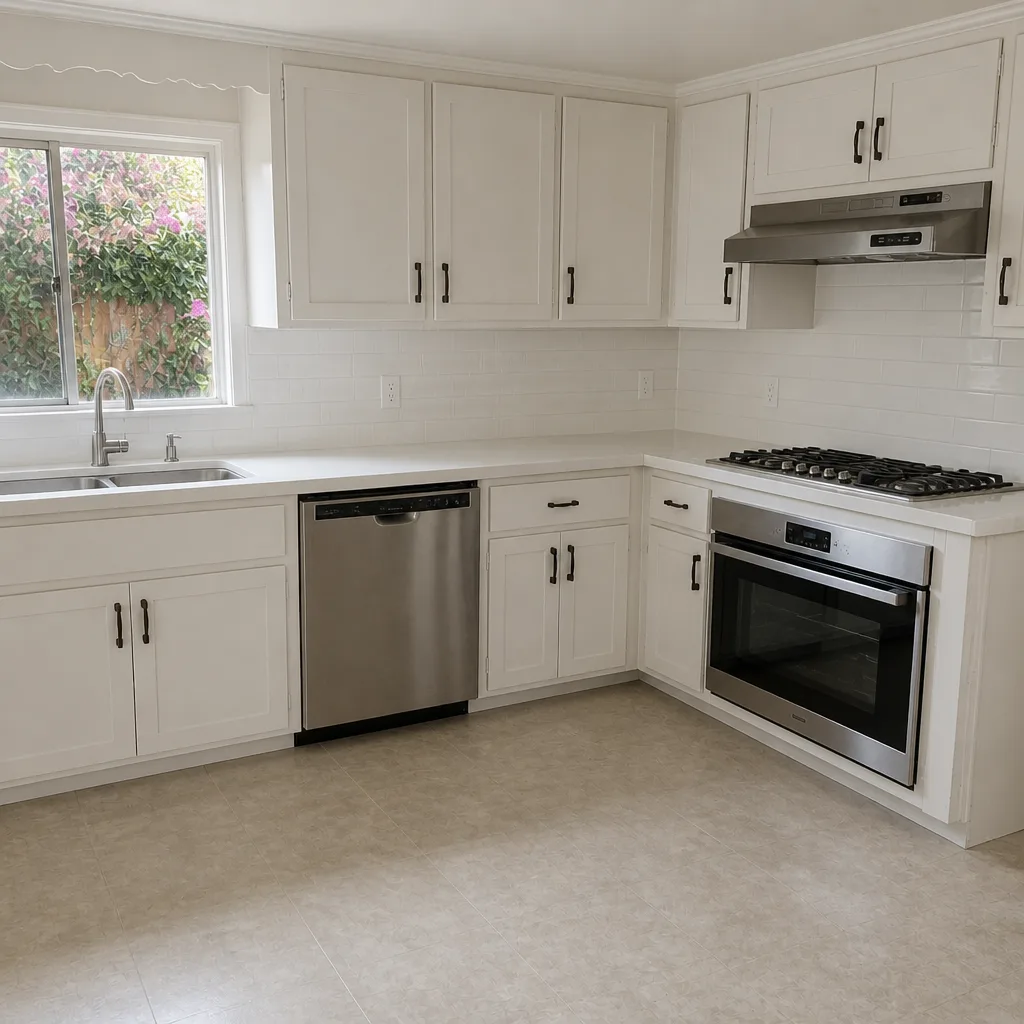 After
 Before
 After
Frequently Asked Questions

Twice a year for the interface zones, plus a full review after each of the first two rainy seasons. In Newport Beach, add a spring check for salt-air wear on stucco and fasteners.
Water intrusion at the roof tie-in. It’s the joint most exposed to rain and the one that moves most as the new roof settles, so it’s the first place a gap opens.
Yes. An ADU has its own sub-panel, meter, and mini-split, each with its own service interval. The mini-split filters want attention every one to three months, and the panel and meter should be checked by an electrician once a year.
Because that’s when new settlement is most active and the seals get tested by real weather for the first time. Watching those two cycles tells you how the addition is going to behave, and lets you catch a weakness before it turns into a repair.
You can look at it from the ground and note lifted shingles, gaps, or granules in the gutter. Anything on the roof itself is a height and fall risk, so leave that to a trained professional.
Our pricing is upfront, so the number you see is the number you pay on the agreed scope. If a hidden issue turns up once we’re in, we stop and give you a written scope and price before going further. Call (833) 749-3967 for a free estimate in Newport Beach.
The Bottom Line
Your addition is a separate building with its own settlement, weather, and service intervals, and its health lives at the three seams where it meets the old structure. Inspect those seams twice a year, watch them closely through the first two rainy seasons, and keep a simple 1-to-5 condition score with photos so you can describe what’s changed. In Newport Beach, build the marine layer and salt air into your calendar rather than a generic four-season one. Do that, and the 30-minute inspection stays an inspection instead of turning into a repair. Skip it, and the seam costs you the season it goes unnoticed.
Ready to put the schedule in place? Call (833) 749-3967 for a free estimate with Groundwork Construction Co. of Newport Beach. A live person answers around the clock, we put the plan and the price in writing, and every project is covered by our 730-Day Done Right Promise. The number you see is the number you pay, with 0% financing for 18 months and $1,000 off projects over $10,000.
Written by the team at Groundwork Construction Co. of Newport Beach.