Free written scope consultation - allowances, timeline, and change-order rules on paper before a single trade is scheduled
Styles & brands we work with
- Kitchen remodeling
- Bathroom remodeling
- Home additions & ADU
- Roofing
- Windows & doors
- Driveway & pavers
- Fence
See the difference
 Before
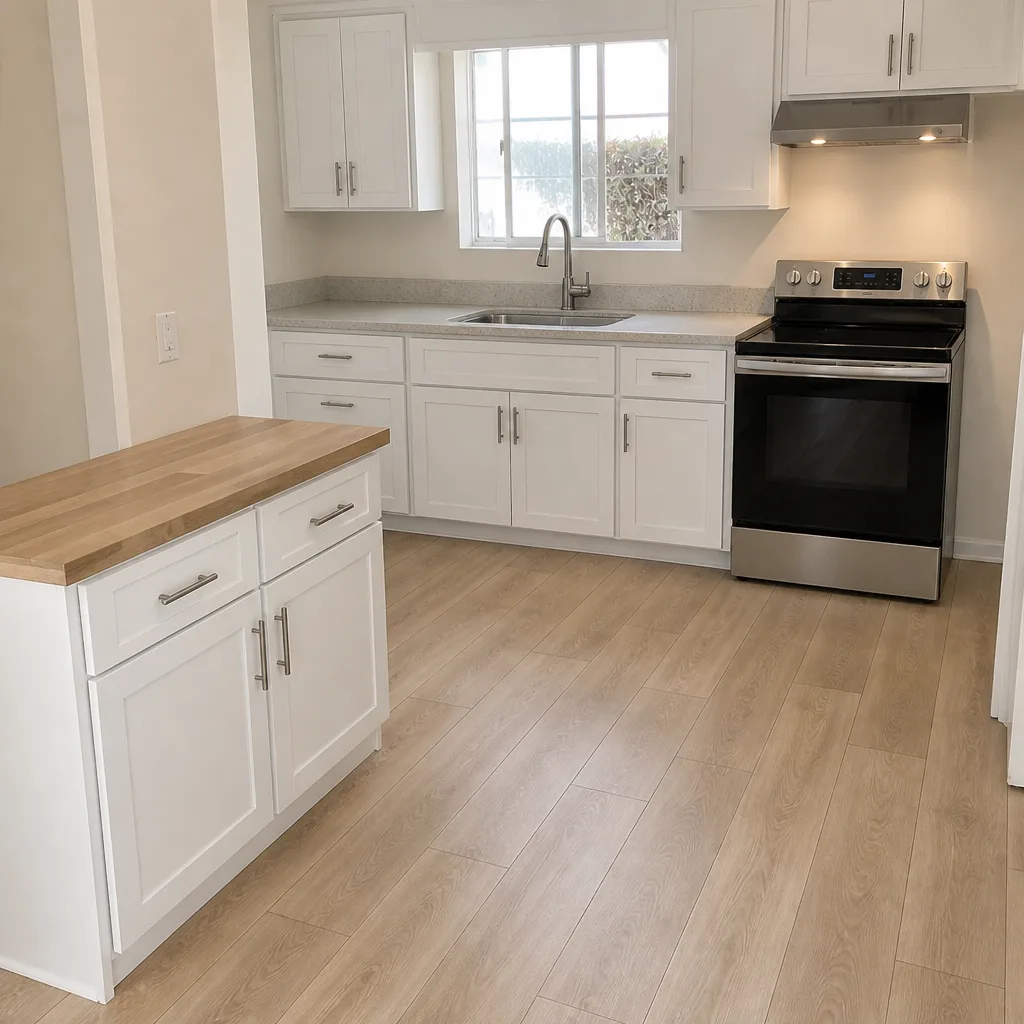 After
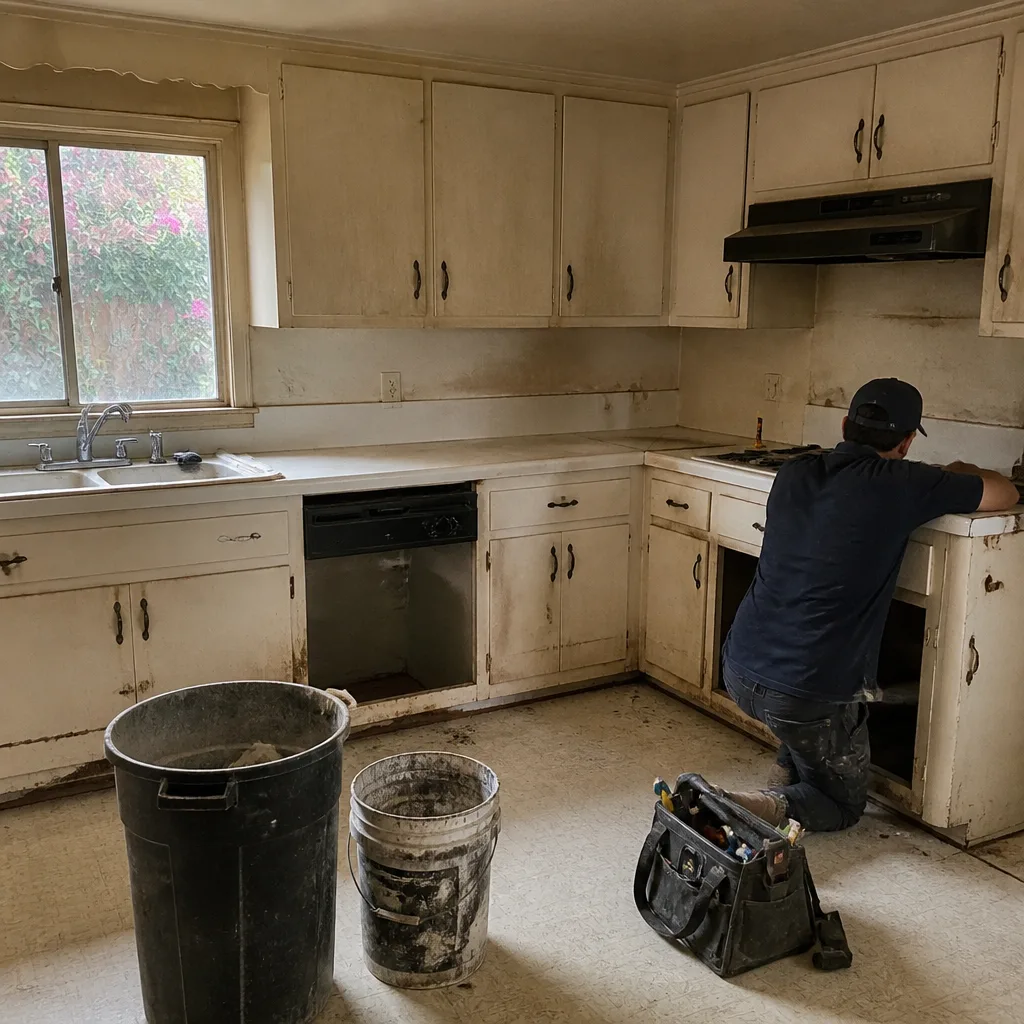 Before
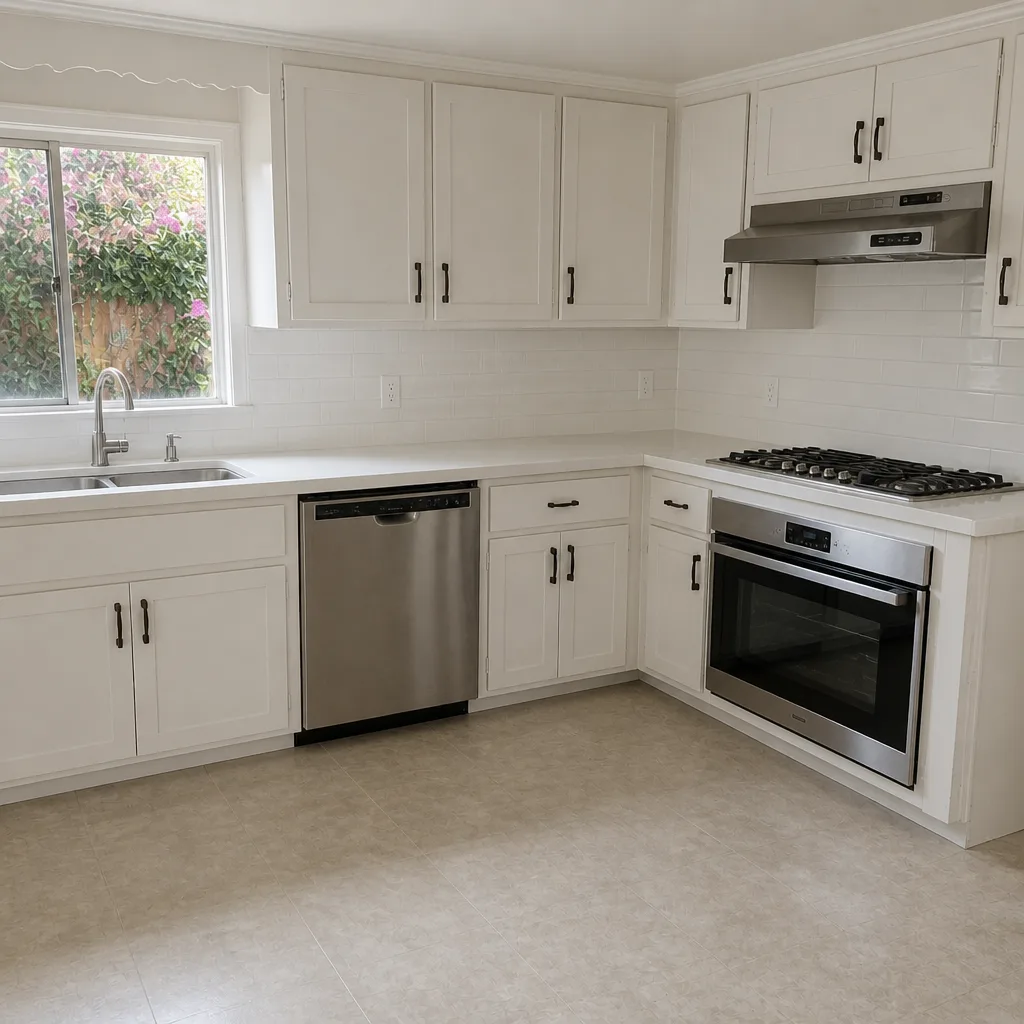 After
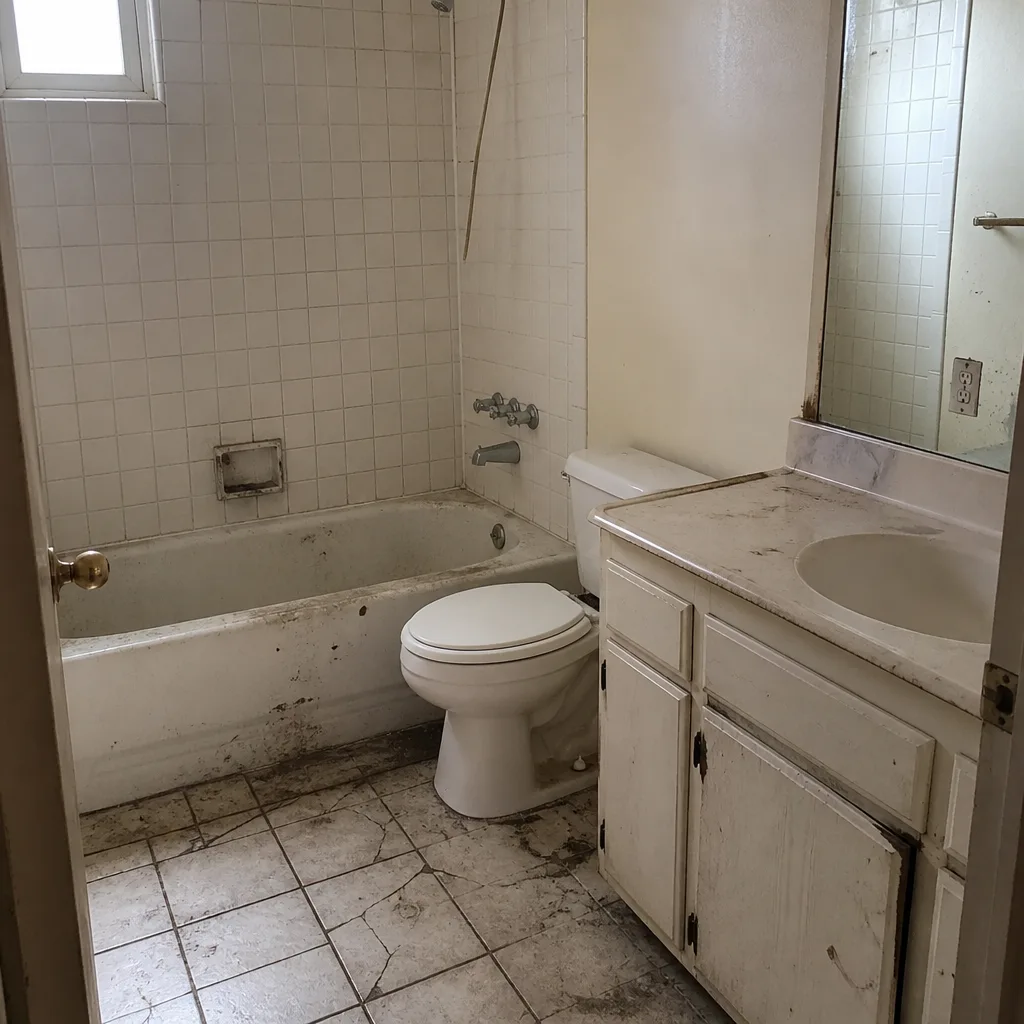 Before
 After
How to Measure a Window for Replacement in Newport Beach, CA
Measure the width at the top, middle, and bottom of the opening and the height at the left, center, and right, then use the smallest width and height to size the replacement. On a pre-1980 Newport Beach house, that means taking six measurements, not three, because the opening is rarely the same at the top as it is at the sill. Older coastal construction settles unevenly, and ordering to the largest number is how homeowners end up with a unit that won’t seat. If you’d rather skip the ladder work, call Groundwork Construction Co. of Newport Beach at (833) 749-3967 and we’ll verify the opening before anything gets ordered.
We’re Groundwork Construction Co. of Newport Beach, and measuring windows on the peninsula is its own discipline. This page covers exactly how we do it here, what to watch for in this specific housing stock, and when the numbers say “call a pro.”
Why a Newport Beach window opening measures differently at the top and the bottom
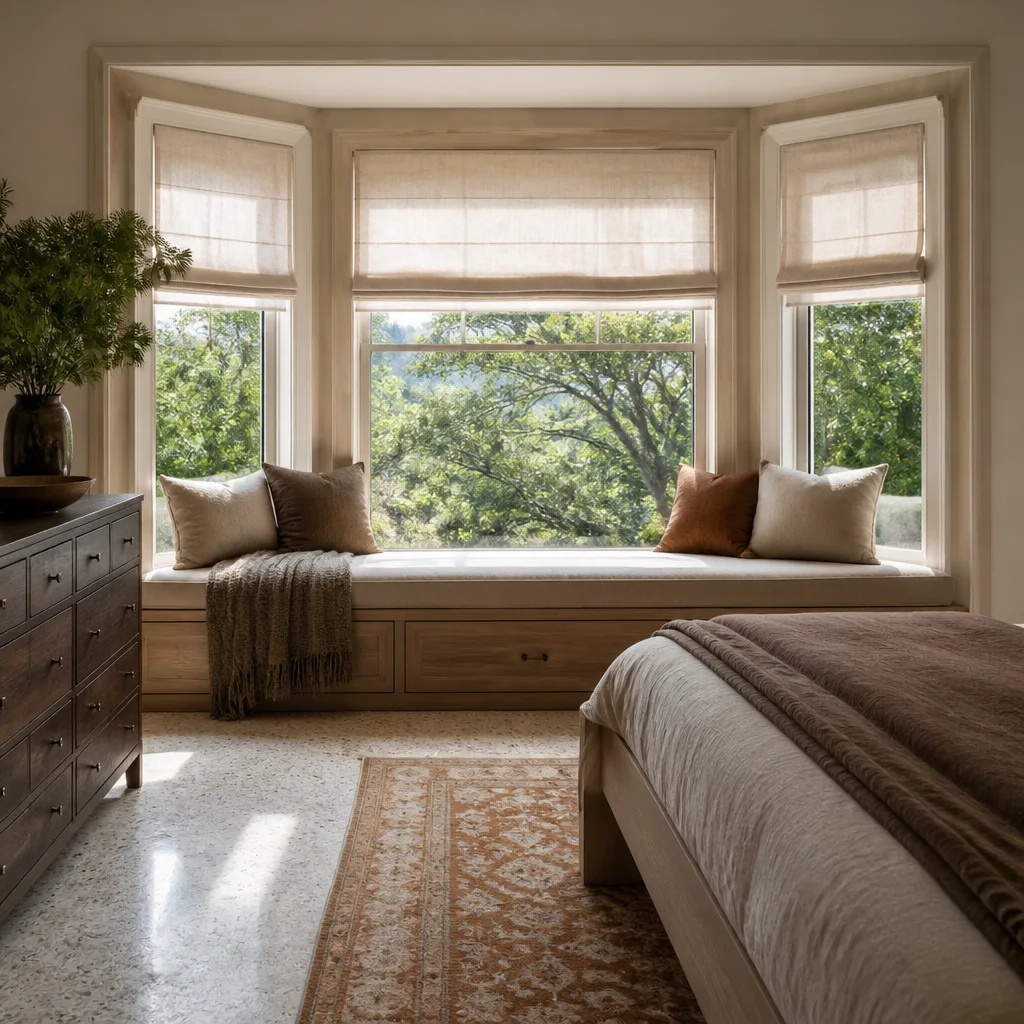
If your home was built before 1980, the opening at the top won’t tell you what it measures at the sill. The bay-side ranch homes on the peninsula were often framed with single-wall construction and little insulation, and decades of settling pull those frames out of true. Walk into a Balboa Island cottage and you may be standing in a structure sitting on original wood pilings that have never been updated. When pilings shift, the whole frame racks slightly, and a window rough opening that was square in 1948 is a parallelogram now. That’s why the same opening can be 1/4 inch narrower at the bottom than at the top. Order to the top measurement and the unit won’t go in without planing, shimming, or worse.
None of that is guesswork. You measure it. The trick is measuring all six points so the numbers tell you what’s actually happening in the wall.
The three-point measurement method (and why you need all six numbers)
For each window, take three width readings and three height readings from the inside. Width goes at the top, the middle, and just above the sill. Height goes on the left, the center, and the right, from the head to the sill. Then use the smallest number from each set. Never the average, never the largest. The smallest is the only figure that guarantees the new unit clears the tightest point.
- Width: measure inside jamb to inside jamb at top, middle, and bottom. Use the smallest.
- Height: measure from the head to the sill at left, center, and right. Use the smallest.
- Depth: measure the wall thickness from interior face to exterior face. This tells you what frame depth the replacement needs to sit flush.
- Sill slope: check with a level. A sill that pitches back toward the house is a leak path, and it also tells you the last window may have been installed over a problem.
- Exterior trim depth and reveal: measure from the glass to the edge of the trim. This matters for matching the facade profile.
Then deduct, based on frame material. Here’s how that math works out on the projects we run in Newport Beach:
| Frame type | Width deduction | Height deduction |
|---|---|---|
| Vinyl replacement (into existing frame) | Deduct 1/4 in. to 3/8 in. off smallest width | Deduct 1/4 in. to 3/8 in. off smallest height |
| Wood or fiberglass new-construction unit | Deduct 1/2 in. off smallest width | Deduct 1/2 in. off smallest height |
| Full-frame with exterior trim removal | Measure rough opening directly, deduct per manufacturer spec | Same, per manufacturer spec |
The deduction depends on the unit, so check the manufacturer’s published spec sheet for the actual number before you commit. We work with Andersen and Marvin units regularly, and both publish clear rough-opening specs. Skipping that step is a common source of error. Our Windows & Doors page covers the install side of the process in more detail.
The racking check: measuring corner-to-corner before you order anything
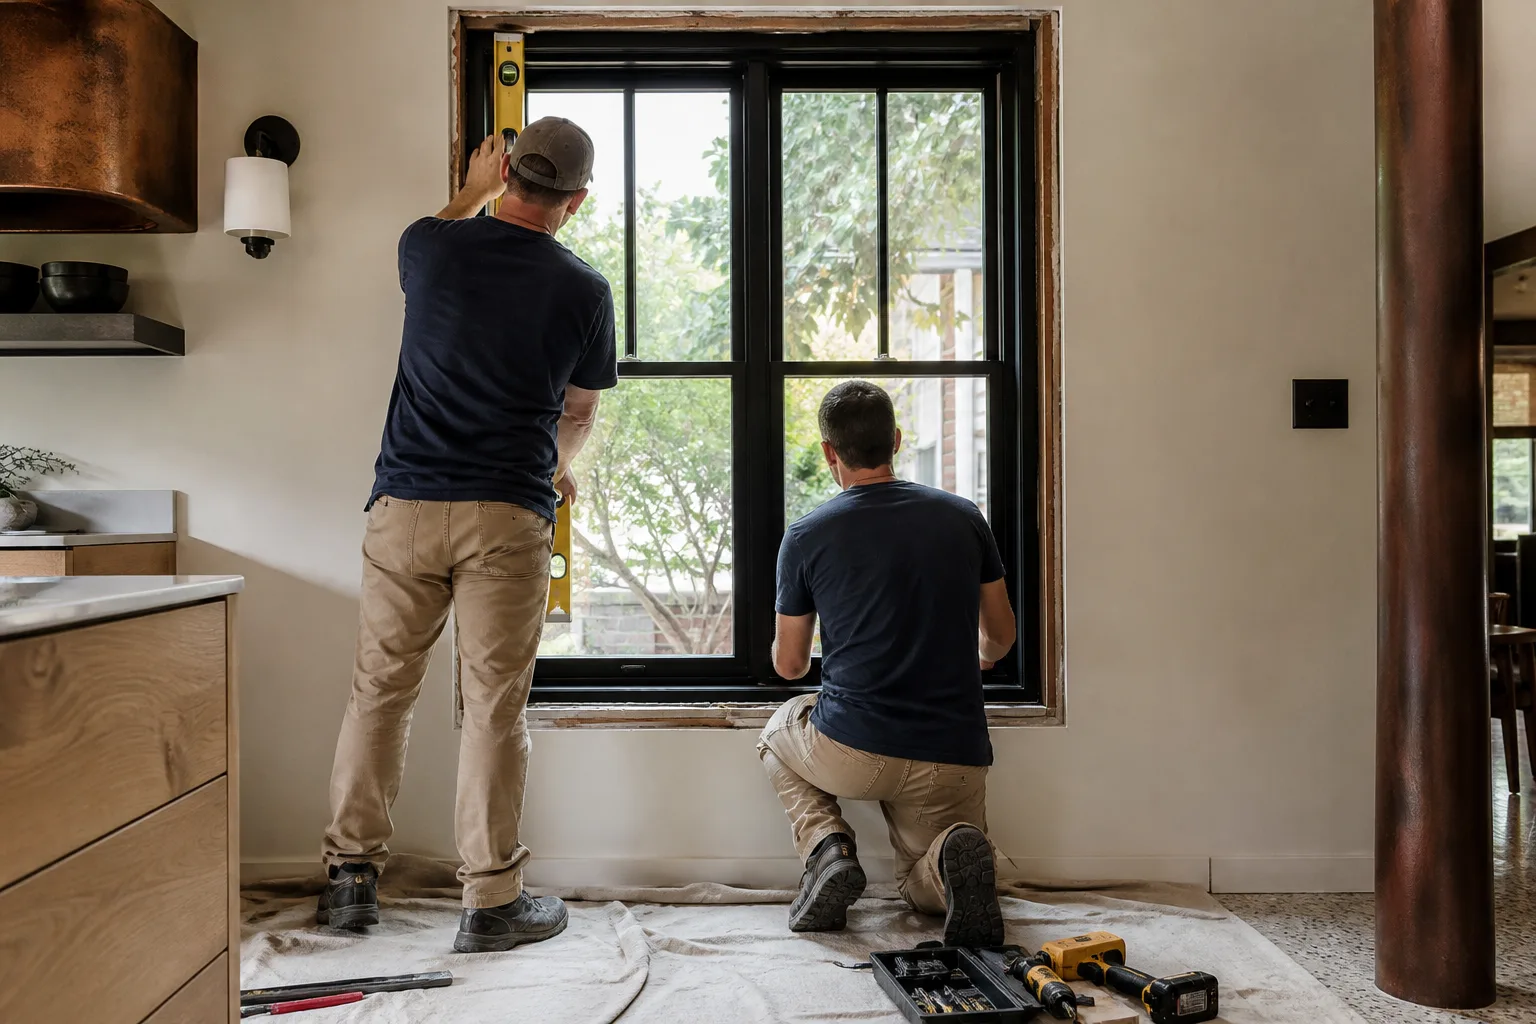
Pull a tape diagonally from the top-left corner of the opening to the bottom-right, then the opposite diagonal, top-right to bottom-left. Those two numbers should match. If they don’t, the opening is out of square, and the difference tells you how much. Under 1/4 inch, a stock unit often shims in fine. A 1/2 inch or greater discrepancy is a warning. That’s the threshold where we stop sizing to a stock window and start looking at custom build, or at correcting the frame before installing anything.
On peninsula ranch homes with slab or pier-and-beam foundations, a half-inch diagonal difference usually traces back to settling. On Balboa Island, it can point to piling movement under a cottage. Either way, the number matters because it changes the job. A custom unit priced into a window replacement runs in the $4,500-$15,000 range in Newport Beach depending on unit count and spec, and impact window installation runs $8,000-$25,000. Knowing the diagonal before you order keeps you from buying a custom unit twice.
Measuring with the permit in mind: Oceanfront and Bayfront design review
Newport Beach’s Oceanfront and Bayfront zoning overlays and the California Coastal Commission’s coastal development permit conditions both scrutinize anything that reads as new construction. That changes the measurement conversation. Enlarging a rough opening even 2 inches can reclassify a replacement as new development, which can trigger additional review, and in some cases a coastal erosion study or public access review. Accurate measurement of the existing opening isn’t just about fit. It’s your permit strategy. If the opening measures exactly what’s there, a like-for-like replacement usually stays a replacement. If your measurement shows the opening needs to grow, we want to know that before the drawings go in, not after.
This is a real point in Newport Beach. A window on a peninsula ranch home is a straightforward swap. The same window on a bayfront estate with an active coastal permit may need the exact existing dimensions documented for the file.
What to measure beyond the glass: deep reveals and Mediterranean estates
Dover Shores and the ocean side have a lot of custom Mediterranean homes with deep-reveal architectural windows set well back into the wall. Standard replacement windows sit flush against the face, and on a deep reveal they look wrong. They leave a visible step in the facade and no longer match the profile the architect drew. So measure the reveal depth, not just the opening. A window set 6 inches into the wall needs a unit and trim that belongs there. During site visits on those estates, we’ll also check the exterior trim depth and the sill slope, because a sill that has drifted over decades will show up as a leak somewhere else later. These are the small measurements a stock window doesn’t care about and a custom one can’t live without.
Why we verify measurements before anything gets ordered
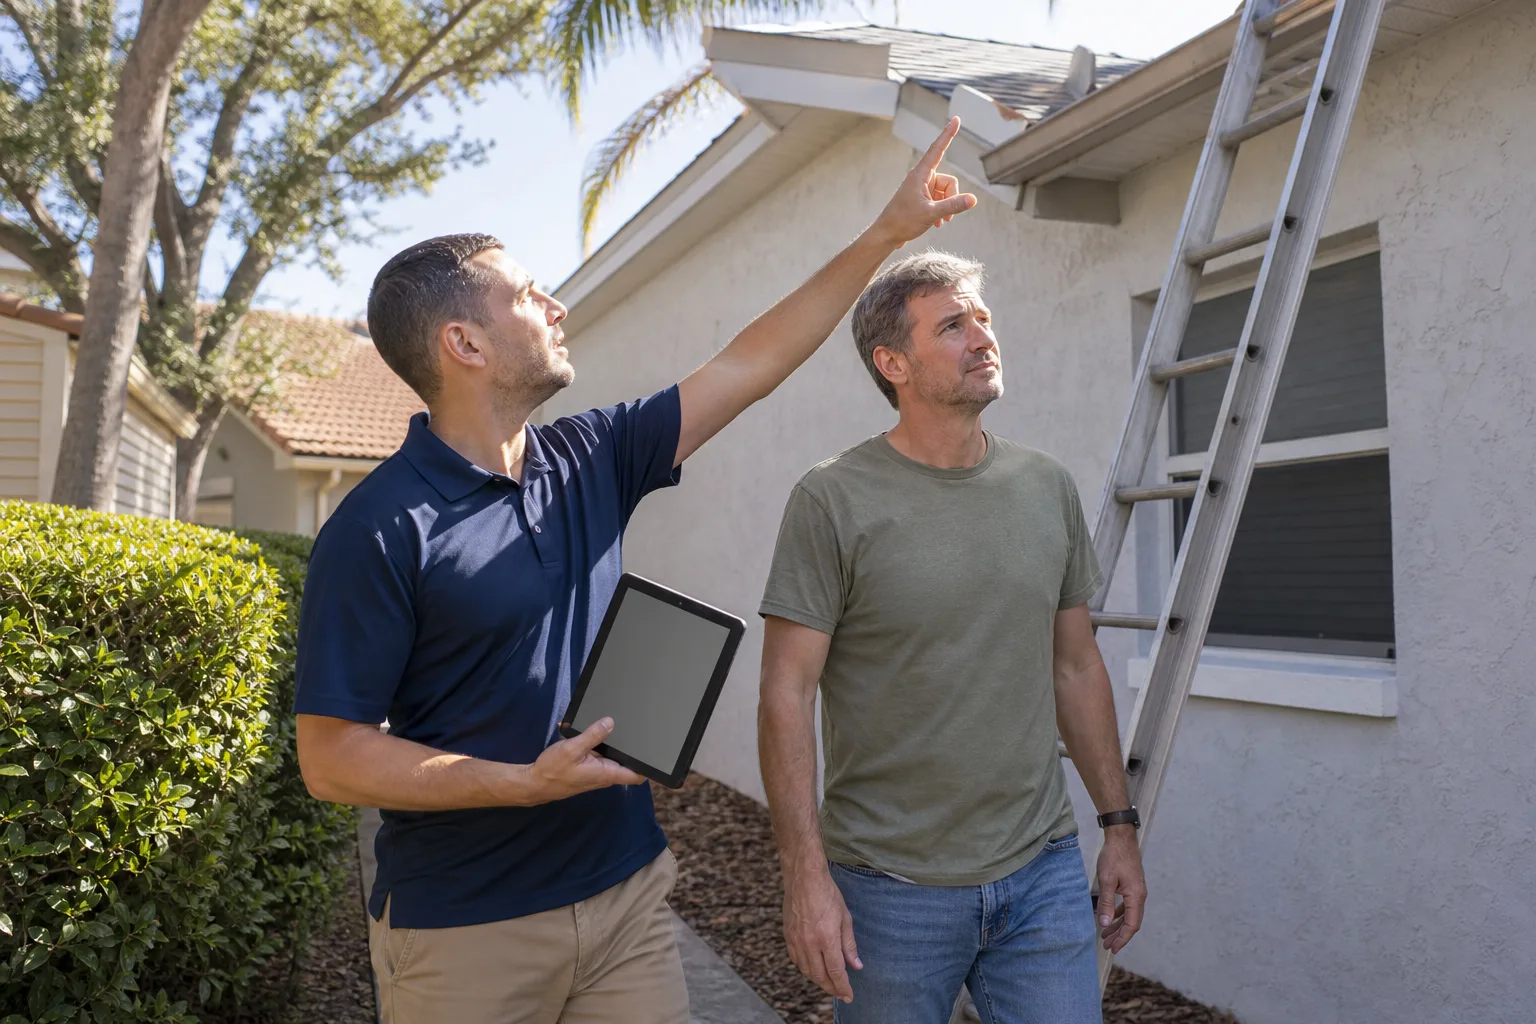
We send a background-checked, uniformed technician to verify every measurement before a single window is ordered. That’s not process for its own sake. A wrong-sized custom unit has to be remanufactured, and on coastal projects that delay runs 4 to 6 weeks. One verification visit eliminates that whole category of mistake. It also gives you a written record of the opening, which comes in handy if a design review board wants documentation.
Our technicians have up to 12 years of experience on window and door work, and every project sits inside the 730-Day Done Right Promise: if it’s not done right, we make it right. That’s the standard we hold on measurements too. Calls are answered by a live person, 24/7, so if a measurement raises a question mid-process, you reach someone who can answer it.
FAQs
Take three width readings (top, middle, bottom) and three height readings (left, center, right) inside the opening, then use the smallest number from each. Add a diagonal corner-to-corner check to confirm the opening is square, and deduct for the frame material per the manufacturer’s spec sheet. If you’re unsure about the deduction, that’s the point to call (833) 749-3967 and have us check it.
A diagonal difference of 1/2 inch or more means the opening is out of square, and a stock window likely won’t fit cleanly. At that point you’re weighing a custom unit or correcting the frame first. We see it regularly in Balboa Island cottages where original pilings have shifted and in peninsula ranch homes with foundation settling. Call us for an assessment before you order.
Yes, in some cases it can. Under the Coastal Commission’s coastal development permit conditions and the city’s Oceanfront and Bayfront overlays, enlarging a rough opening can reclassify a replacement as new development. Accurate existing-opening measurement protects you from that surprise. Call (833) 749-3967 and we’ll walk through the numbers before drawings are finalized.
Yes, if your home has deep-reveal architectural windows, you need the reveal depth and exterior trim depth, not just the opening. A standard replacement window won’t match a window set deep into the wall on a Dover Shores estate. A verification visit catches this before a custom unit is built. Call us at (833) 749-3967 for a no-pressure measurement check.
If you’d rather have it looked at, Groundwork Construction Co. of Newport Beach offers a no-pressure assessment in Newport Beach. We’ll verify every opening, walk the deductions with you, and flag anything that could affect a permit. Free estimates, upfront pricing, no surprises. Call (833) 749-3967. You can also start with our home page or see what we cover across the Newport Beach service area.
Written by the team at Groundwork Construction Co. of Newport Beach, serving Newport Beach, CA.