Last updated November 17, 2026






Free written scope consultation - allowances, timeline, and change-order rules on paper before a single trade is scheduled
Bathroom Remodeling Troubleshooting: Common Problems and How to Fix Them
Tile that cracks six months after a remodel isn’t bad luck. Neither is mildew blooming behind a brand-new vanity, or a shower that never drains right no matter how many times you snake it. Each of these failures traces back to a specific decision made during demo, rough-in, or waterproofing – and the contractor who built it either knew better or should have. That’s the hard truth most homeowners never hear. In this guide, we reverse-engineer the most common bathroom remodel failures back to their actual source, so you can diagnose what went wrong, fix it without repeating the mistake, and know exactly what to say when you present the claim. We’ve seen these failures across Newport Beach from Balboa Island bungalows to new builds up on the hills, and the causes are surprisingly consistent.
Quick Answer
Most bathroom remodel problems – cracked tile, recurring leaks, persistent mold, slow drains – come from three root causes: improper waterproofing during rough-in, insufficient substrate preparation before tile, and poor sequencing of the trades. Diagnosing which one you’re dealing with means tracing the symptom back to the phase where it originated, not just patching the surface. A competent contractor prevents all three; a competent troubleshooter identifies them without tearing out the whole room.
Styles & brands we work with
- Kitchen remodeling
- Bathroom remodeling
- Home additions & ADU
- Roofing
- Windows & doors
- Driveway & pavers
- Fence
Table of Contents
- The Three Tile Failure Patterns and What Causes Each
- How to Tell If Your Shower Leak Is Grout, Liner, or Plumbing
- Why Your New Exhaust Fan Still Produces Mold
- Slow Drains That Persist After a Remodel
- How to Document and Present a Remodel Defect Claim
- Waterproofing Failures That Don’t Show Up for a Year
- Preventing These Problems on the Next Remodel
The Three Tile Failure Patterns and What Causes Each
Tile failures in a bathroom are diagnostic. The pattern tells you what went wrong during installation, and each pattern points to a different phase of the build. If you can read the failure, you can fix it correctly the first time.
Pattern 1: Corner cracks radiating from inside corners
Hairline cracks that start at the inside corner of a shower wall and radiate outward almost always indicate movement. The tile and substrate are moving independently, usually because the installer didn’t leave a proper expansion gap at the corner or used grout instead of flexible sealant in the change-of-plane joint. Tile and backer board expand and contract at different rates. In Newport Beach, where coastal humidity swings through the day, that movement is constant. Rigid grout in a corner joint can’t flex with it, so it cracks – and the crack telegraphs through the tile.
Pattern 2: Grout disintegration along the floor or shower pan
Grout that crumbles, powders, or washes out within a year points to one of two things: the wrong grout was used (unsanded grout in a joint wider than 1/8 inch, or cement grout where epoxy was needed), or water is getting behind the tile and attacking the grout from below. If the grout is failing only at the base of the shower, suspect a shower pan or weep-hole problem before you blame the grout itself.
Pattern 3: Hollow spots that sound wrong when tapped
Tap the tile with a plastic screwdriver handle. A solid tile sounds dead and flat. A hollow tile has a distinct ping. Hollow spots mean the thinset didn’t achieve full coverage – the installer either used the wrong trowel size, didn’t back-butter the tile, or let the thinset skin over before setting the tile. Hollow tiles aren’t always a problem by themselves, but in a wet area they will eventually crack or pop loose because there’s no adhesive holding that section.
- Corner cracks: missing expansion joint, rigid grout in a moving joint
- Grout disintegration: wrong grout type or water intrusion behind the tile
- Hollow spots: insufficient thinset coverage during installation
All three are installation-phase failures. None of them are maintenance issues, no matter what a contractor tells you. If a remodel in Newport Beach is under two years old and showing any of them, the workmanship is the problem.
How to Tell If Your Shower Leak Is Grout, Liner, or Plumbing
A shower that leaks into the room below or into the adjacent wall is one of the most expensive bathroom problems to misdiagnose, because the fix for each possible cause is completely different. Grout failure is a resealing job. Liner failure is a full pan rebuild. Plumbing failure is a plumbing repair. Get the diagnosis wrong and you’ll spend thousands on the wrong fix.
Step 1: Isolate the source with the flood test
- Stop using the shower for 48 hours and dry the pan thoroughly.
- Plug the drain and fill the pan with 1 inch of water.
- Watch for moisture appearing below, on adjacent walls, or at the ceiling beneath.
- If water appears during the flood test with no spray or drain flow involved, the leak is in the pan liner or drain seal, not the plumbing supply.
If the flood test stays dry, run the shower normally for 10 minutes with the drain running. If the leak reappears only during drain flow, the problem is a plumbing connection or drain seal. If the leak appears only when water is spraying on the walls, grout or wall waterproofing is the culprit.
Step 2: Match the symptom to the cause
- Leak only during wall spray: grout failure or failed surface waterproofing (RedGard, Kerdi, or similar membrane). Usually repairable with regrouting and re-sealing, but if the membrane is compromised, the wall needs to come apart.
- Leak only during drain flow: drain seal failure at the clamping ring or a broken drain body connection.
- Leak 24/7, worsened by use: supply line or valve connection. This is a plumbing problem and should be addressed immediately.
- Leak during flood test with no drain flow: liner failure. The pan has to be rebuilt. There’s no shortcut.
In our experience across Newport Beach, most “shower leaks” that turn out to be liner failures were built with a hot-mop or PVC liner that wasn’t properly pre-sloped. Water collects under the tile, and eventually it finds the shortest path out. A pre-sloped pan with a bonded membrane solves this at build time. Once it’s failed, there’s no surface fix.
Why Your New Exhaust Fan Still Produces Mold
A homeowner installs a new Panasonic WhisperGreen or Broan fan with a proper CFM rating, and six months later there’s mildew around the ceiling penetration and on the shower curtain liner. The fan runs. The vent is connected. So why is the room still damp? The answer is almost always duct routing, and it’s the most overlooked cause of bathroom mold we see in Newport Beach remodels.
The condensate trap problem
Exhaust ducts must run to the exterior of the home with a slight downward slope toward the exit. When a contractor routes the duct up and over an obstruction in the attic – or worse, sags it through a low rafter bay – the low point becomes a trap. Warm moist air from the shower hits the cool duct, condenses on the inside of the duct, and pools in that low spot. Water collects, the duct fills with standing moisture, and eventually that moisture backs into the fan housing or seeps through the ceiling patch. The fan is working; the duct is drowning it.
Other common fan failures that aren’t the fan’s fault
- Ducted into the attic instead of outside: Some “close enough” installs vent the fan into attic space rather than through the roof or wall. That’s not venting – it’s moving moisture from the bathroom into the attic, where it feeds mold on the roof decking. In Newport Beach’s marine climate, that roof-deck moisture never fully dries.
- Undersized duct for the fan CFM: An 80 CFM fan needs 4-inch duct; 110 CFM needs 4- or 5-inch depending on run length. Pinching a 110 CFM fan to a 3-inch duct cuts airflow dramatically and causes the fan to work harder with less exhaust.
- Missing or blocked backdraft damper: If the exterior wall cap is missing its damper or the cap is buried in debris, outside air flows back into the bathroom each night, bringing coastal moisture with it.
- Failing to run the fan long enough: A fan sized for the room still needs 20-30 minutes of run time after every shower. Humidity-sensing fans solve this; standard timers often get shut off early.
The fix depends on the specific failure. Duct rerouting to create a straight, slightly downsloping run is the single most effective repair. If the fan was venting into the attic, correcting that to a proper exterior termination – with an insulated duct in unconditioned space – costs more but stops the roof-deck moisture damage before it spreads.
Slow Drains That Persist After a Remodel
You remodeled the bathroom, the drain was new, the plumbing was replaced, and yet the shower drains like molasses. Or the sink backs up within 30 seconds and then slowly clears. In our experience troubleshooting these in Newport Beach, slow drains after a remodel trace back to one of three construction-phase problems – not to hair clogs, and not to anything a bottle of Drano can fix.
Cause 1: Venting problems
Every drain needs an air vent to drain properly – a drain without a vent is like a straw with your finger on top. If the remodel moved the fixture and the plumber tied the new drain into an existing vent that’s now incorrect for the run, or if a mechanical (AAV) vent was installed incorrectly or in a spot where code prohibits it, the drain will never flow right. Signs: gurgling from the drain, sewer smell in the bathroom, or a sink that drains fine for a few seconds and then slows dramatically.
Cause 2: Slope problems
Drain lines rely on gravity and must slope at exactly the right rate – typically 1/4 inch per foot for 2-inch pipe. Too shallow and solids don’t move; too steep and water outruns solids, leaving them behind. A remodel that involved running new drain lines through a remodeled floor or through a wall cavity can easily end up with a slope that’s off by a half inch over a 10-foot run – which is enough to cause chronic slow draining. This is a rebuild-the-run problem, not a snake problem.
Cause 3: Pipe sizing
A shower valve with a rainfall head and body sprays can overwhelm a 2-inch drain on a long run. Sinks and tubs sharing a drain line that was fine for the fixture load it was designed for can become undersized the moment you upgrade. If the slow drain started right after a fixture upgrade, sizing is the first thing to check.
Diagnosing which cause you have takes a plumber with a camera or a careful audit of the original permit drawings. In a Newport Beach bathroom where the drain was replumbed during the remodel, the fix often involves opening a small section of wall or floor to re-slope or re-vent – not a major tear-out, but definitely not a maintenance-level repair.
How to Document and Present a Remodel Defect Claim
A defect claim that gets resolved and a defect claim that gets stonewalled are usually separated by documentation, not severity. The contractor who built the failed shower pan is much more likely to fix it if you present the problem clearly, factually, and with evidence they can’t argue with. Here’s how to do that.
Step 1: Document the symptom with evidence
- Photograph every location where the problem appears, with a tape measure or coin in the frame for scale.
- Date each photo and note the conditions (for leaks, note whether the shower was running, the flood test was active, or the bathroom had been dry).
- Keep a log of every observation – when it appeared, when it worsened, what you did in between.
- If possible, have a second contractor or a licensed inspector document the cause in a short written report. This is the single most effective step for closing a claim.
Step 2: Present it in writing
Send a written summary by email – not text, not a phone call. Reference the contract date, the specific work, and the specific failure. Attach the photos and any inspection report. State what you want: rework, repair, or reimbursement for a repair by another licensed contractor. Avoid emotionally charged language and avoid accusations. State the facts and make the request.
Step 3: Know your leverage
Most contractors have a warranty period in the original contract, and a license bond that backs workmanship. If the warranty period is short or expired, the license bond is the next lever. Presenting a documented claim in writing, with a specific timeline (e.g., “I’d like to discuss this by Friday”), keeps the process moving. Claims that get resolved quickly often do so because the homeowner documented the failure clearly enough that the contractor knows arguing won’t work.
When we do a bathroom in Newport Beach under our 730-Day Done Right Promise, the point of that guarantee is to skip this entire process. If a failure traces to our work, we make it right. But when you’re dealing with another contractor, this is the sequence that works.
Waterproofing Failures That Don’t Show Up for a Year
The worst bathroom remodel failures are the ones that stay invisible for 12 to 18 months while water quietly eats the framing behind the tile. Waterproofing failures rarely show up as a dramatic leak – they show up as a soft spot discovered when you finally remodel again, or as a musty smell in the adjacent closet, or as a dark stain on the ceiling in the room below.
The common waterproofing failures
- No pre-slope under the shower pan liner: Flat concrete under a PVC liner means water pools on the flat surface and can’t reach the weep holes. Standing water under the pan eventually wicks into the wall framing.
- Nail penetrations through the waterproofing membrane: A backer board screw driven an inch too low through the membrane is a tiny hole that lets moisture through every shower. In a surface-membrane system, those holes are catastrophic over time.
- Missing or damaged corner seals: Curb corners, inside corners, and drain clamping rings are the parts most likely to be skipped or rushed. These are the pressure points where water finds a way.
- Waterproofing applied over the wrong substrate: A cement-based liquid membrane over drywall disintegrates; a sheet membrane over green board with too much moisture trapped underneath never bonds properly.
- Failing to tie the wall waterproofing into the pan waterproofing: The liner and wall membrane have to overlap correctly. A gap at the joint is the single most common cause of hidden rot in a shower.
The fix for a genuine waterproofing failure is not a patch. If the membrane is compromised, the tile, backer board, and framing around the wet area come out and the system gets rebuilt correctly. In coastal Newport Beach homes – particularly on Balboa Peninsula where humidity runs high year-round – the timeline from a small waterproofing defect to visible rot is shorter than most homeowners expect.
Preventing These Problems on the Next Remodel
Every failure in this guide follows the same pattern: it’s a decision made during one phase of the remodel, surfacing months or years later. If you prevent it at the planning and building phase, you don’t troubleshoot it at the remediation phase. Here’s how to do that.
What to require in writing before work starts
- Waterproofing method spelled out: Which system is being used (liquid membrane, sheet membrane, or PVC liner) and how it handles pre-slope and curb corners.
- Substrate details: Cement backer board, foam board, or drywall – with thickness and fastening schedule. “Standard” isn’t a specification.
- Duct routing for the exhaust fan: Where the duct exits the house, whether it’s insulated, and whether it slopes away from the fan.
- Drain vent and slope confirmation: The permit drawings show the drain slope and vent connections. Ask to see them.
- Tile grout type and joint sealant: Cement grout, epoxy grout, or a hybrid, and which joints use flexible silicone.
When you work with Groundwork Construction Co. of Newport Beach, all of this is in the scope document before demolition begins – the waterproofing method, substrate specification, plumbing layout, and the brand partners behind each trade, from Kohler fixtures to a Therma-Tru or Barrette entry component on the adjacent closet door if the project extends there. That’s what upfront pricing means to us: the number you see is the number you pay, and the system behind that number is fully specified in writing. No mid-project surprises.
Manufacturer partnerships matter for the failure scenarios
When a waterproofing membrane, a thinset, a grout, and a backer board all come from the same manufacturer, the warranty coverage is cleaner and the materials are tested together. Mixing brands is common in the trades, and most combinations work – but the mixes that fail are the ones nobody wants to own in a claim. When the brands we use are specified in the scope from day one, the accountability chain is intact.
The same principle runs through the other trades around a bathroom project. If your remodel connects to a new driveway, a new fence along the property line, or an added bath upstairs in an ADU scope, those trades are specified the same way – each a named brand partner under a single warranty umbrella, from foundation to finish line. You can read more about how Groundwork Construction Co. of Newport Beach structures that on our home page at Groundwork Construction Co. of Newport Beach home. If the project includes a full outdoor finish, our team at Driveway & Pavers in Newport Beach specifies Belgard and other hardscape partners the same way. If new fencing is part of the property upgrade, our Fence Installation in Newport Beach work uses Master Halco or Barrette materials to match. And if the remodel is really an addition, our Home Additions & ADU in Newport Beach team carries the bathroom scope from foundation up.
Common Mistakes to Avoid
- Skipping the pre-slope under the shower pan liner. A flat bed under the liner traps water under the tile and leads to hidden rot within a few years. It’s an extra step most rushed crews skip.
- Choosing tile before confirming the waterproofing specification. Tile is a finish; waterproofing is the assembly behind it. Selecting tile without a written waterproofing method means you don’t know what you’re putting the tile on.
- Venting the bathroom fan into the attic instead of outside. Common in older Newport Beach remodels where the roof was already in place. It moves the moisture problem into the attic, where rot spreads slowly and invisibly.
- Assuming slow drains are clogs. A newly replumbed bathroom with slow drains usually has a slope, vent, or sizing problem – snaking it every six months never fixes the cause.
- Accepting a verbal warranty on waterproofing. If the waterproofing method isn’t spelled out in the written scope, a waterproofing warranty is unenforceable. Get it in writing.
- Failing to document a defect when it first appears. A photographed defect at six months is a warranty claim; a complained-about defect at eighteen months can lose its standing. Document immediately.
- Hiring the cheapest bid without matching the specifications. Bids that come in thousands apart on the same bathroom almost always differ on waterproofing method and substrate – the parts of the build you can’t see once the tile is up.
See the difference
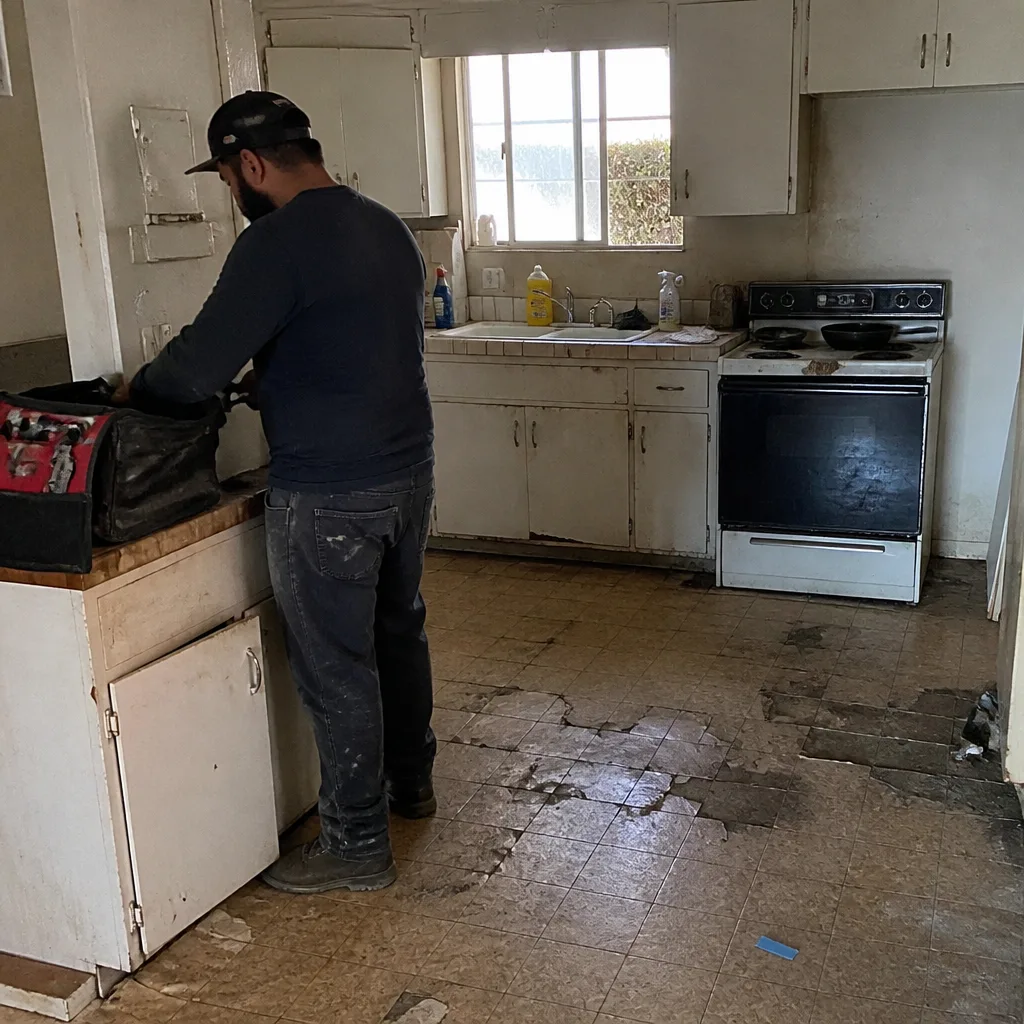 Before
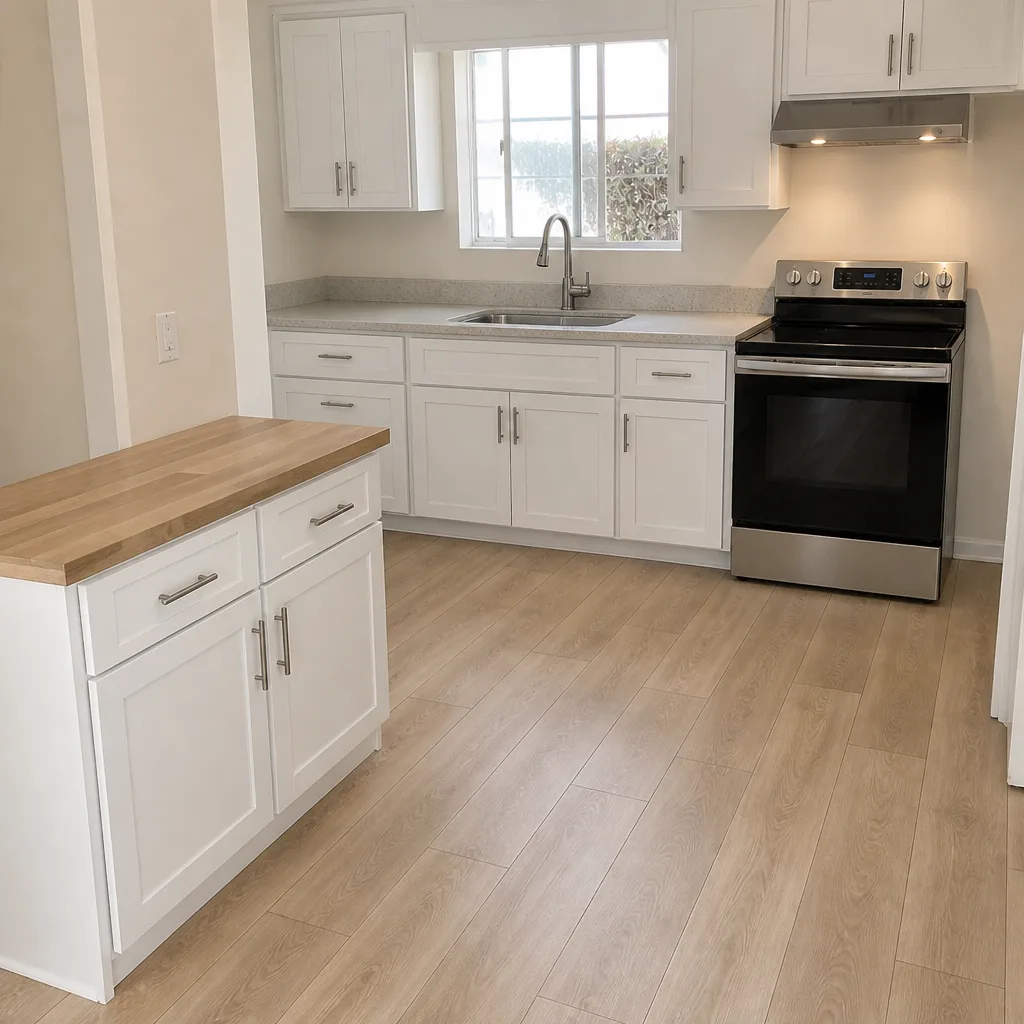 After
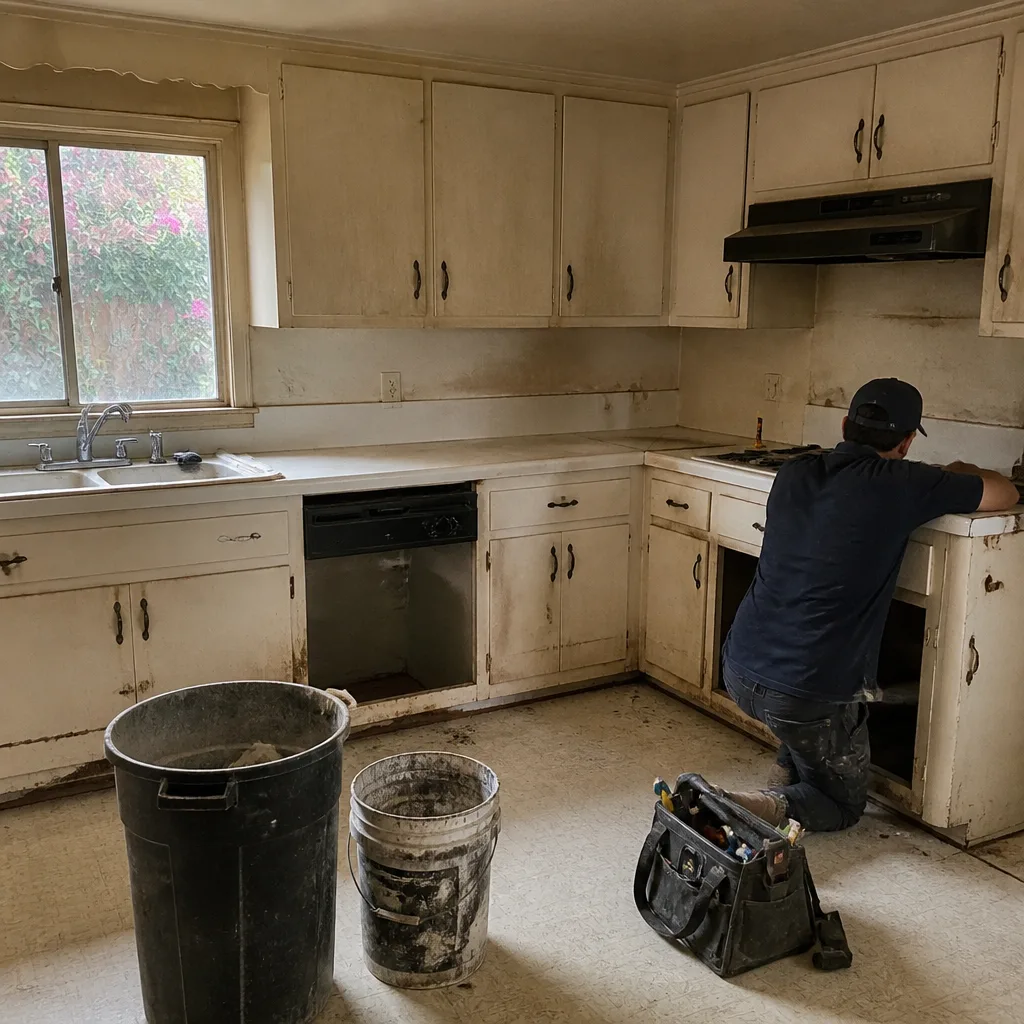 Before
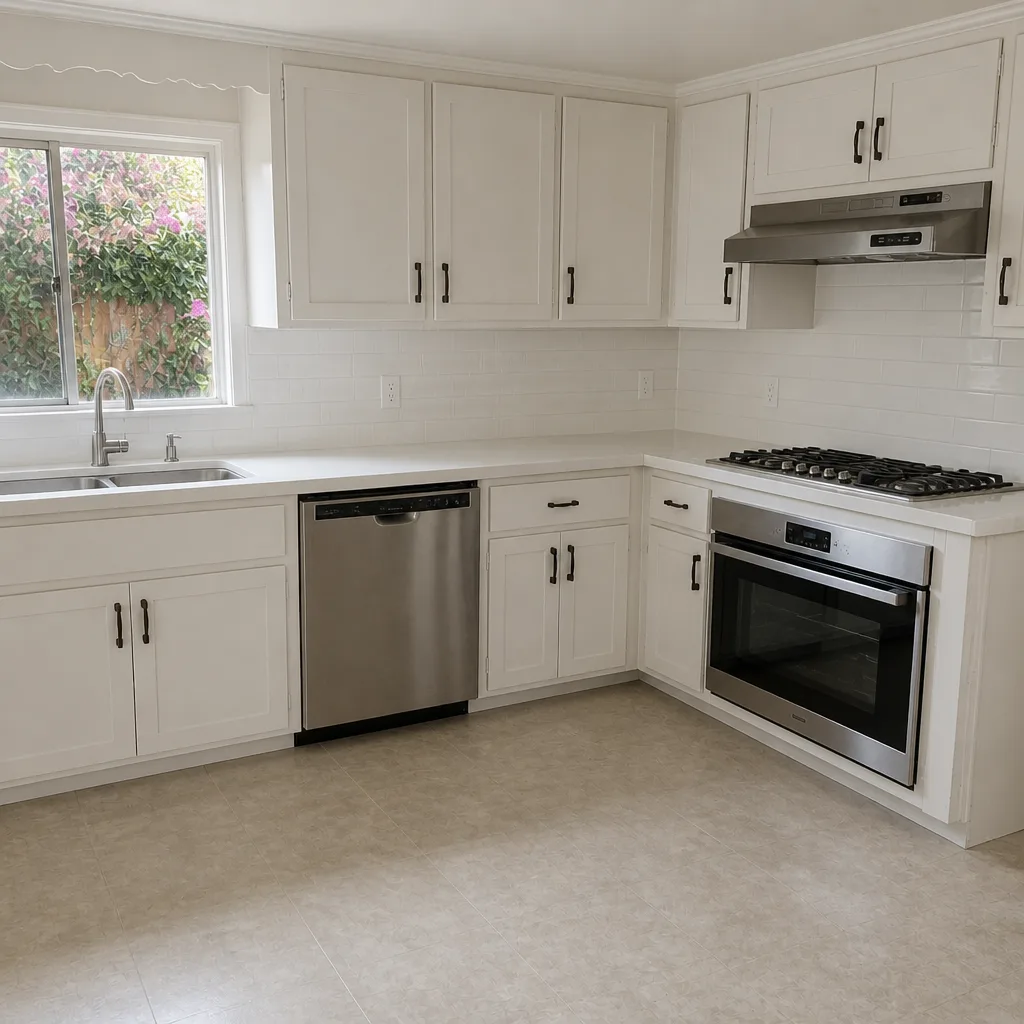 After
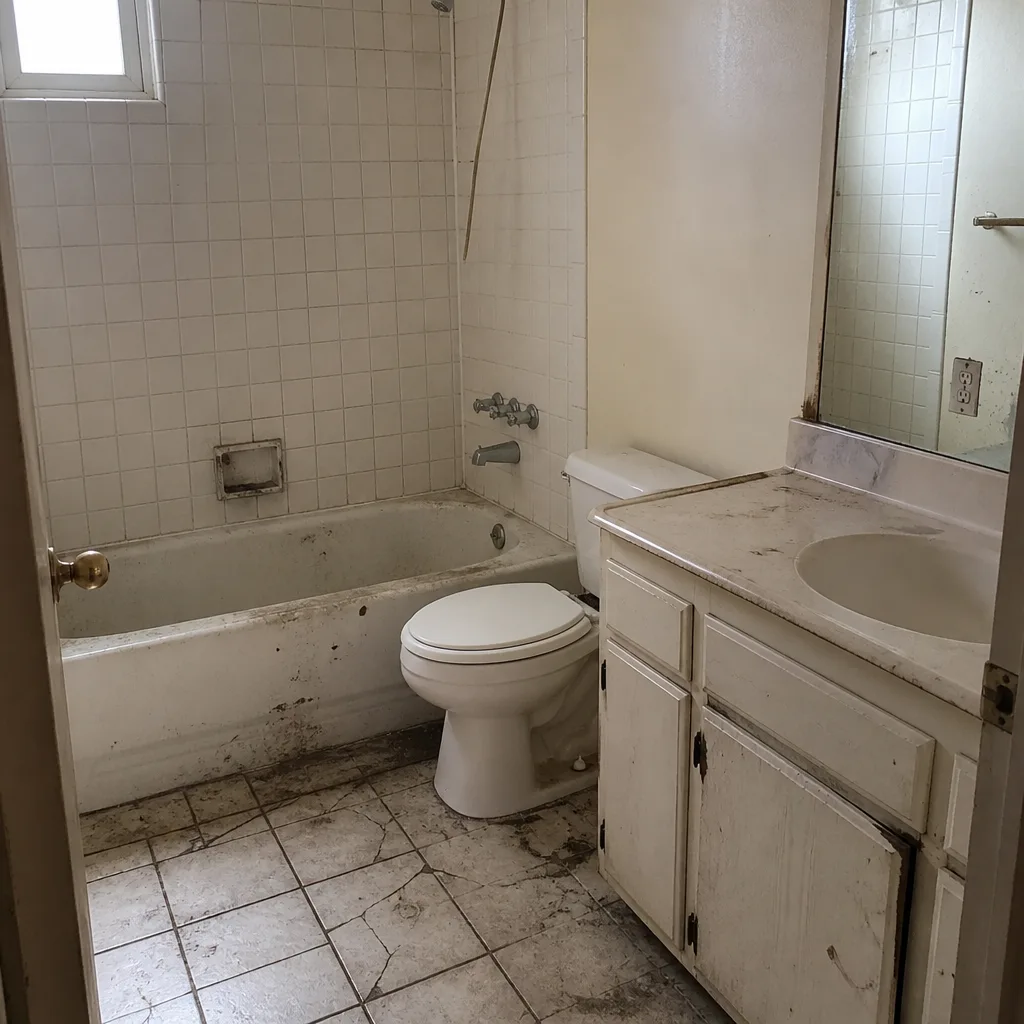 Before
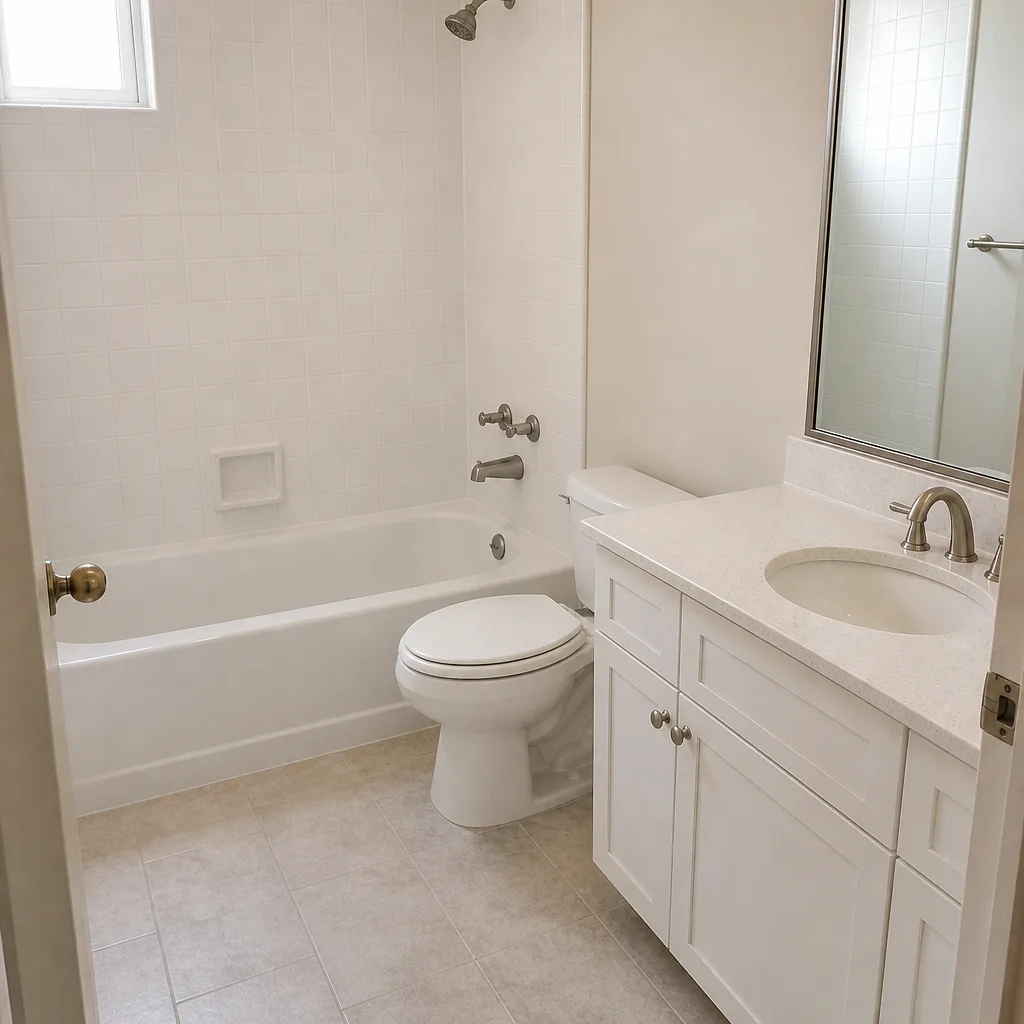 After
When to Call a Professional
Some bathroom problems are maintenance; most of the failures in this guide are not. If you’re seeing water damage anywhere it shouldn’t be – a soft spot in floor tile, a stain on the ceiling below, a musty smell in an adjacent room – call a professional before you patch anything. If your shower has flooded the room below, the pan liner is involved and this isn’t a resealing job. If hollow tile spots or corner cracks are spreading beyond a single joint, the substrate is moving and every patch attempt will fail. If a newly installed exhaust fan is producing mold, the duct is likely the problem – and your average handyman won’t reroute a duct through an attic correctly. Groundwork Construction Co. of Newport Beach offers free estimates in Newport Beach – call (833) 749-3967. Our technicians have up to 12 years of experience diagnosing and rebuilding the assemblies that fail silently, and every project is covered by the 730-Day Done Right Promise.
Frequently Asked Questions
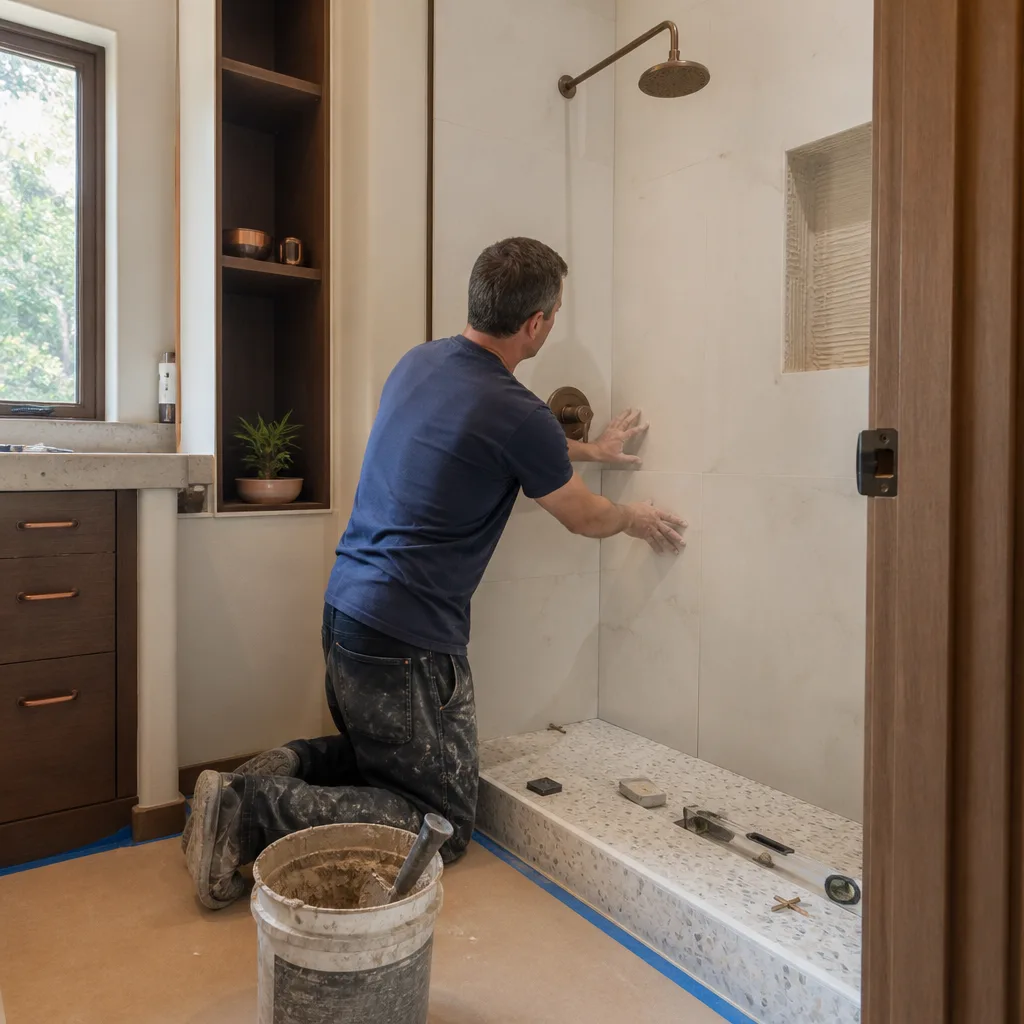
Rebuilding a failed shower pan in Newport Beach typically runs $2,800-$6,500 depending on whether the tile and backer board come out with the pan, and whether the framing behind it has rot. That range reflects Orange County labor rates and the cost of a full bonded-membrane rebuild with new tile. If the failure is fresh and the framing is intact, you’re at the low end; if the rot extends into the curb and adjacent wall, you’re at the high end. Call (833) 749-3967 for an exact quote – estimates are free.
No. Our written scope specifies the work, materials, and brand partners before demolition, and the number you see is the number you pay. Change orders only happen if you request a change mid-project – not because a contractor discovered something they should have anticipated. Call (833) 749-3967 for a written scope you can compare bid-to-bid.
Yes. Any bathroom remodel that involves moving plumbing, electrical, or structural work in Newport Beach requires a permit from the City of Newport Beach Building Division, and we handle the permit application, inspections, and any corrections that come up. If a contractor tells you a plumbing change doesn’t need a permit, that’s a red flag – the permit is what protects your resale and your insurance claim. Call (833) 749-3967 to walk through your project scope.
A full bathroom remodel – gut to finish – typically runs four to six weeks for a standard full bath, and six to ten weeks for a primary bath with a wet room, custom vanity, and upgraded shower system. Newport Beach projects that involve structural changes, permit revisions, or special-order tile can run longer. The timeline is spelled out in the written scope so you know what to expect. Call (833) 749-3967 for a project timeline on your specific scope.
No, one year workmanship is not enough for a bathroom remodel. Most waterproofing failures take 12-24 months to become visible, which means they surface just after a one-year warranty expires. Our 730-Day Done Right Promise covers workmanship for two full years, which is one of the longest workmanship guarantees in the residential construction space. If something fails, we make it right. Call (833) 749-3967 to review the written warranty.
Sometimes. If the leak traces to failed grout or a compromised surface sealant, regrouting and re-sealing the shower can solve it, and that’s a $600-$1,400 repair. If the leak traces to the pan liner, drains, or wall membrane, there’s no shortcut – the pan or wall assembly has to come apart. In our Newport Beach experience, leaks that have been present more than three months usually involve the liner or membrane. Call (833) 749-3967 for a diagnostic visit – the estimate is free and the diagnosis comes with photos.
The Bottom Line
The failures that show up in a remodeled bathroom aren’t random. Corner cracks, hollow spots, persistent mildew, and slow drains each trace back to specific decisions made during demo, rough-in, waterproofing, or the final waterproofing tie-in. Understanding that chain lets you diagnose the real cause, fix it once, and hold a contractor accountable when the work fails. Here in Newport Beach, the coastal humidity makes every one of these failures show up sooner and cost more – which is why the specification phase matters more than the finish selection. Get the assembly right, in writing, and the finish will last. That’s what a 730-Day Done Right Promise is designed to protect.
Call (833) 749-3967 to schedule your free estimate. Real people answer the phone around the clock, our technicians arrive in uniform and are background-checked, and every project starts with a written scope that spells out the waterproofing method, materials, and warranty in plain language. No-hassle upfront pricing, 0% financing for 18 months on qualifying projects, and $1,000 off projects over $10,000 – so you can build the bathroom right the first time. From foundation to finish line, built to last and backed in writing.
Written by the team at Groundwork Construction Co. of Newport Beach.