

Last updated November 17, 2026








Free written scope consultation - allowances, timeline, and change-order rules on paper before a single trade is scheduled
Windows & Doors Maintenance Schedule: What to Do and When
The average window seal lasts 10 to 20 years. The average window seal in an unmaintained coastal home lasts 5 to 7. That gap is not luck, and it is not the manufacturer’s fault. It is entirely created by what you do, or don’t do, every spring. A window that fails at year six instead of year sixteen costs you a full unit replacement. A window that gets a $40 sealant refresh every other spring quietly makes it to year eighteen. In Newport Beach, where salt air and marine humidity work on hardware and frames year-round, the difference between a cheap window and a long-lived one is a maintenance calendar you actually follow. This guide is that calendar, built around the five points of failure that cause almost every expensive repair we see: weatherstripping, hardware, sealants, drainage channels, and finish integrity.
Quick Answer
Windows and doors need a light seasonal schedule, not a heavy annual one: inspect and clear drainage channels and weep holes plus check sealants and flashing every spring, lubricate hardware and inspect weatherstripping every fall, and in salt-air zones like Newport Beach add a hardware rinse and re-coat every three to four months. Deep-clean tracks twice a year, touch up finish as it fails, and log every task and photo in a maintenance file so warranty claims stay enforceable.
Styles & brands we work with
- Kitchen remodeling
- Bathroom remodeling
- Home additions & ADU
- Roofing
- Windows & doors
- Driveway & pavers
- Fence
Table of Contents
- The Five Points of Failure That Drive Every Repair
- The Spring Checklist: Drainage, Weep Holes, and Sealants
- The Fall Checklist: Weatherstripping, Hardware, and Storm Prep
- Newport Beach Coastal Additions: Salt Air, Rinsing, and Re-Coating
- How to Inspect Sealant and Flashing Without Removing Anything
- The Right Lubricants and Cleaners for Vinyl, Fiberglass, and Aluminum-Clad Wood
- Building a Maintenance Log That Protects Your Warranty
- Repair or Replace? How to Read the Warning Signs
The Five Points of Failure That Drive Every Repair
Almost every window and door problem we get called out on in Newport Beach traces back to one of five components. Understand these and you understand the whole schedule, because every task on the calendar exists to protect one of them.
- Weatherstripping. The flexible seal around the door leaf or window sash. It dries out, compresses, and cracks, which lets air and moisture past the frame. Cheap to replace, expensive to ignore.
- Hardware. Hinges, locks, rollers, cranks, handles, and multipoint locking mechanisms. Salt air and grit turn these into seized parts. Lubrication and cleaning keep them working for years past the point where most homeowners replace them.
- Sealants. Exterior caulk and backer rod seal the gap between frame and wall. Once the bead pulls away, water gets behind the frame and into the wall cavity. This is the single most common source of rot and interior staining.
- Drainage channels and weep holes. Every window and most sliding doors have a path for water to escape. When they clog with pollen, dust, and debris, water stands in the sill and works its way inward.
- Finish integrity. Paint, stain, or factory cladding. Bare wood and a worn finish absorb moisture. Once water gets into the material, the failure accelerates quickly.
Skip any one of the five and you’re paying for a service call within two years. That’s not a marketing line. In our experience servicing sliding glass doors and wood-frame windows in older Newport Beach homes, water intrusion almost always begins at a sealant joint or a clogged weep hole, not from a failed unit. The Groundwork Construction Co. of Newport Beach home page gives a broader view of how windows and doors fit into a full-scope home improvement plan.
The Spring Checklist: Drainage, Weep Holes, and Sealants
Spring is when you address water management, because the weather is dry enough to work and the rainy season is behind you. This is the part of the schedule that protects against the most expensive damage, and the part most homeowners skip entirely. Do this work on a dry day, ideally in the morning before the afternoon warmth.
- Clear drainage channels. On sliding windows and doors, the channel along the bottom track collects pollen, dirt, and debris over winter. Flush with water, then use a soft brush. Never poke a weep hole with a screwdriver or nail; that bends the weep hole flap that controls airflow and water direction.
- Check each weep hole. Look for a clear hole on the exterior face of the sill. If it’s clogged, clear it with a pipe cleaner or a piece of flexible wire sized smaller than the opening.
- Inspect exterior sealant. Walk the perimeter of every window and door. Look for cracks, gaps, pulled edges, or a bead that has lost adhesion to the siding. Probe gently with a fingernail; if it moves easily, it’s failed.
- Inspect flashing. Look above each window and door for the metal or taped flashing that sheds water away from the head of the opening. Any gap, lift, or reverse-slope is a red flag.
- Clean glass and tracks. A pH-neutral glass cleaner and a soft brush on tracks. Avoid abrasive pads; they scratch everything.
- Touch up finish. Spot-prime and paint any bare wood, chipped paint, or scratched cladding on a dry warm day so it cures fully.
For a home near the coast in Newport Beach, sealant on the west- and south-facing sides usually fails faster because they take more sun and salt. We consistently see sun-facing caulk joints degrade two seasons before shaded sides on the same house. Plan for that asymmetry instead of treating every side equally.
The Fall Checklist: Weatherstripping, Hardware, and Storm Prep
Fall is when you prepare for wind and rain and when you keep the moving parts moving. This is the season that protects against drafts, air leakage, and door and window failures during storm events.
- Inspect weatherstripping. Open and close every window and interior-exterior door. Look for compressed, cracked, or separated weatherstrip. On doors, feel for a tight seal along all four sides and adjust when you feel a gap.
- Lubricate hardware. Hinges, locks, sliding door rollers, window cranks, and multipoint lock mechanisms all get a light application of the correct lubricant. More on this below.
- Test operation. Every lock should engage easily. Every window should open and close smoothly. Every door should latch without a shove. If it doesn’t, fix it now, not in a rainstorm at 10 pm.
- Check door sweeps and thresholds. The sweep under an exterior door is a common wear point. Replace it if it’s cracked or badly worn.
- Clear gutters and downspouts. Water pouring off a clogged gutter lands on windows and doors below. This is a hidden cause of recurring leaks around sills and door heads.
- Test storm shutters or covers if you have them, and confirm the fasteners are sound. In Newport Beach, wind events are less frequent than rain, but the annual check is cheap insurance.
Pair this checklist with exterior work done elsewhere on the property. If you’re also planning fence installation in Newport Beach, do a single fall walk of the property, note every issue, then fix the windows, doors, and fencing in one coordinated round of work.
Newport Beach Coastal Additions: Salt Air, Rinsing, and Re-Coating
The standard inland maintenance schedule doesn’t do enough near the coast. Salt-laden air, marine humidity, and windblown sand all accelerate wear on hardware and sealants. We use a stricter schedule for homes within a mile or two of the water in Newport Beach, including neighborhoods like Balboa Island, Balboa Peninsula, Corona del Mar, Lido Isle, and parts of Newport Heights.
- Hardware rinse every three to four months. A rinse with fresh water and a soft cloth pulls salt off hinges, locks, handles, and rollers. Inland, the same hardware can go a full year without rinsing. Near the water, skip a couple of rinses and you’ll see pitting and seized parts.
- Hardware re-coat twice a year. After rinsing, apply the appropriate protective lubricant or manufacturer-approved protectant. Stainless and coated mechanisms still corrode in salt air without a regular re-coat.
- Sealant inspection every spring and after any storm. In salt-air zones, caulk loses elasticity faster. A joint that looks fine on the inland schedule may be ready for replacement only two seasons in on a coastal home.
- Fastener check twice a year. Salt air weakens screws, hinges, and anchor fasteners. Tighten and replace any that show corrosion before they fail.
- Sand and dust removal. Windblown sand finds its way into tracks and seals. On coastal properties, keep windows and doors closed during high-wind events and clean tracks generously after.
On doors installed on beachfront and near-beach properties, the salt-air routine can add years to hardware life and prevent the most common failures we see: seized sliding-door rollers, pitted lock cylinders, and rusted hinges. If you’re considering new doors or windows as part of a larger project, look at how we approach exterior scopes in Home Additions & ADU in Newport Beach so the maintenance planning starts at the design stage, not after the first failure.
How to Inspect Sealant and Flashing Without Removing Anything
You don’t need to remove siding or trim to know the condition of a sealant joint or a flashing. You need to know the visual indicators. Here’s what to look for, and what each finding tells you about how long you have.
Visual indicators on sealant
- Adhesion loss. If the bead lifts from the siding or frame, you have roughly one season before water intrusion. Recaulk within the next few weeks.
- Surface cracking. Fine cracks on the surface with the bead still attached are cosmetic and can wait up to one season.
- Deep cracking or separation. Cracks that reach down to the substrate, or gaps between bead and frame, are urgent. Recaulk before the next rain.
- Discoloration or black streaking. Often mold growing in a damp joint. Recaulk, and investigate whether the joint is draining properly.
- Bubbling or blistering on the bead. Trapped moisture. This often means the joint is failing from behind and needs replacement.
Visual indicators on flashing
- Lifted or curled edges. Flashing should lay flat and shed away from the head of the window or door. Lifted edges are an open door for water.
- Rust or staining beneath the flashing. A sign that water has been getting past for a while. Investigate immediately.
- Missing or damaged fasteners. Fasteners should hold the flashing tight. Loose flashing rattles in wind and fails in rain.
- Gaps at the corners of the opening. Corners are the weakest point of any flashing detail. Any visible gap means an urgent repair.
We’ve seen plenty of “healthy-looking” sealant joints in Newport Beach that fail on first rain because the joint looked fine from the outside while water had been migrating behind it for a year. When in doubt, a professional inspection saves far more than it costs.
The Right Lubricants and Cleaners for Vinyl, Fiberglass, and Aluminum-Clad Wood
Most homeowners damage their own frames and hardware with the wrong cleaner. The task is not complicated, but the chemistry that works on one material can damage another. Here’s a material-by-material breakdown of what to use and what to avoid.
Vinyl frames and doors
- Use: Mild dish soap and water, a pH-neutral cleaner, soft cloth or brush.
- Avoid: Solvent-based cleaners (acetone, paint thinner, mineral spirits), abrasive pads, and harsh degreasers. Solvents and abrasives dull the finish and can leave a permanently hazy surface.
- Lubricant: Silicone spray or dry PTFE lubricant on sliding tracks, rollers, and hinges. Avoid grease-based products, which attract grit.
Fiberglass frames and doors
- Use: Mild soap and water, a non-abrasive cleaner.
- Avoid: Steel wool, scouring pads, and abrasive cleaners that scratch the gel coat.
- Lubricant: Silicone-based lubricant on locks, hinges, and rollers.
Aluminum-clad wood
- Use: Mild soap and water, a soft brush on the aluminum exterior; wood cleaner and a fresh coat of finish on the interior wood surface.
- Avoid: Acidic cleaners and anything abrasive on the aluminum finish. Avoid harsh solvents on the wood interior.
- Lubricant: A light machine oil or lithium grease on hinges (these frames tend to use metal-to-metal hinges). Never silicone on wood surfaces.
Hardware in all materials
- Use: Dry PTFE or silicone-based lubricant on sliding surfaces, graphite or dry lubricant on lock cylinders, a small drop of light oil on hinges.
- Avoid: WD-40 as a long-term lubricant; it’s a solvent and water displacer, not a durable lubricant. Never grease on external hardware exposed to sand and dust.
The right product in the right place makes a difference; the wrong product in the wrong place turns a $10 maintenance task into a $400 hardware replacement. It’s worth labeling your cleaning kit by material so the family knows what goes where.
Building a Maintenance Log That Protects Your Warranty
A maintenance log is the single most underrated piece of home documentation. Done well, it protects your product warranty, supports any insurance claim, and strengthens your position if a defect claim arises. Done poorly or not at all, you lose those protections before you ever need them.
Here’s how to build one in an afternoon and keep it current with almost no effort.
- Start a single document or folder for the property. Digital is best; a shared cloud folder makes it easy to access from any device.
- Record every unit. Manufacturer, model, install date, and the location of the unit in the house. If you have a warranty card, scan it.
- Log each task and date. Every spring and fall, note what was done and when. A one-line entry per task is enough.
- Photograph everything. Before and after each sealant refresh, hardware lubrication, and weatherstripping replacement. Photos are the strongest evidence in a warranty claim.
- Save your supplier and installer info. Keep contact details and receipts together in the file.
- Note any weather events. If a storm or long rain hits, log it. This matters if a leak shows up later.
- Review annually. Once a year, read your own log and look for recurring problems. Patterns identify a real defect faster than isolated incidents.
We’ve watched homeowners lose legitimate coverage because they couldn’t produce maintenance records. When a manufacturer’s warranty terms require “reasonable maintenance,” your log is your proof. That’s why we recommend it as a standard part of every window and door plan, and it’s also why our own work is backed by the 730-Day Done Right Promise: if it’s not done right, we make it right, and the documentation to make that real lives with the homeowner.
Repair or Replace? How to Read the Warning Signs
The maintenance schedule above is designed to push replacement out as far as possible. Eventually, though, a unit gives you clear signals that repair is no longer economical. Here’s how to read them.
- Persistent water intrusion despite good sealant and clear weep holes. A sure sign the problem is behind the frame or under the sill. Repair may not be enough.
- Fogging between the panes on a sealed insulated glass unit. The seal between panes has failed. Replacement of the glass or the unit is the fix.
- Wood rot that extends into the frame itself. Surface rot is often repairable; structural rot is not.
- Draftiness that survives weatherstripping replacement. Frame or sash is out of square or warped.
- Repeated hardware failures on the same unit. When hardware fails twice within a few years, the frame itself is usually the cause.
When you reach this point, the material choices matter more than ever. That’s where manufacturer selection makes a difference: brands like Andersen and Marvin, plus industry-leading partners on other scopes, such as CertainTeed and Owens Corning for exteriors, are part of the curated portfolio we work with. Replacement windows and doors are a long-horizon decision; the brand partnership behind them pays off over ten or twenty years, not six months.
Common Mistakes to Avoid
- Power-washing the exterior without protecting windows and doors. High-pressure water drives past weatherstripping and sealant and into frame cavities. We see a spike in water-damaged windows every spring from exactly this.
- Poking weep holes with a screwdriver or nail. It seems efficient and it’s the fastest way to bend the weep hole flap, break the drainage path, and create a leak that didn’t exist before.
- Using WD-40 as a long-term lubricant. It’s fine for displacing water, but it’s too thin to hold up as a lubricant and washes out of the mechanism within weeks. Dry lubricants are more durable.
- Recaulking over a failed joint without removing the old bead. New caulk sticks to old caulk, not to the wall, and the joint fails from the same point within a couple of seasons.
- Skipping the salt-air rinse on coastal homes in Newport Beach. Inland homeowners can stretch rinse intervals; homes near the water in Corona del Mar and Lido Isle can’t. Salt works on stainless, too.
- Not keeping a maintenance log. Warranty claims rely on evidence of maintained units. No log, no proof, no payment.
- Doing full-scale emergency repairs without an inspection first. Clearing a leak by re-sealing from the outside can trap water in the frame and cause more damage than the original leak.
See the difference
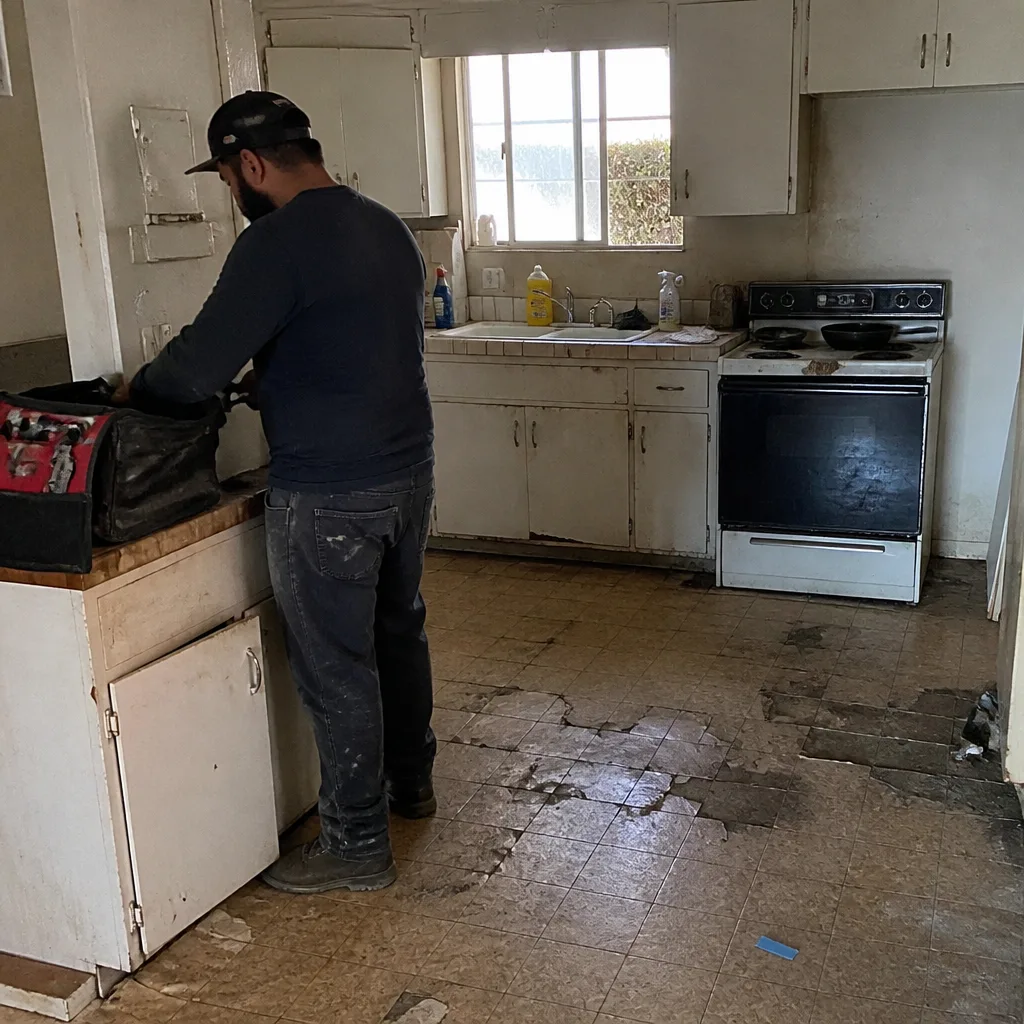 Before
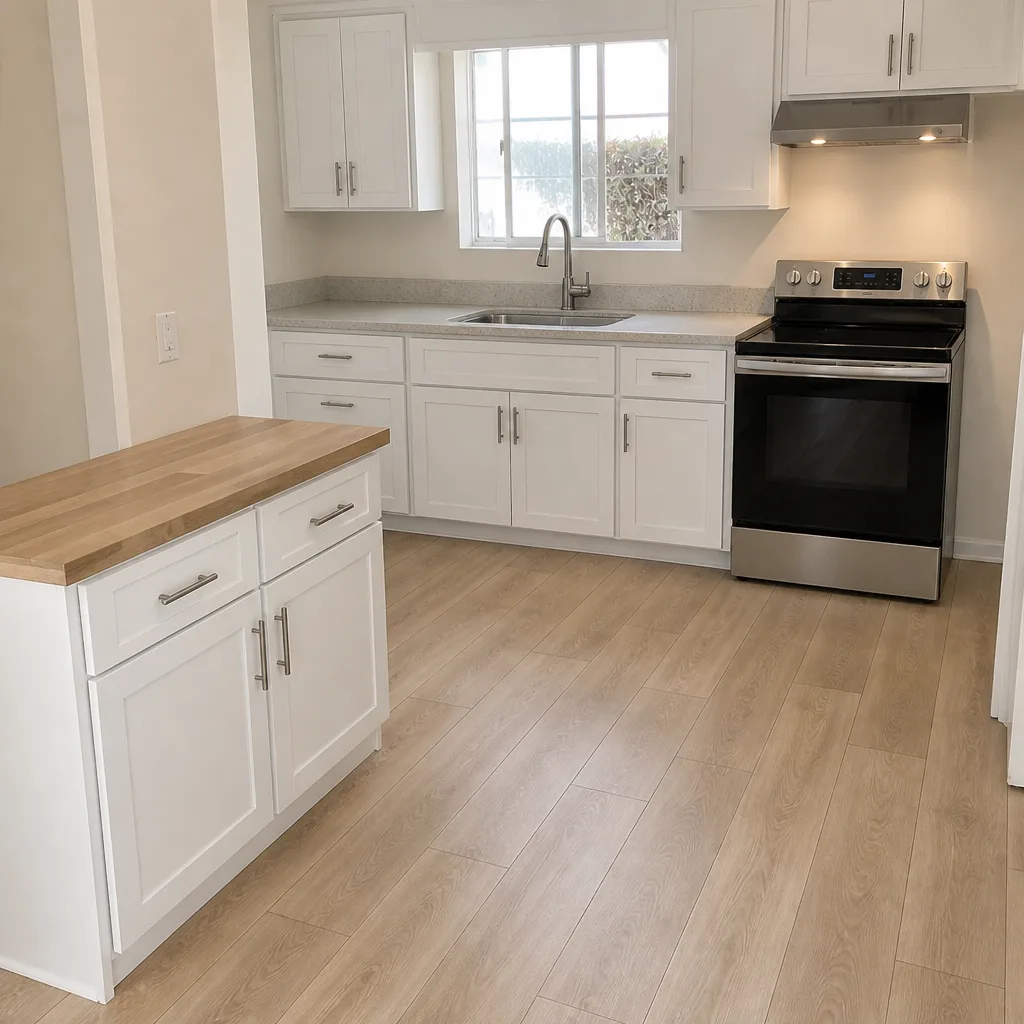 After
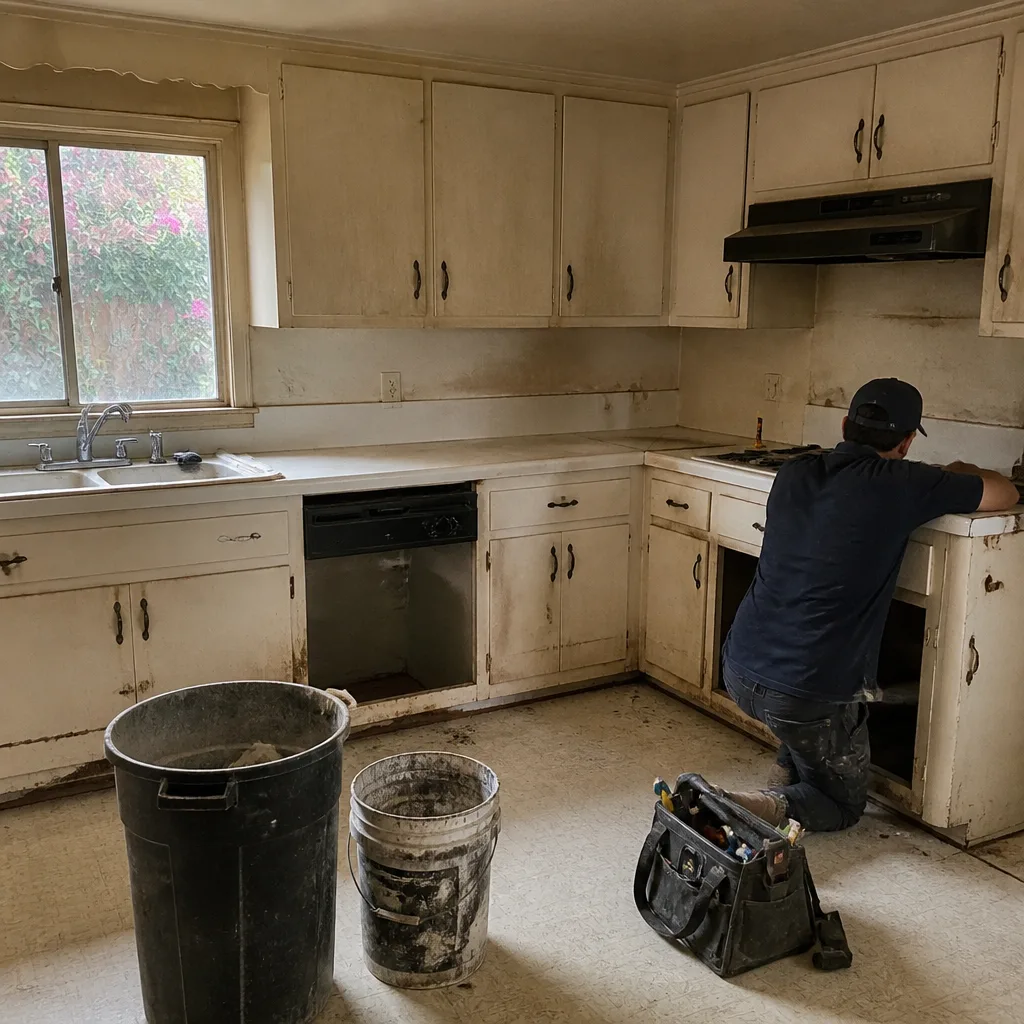 Before
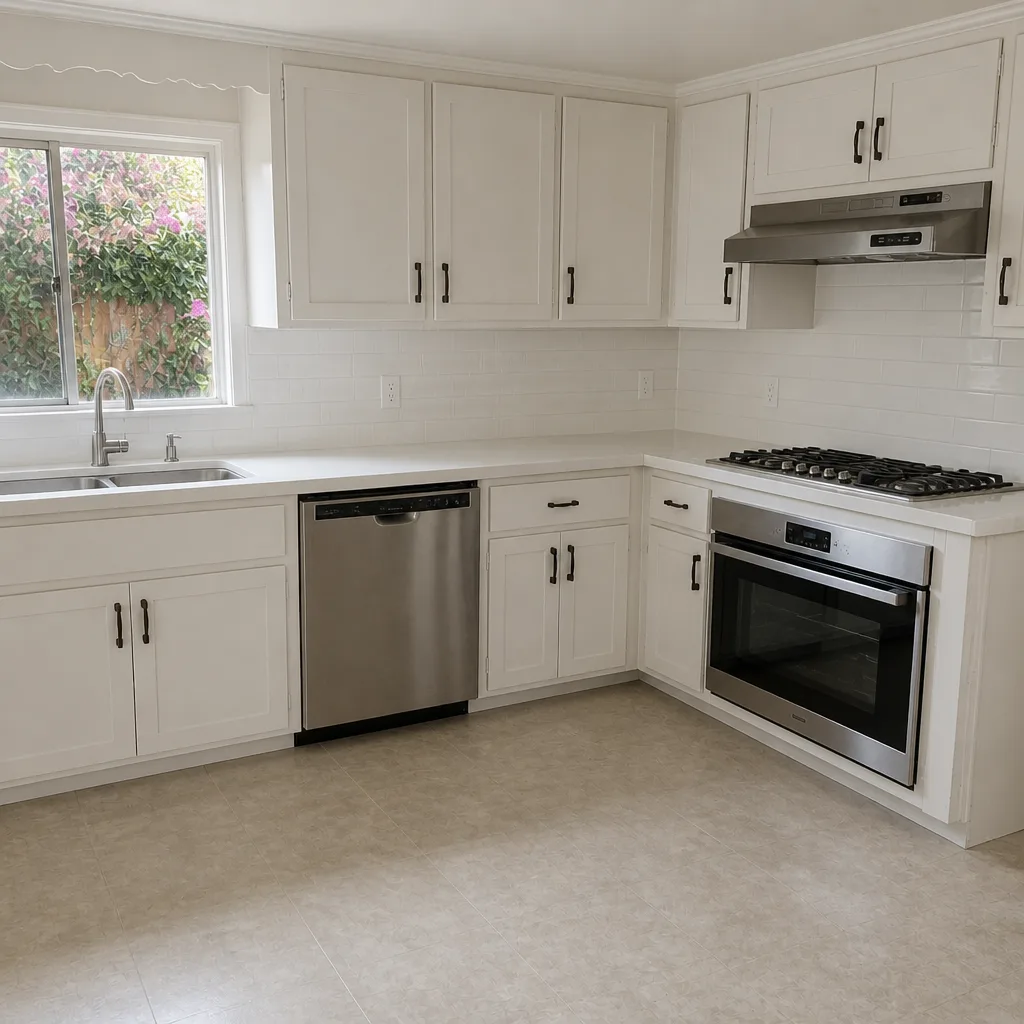 After
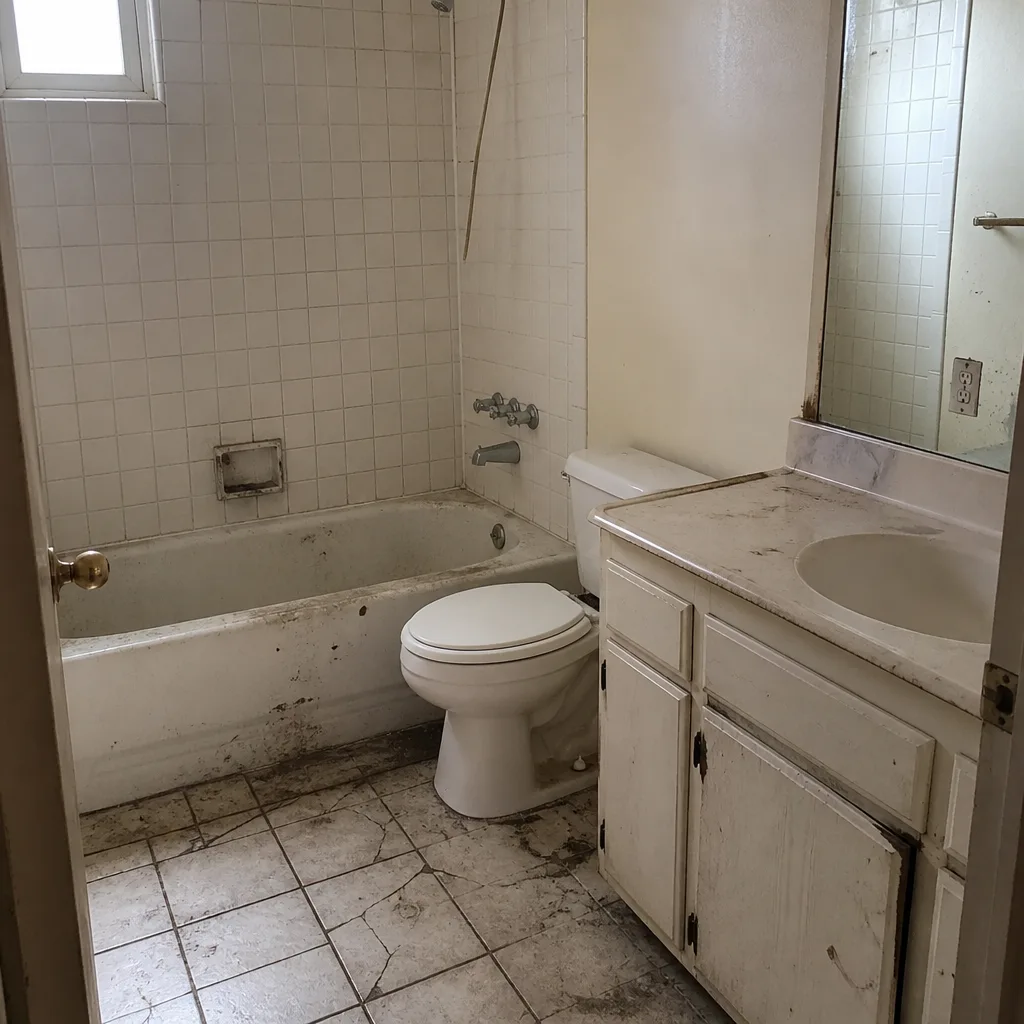 Before
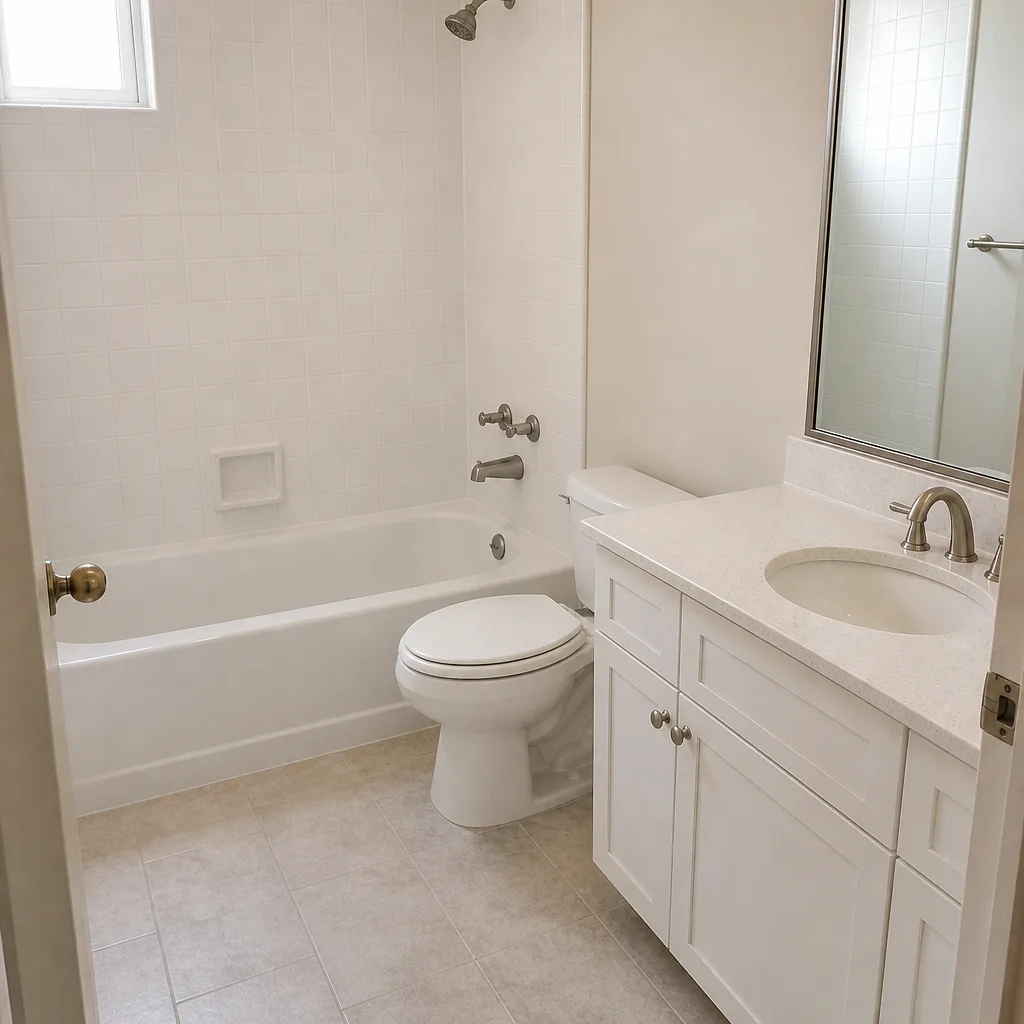 After
When to Call a Professional
Most of the season-by-season maintenance on this list is fine to handle yourself. A few situations call for a professional who can inspect properly, determine the root cause, and quote the correct scope of work before anything comes apart.
- Recurring water intrusion at a window or door despite clear weep holes and intact sealant.
- Fogging between panes of a sealed insulated glass unit.
- Multipoint locking mechanisms that won’t engage, or a sliding door that has stopped tracking properly.
- Suspect flashing damage above a window or door, especially after a storm.
- Any window or door where a warranty claim may be filed, where documentation and a professional inspection strengthen your case.
Groundwork Construction Co. of Newport Beach offers free estimates in Newport Beach. Call (833) 749-3967. Calls are answered by a live person around the clock, and our technicians are background-checked and arrive in uniform. If you’re also planning exterior work like a driveway refresh, our team handles Driveway & Pavers in Newport Beach in the same single-contractor sequence, which keeps scheduling simple.
Frequently Asked Questions

Twice a year is the standard: a spring inspection focused on drainage and sealant, and a fall inspection focused on weatherstripping and hardware. In salt-air zones like Newport Beach, add a hardware rinse and re-coat every three to four months. Deep-clean glass and tracks twice a year, and touch up finish as it begins to fail. Call (833) 749-3967 for a professional inspection if you’d rather not handle the schedule yourself.
Compressed weatherstripping lets air and moisture past the frame, which leads to higher energy bills, condensation on interior glass, and eventual water damage at the sill and frame. Small drafts are the cheap warning sign. Moisture and condensation are the expensive one. Call (833) 749-3967 for an inspection and a quote if you’re seeing condensation or water stains.
Yes. Salt air and marine humidity accelerate corrosion on hardware and dry out sealant faster than inland climates. Homes in Balboa Island, Corona del Mar, Lido Isle, and the Balboa Peninsula generally need hardware rinsing every three to four months and a full sealant inspection twice a year, versus once a year for inland homes. Call (833) 749-3967 to schedule a coastal-specific inspection.
Flush the track with water, use a soft brush and mild soap, and clear weep holes with a pipe cleaner or flexible wire that’s smaller than the opening. Never poke a weep hole with a screwdriver, nail, or anything rigid; that bends the flap and breaks the drainage path. Wipe dry with a soft cloth. For persistent clogs, a professional can clean without damaging the drainage system. Call (833) 749-3967 if you’re unsure.
Yes. Most manufacturer warranties require reasonable maintenance, and a dated log with photos of each task is the proof that maintenance happened. Without it, a warranty claim can be denied outright even on a legitimate defect. Start a single document, record every unit and task with a date, and photograph each job. Call (833) 749-3967 if you need a professional inspection to support a claim.
Replace rather than repair when water intrusion persists despite intact sealant and clear weep holes, when a sealed insulated glass unit has fogged between the panes, when rot extends into the frame itself, or when hardware on the same unit has failed twice in a few years. Those are structural signals. Call (833) 749-3967 for a free estimate and a straight answer on repair versus replacement.
The Bottom Line
Window and door maintenance is not about cleaning glass. It’s about protecting the five points of failure that drive every expensive repair: weatherstripping, hardware, sealants, drainage channels, and finish integrity. Follow a spring and fall schedule, add the coastal salt-air routine if you’re in Newport Beach, learn to read sealant and flashing without pulling anything apart, use the right products for each frame material, and keep a simple log that protects your warranty. Do those things and you’ll stretch a window’s service life from five to seven years to the twenty years it was built for. Skip them and the repair bills come fast. Call (833) 749-3967 for a free estimate and a written maintenance plan for your Newport Beach home.
Written by the team at Groundwork Construction Co. of Newport Beach.