
Last updated November 17, 2026







Free written scope consultation - allowances, timeline, and change-order rules on paper before a single trade is scheduled
Windows & Doors Troubleshooting: Common Problems and How to Fix Them
A drafty window is rarely a window problem. In about 80% of the cases we’re called to fix around Newport Beach, the air is coming through the rough opening framing, not the unit itself – and no amount of weatherstripping fixes a flashing failure. That single insight changes everything about how you diagnose what’s wrong. The sealant and flashing at the installation interface, not the glass or the sash, is where most trouble starts. This guide walks you through the real diagnostic process: separating product failures from installation failures, reading condensation correctly, testing door alignment with actual measurements, and spotting coastal wear before it turns into rot. You’ll learn what to check, what to leave alone, and when to call in a professional.
Quick Answer
Most window and door problems are caused by the installation interface – the flashing, sealant, and framing around the rough opening – rather than the product itself, which is why weatherstripping and caulk often fail to fix a draft. Diagnose the source first: check for water intrusion patterns, test the rough opening for air movement, and read condensation location to determine whether you’re dealing with a glass failure or an installation gap. Product failures usually fall under manufacturer warranty; installation failures fall under contractor workmanship warranty. Getting that distinction right saves you thousands.
Styles & brands we work with
- Kitchen remodeling
- Bathroom remodeling
- Home additions & ADU
- Roofing
- Windows & doors
- Driveway & pavers
- Fence
Table of Contents
- Product Failure vs. Installation Failure: How to Tell the Difference
- Condensation Between Panes vs. On the Surface: What Each Means
- Door Alignment Diagnostics: The Measurements That Tell You the Cause
- Coastal Troubleshooting: How Salt Air Attacks Windows and Doors
- When It’s Really a Water Intrusion Problem in Disguise
- Fixing Drafty Windows: Why Caulk Alone Doesn’t Work
- Hardware, Seals, and Frame Finishes: Repair or Replace?
- Repair vs. Replacement: A Practical Decision Framework
Product Failure vs. Installation Failure: How to Tell the Difference
This is the most expensive distinction in window and door troubleshooting. A fogged glass unit, a cracked sash, a failed lock mechanism – these are product failures. They’re covered by the manufacturer’s warranty, and your original invoice or spec sheet tells you who made the unit. Air leaks at the perimeter, water stains at the drywall edge, warped frames pulling away from the wall – these are installation failures. They fall under the contractor’s workmanship warranty, not the window maker’s product warranty. Getting the call right determines whether a repair costs you $0 or several thousand dollars.
Here’s how to separate them at the source:
- Product failure indicators: Seal failure between the panes (fogging inside the glass), a sash that binds on its own track, hardware that won’t latch or lock, glass cracks that start at the edge or at a screw hole.
- Installation failure indicators: Air movement at the perimeter trim, water staining on interior drywall near the rough opening, frames that are out of plumb or square, gaps that open and close with seasons, a draft that gets stronger at the corners rather than the center.
The manufacturer warranty on a quality unit – and we install Andersen and Marvin for exactly this reason – covers the product. The rough opening is the contractor’s territory. When you call a contractor for a drafty window, the first question should be: “Are you checking the flashing and framing, or just the unit?” If they’re only looking at the window, they’ll never find the real leak. Groundwork Construction Co. of Newport Beach backs all workmanship under the 730-Day Done Right Promise, so installation interface issues stay covered for two full years – longer than any product warranty handles the rough opening side of the equation.
Condensation Between Panes vs. On the Surface: What Each Means
Condensation is the most misread symptom in windows and doors troubleshooting. Where the moisture appears tells you everything about the cause and the fix. Fog or droplets between the glass panes mean the insulated glass unit (IGU) has failed – the seal that holds the argon or air between the panes has broken down, moisture has entered, and the unit can no longer perform its insulating job. That’s a product failure. It requires glass replacement, not adjustment. Surface condensation – fog on the room-side of the glass you can wipe away – is a humidity and thermal-performance issue, not a window failure.
Read the pattern this way:
- Between the panes: Failed IGU seal. Product warranty territory. The unit needs replacement.
- On the interior surface, bottom corners, and edges: High interior humidity, often wintertime or after a shower or cooking. Ventilation and humidity control, not a window problem.
- On the exterior surface: On a sunny morning after a cold night, this is normal and means the glass is working. Nothing to fix.
- On the frame and interior wall, not the glass: This is not condensation from humidity. This is water intrusion from the rough opening. Treat it as a flashing problem.
Newport Beach homes fight surface condensation more in the marine layer months than in summer – the cool night air meeting warmer interior glass produces fog that surprises people who moved here from drier climates. In our experience across Newport Beach, interior surface condensation on newer double-pane windows almost always traces back to bath fan sizing, not the window. Run the exhaust fan for 20 minutes after a shower and watch if the fog clears before you call anyone. If condensation persists between panes, no amount of ventilation will fix it – that’s a failed seal, and no amount of weatherstripping or caulk makes it come back.
Door Alignment Diagnostics: The Measurements That Tell You the Cause
A sticking door is a diagnostic puzzle, and the fix depends entirely on which of three systems has failed. Guessing costs money. Measure before you decide. Grab a tape measure, a level, and a flashlight, and run these checks in order:
- Measure the gap at all four corners. Close the door and measure the space between the door edge and the jamb at the top left, top right, bottom left, and bottom right. A consistent gap that’s simply too tight at the latch means frame or hinge adjustment. A gap that’s wider at the top than the bottom, or vice versa, means the door has dropped.
- Check the reveal at the head. The gap between the top of the door and the head jamb should be consistent across the width. If it’s tight at one side and wide at the other, the door is out of square – hinge failure or frame twist.
- Look for daylight. Close the door on a bright day and check for light at the top and corners. Light means the weather-seal is compromised, which points at both alignment and seal wear.
- Test the floor clearances. If the door drags at the bottom center, the house may be settling. If it drags at one bottom corner only, the hinge plates may be worn or the door has sagged on its hinges.
- Check the hinge screws. Open the door partially and grab the top hinge. If the screws are loose in the wood, the door will drop. If the screws are stripped or the jamb shows a split, this is a frame-wood failure, not a hinge failure.
The key measurements: a door that’s out of plumb by more than 1/8-inch over its height usually means a settling framing issue, not a hinge issue. A door out of square by 1/4-inch at the diagonals means the same thing. In Newport Beach, the century-old bungalows near the Balboa Peninsula often have frames that have shifted with the clay soil movement common to the area, while newer construction in Newport Coast rarely has settling problems and almost always has hinge or seal failures. The neighborhood tells you which diagnosis to expect before you even measure.
Coastal Troubleshooting: How Salt Air Attacks Windows and Doors
Salt air is the single biggest environmental factor in how windows and doors fail in Newport Beach. The salt in the marine air deposits on metal hardware, in the tracks of sliders, and on the hinges of exterior doors. It’s mildly acidic and mildly abrasive – it eats through the plating on cheap hardware, corrodes hinge pins, and gets into the seals and weatherstripping. The corrosion doesn’t happen evenly. It accelerates on the side of a house that faces the ocean breeze, and it accelerates fastest near the ocean. A door on the Corona del Mar ocean side of a ridge can be in significantly worse shape than a door on the same home’s inland side.
Read the wear pattern to decide repair vs. replacement:
- Repair stage: Surface corrosion on hardware (white powder or pitting on the finish of locks, handles, hinges), sticking tracks on a sliding door or slider window, seals that have dried and lost their spring. These respond to hardware replacement, track cleaning, and re-sealing. Hardware is a wear item, and replacing it is a normal part of coastal maintenance.
- Replacement stage: Corrosion pitting into the frame extrusion itself, especially aluminum sliders; wood frames that show soft spots or surface staining where the wood has taken up salt water; failed frame welds; seals that have compressed so far that new weatherstripping won’t make up the gap.
- Wood rot check: Probe the lower corners of exterior door frames and window sills with a screwdriver. If the tip sinks into the wood, you’re past repair. Salt air rots unprotected wood more quickly here than in inland markets, which is why our coastal window and door installs use hardware rated for salt spray and frame finishes designed to hold up against coastal corrosion.
Coastal maintenance saves replacement dollars. On ocean-facing doors and windows, cleaning the hardware once a month and applying a light protective coat (or a dry lubricant on tracks) is the difference between needing new hardware every few years versus replacing the whole unit. We see this fastest on textured aluminum sliders in Corona del Mar ocean-facing homes, where the track accumulates salt and grit until the rollers seize. If your slider works fine but drags, the rollers and track are the first thing to replace – not the door.
When It’s Really a Water Intrusion Problem in Disguise
The most expensive mistake in windows and doors troubleshooting is treating a water intrusion problem as a cosmetic issue. The pattern of interior staining tells you where the water is entering and how long it’s been happening. Read these signs and take them seriously – water intrusion is a structural problem, not a paint problem.
- Paint bubbling or blistering on interior drywall near a window or door: The water is entering at the rough opening and moving behind the paint film. The bubble is the water trying to push out. Sanding and repainting hides the symptom for a season – then it returns worse.
- Staining that appears at the top of a window head, spreading downward: This is the classic flashing failure pattern. The flashing at the head of the window (the top) is where the water is entering, and the stain appears where it collects. The worst installs to find are the ones where the damage is behind the drywall and only visible after the wall is opened up.
- Pinkish or brownish stain at the bottom corrners of a door jamb: Water is entering around the threshold or door sill, not the door itself.
- Musty smell with no visible stain: The water is behind the drywall or sheathing, usually at the rough opening. This is the case where having a contractor pull back a section of drywall is worth it.
Head flashing failure is the most common water intrusion cause we find at the installation interface, and it’s the one the homeowner can’t see from inside. The flashing should be layered at the head so water sheds over the wall, not behind it. When that detail is skipped or installed wrong, water gets in and the symptoms appear on the interior months later. Here’s the part most homeowners get wrong: they call a painter, the painter paints, and a year later the damage is worse because the source was never fixed. If you see any of these patterns, stop treating it as paint. It’s a water leak that needs the rough opening opened up and the flashing checked.
Fixing Drafty Windows: Why Caulk Alone Doesn’t Work
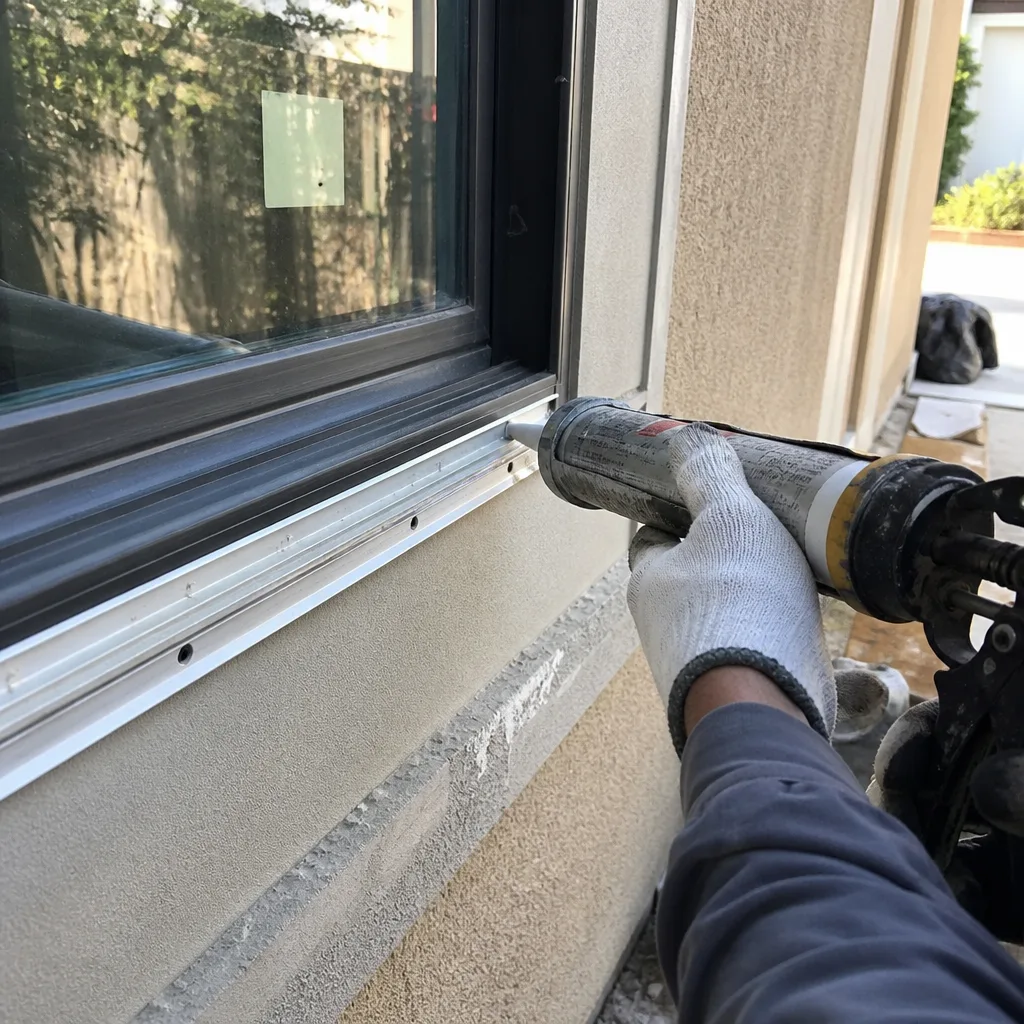
Drafty windows are the most common call we get, and the most common mistake we see is a homeowner who has caulked every seam two or three times and the draft remains. That happens because the air isn’t moving through the caulk seam – it’s moving at the installation interface, the gap between the rough opening framing and the window frame itself, usually under the trim or behind the siding. Caulk on a finished window covers the seam you can see; it doesn’t touch the gap you can’t. This is why sealing from the inside rarely fixes a real air leak: the air path is at the rough opening, often from the exterior side.
Diagnose first, then seal:
- Find the actual leak path. On a windy day, hold a tissue or a lit incense stick near the window edges, the trim, and the corners. The movement tells you where the air is entering.
- Distinguish the location. If the leak is at the center of the window, it’s a worn weatherstrip or seal. If it’s at the perimeter – under the trim or at the corners – it’s the rough opening interface. If there’s a draft that changes with the wind direction (stronger from the north or from the ocean), it’s the flashing and the framing interface, not the window unit.
- Decide the fix by location. Center-of-window leaks: replace the weatherstripping and the glass seal, a real repair. Perimeter leaks: the rough opening needs to be checked, the flashing verified, and the gap sealed at the correct layer. That may mean pulling the trim. That’s a contractor job, not a caulk gun job.
- Don’t seal over water. Never caulk a seam that shows water staining. You’ll trap the water. Fix the flashing first.
For homeowners doing coastal maintenance themselves, the low-risk fixes are the center-of-window weatherstripping and the hardware: clean the tracks, replace the strip, don’t try to dig out the flashing. The rough opening is where a pro earns the call. In Newport Beach, homes on the peninsula get the most wind-driven drafts from the ocean side, which means the leak path is most often at the rough opening and the sliding door track, not the window sash. If you’ve caulked twice and the draft stays, stop caulking.
Hardware, Seals, and Frame Finishes: Repair or Replace?
Hardware and seals are wear items, and in a coastal market they wear faster. That doesn’t mean the whole unit needs to go. Most hardware on a functioning window or door is replaceable, and the replacement cost is a fraction of a new unit. The same holds for frame finishes – a fading or oxidizing finish is a maintenance item, not a replacement trigger, unless the finish is actually compromising the frame.
- Replace the hardware if: The lock, handle, or hinge is pitted or corroded to the point that it doesn’t function smoothly, the hinge pins have rusted, or the lock won’t engage because the mechanism is worn.
- Replace the seal if: The weatherstripping has dried, compressed, or torn, or the interior seal is gone. This is a routine fix and often the whole draft repair.
- Refinish the frame if: The finish is fading, chalky, or peeling but the frame itself is solid. Prep and refinish before the finish fails completely, or the frame takes up moisture.
- Replace the unit if: The frame is corroded to the extrusion, rotted in the wood, or the glass seal has failed and the unit is past its service life. At that point, the cost of chasing individual repairs overtakes the cost of replacement.
Here’s where the material choice matters on the front end. Groundwork Construction Co. of Newport Beach installs Andersen and Marvin because their hardware and finish systems are built for coastal conditions. The brand doesn’t make a worn-out hinge last forever – it just buys you more service life before the coastal wear overtakes it. If you’re weighing a replacement against continued repairs, the quality of the replacement matters as much as the decision to replace. New hardware, new seals, and durable finishes on quality units hold up longer in salt air than they would on the bargain units, and that’s a material decision.
Repair vs. Replacement: A Practical Decision Framework
The repair-vs-replace decision comes down to three questions: what failed, how old is the unit, and how much of the problem is the interface versus the product. Here’s the framework we use on every diagnostic visit.
- Is the failure at the product or the interface? If it’s product only (a failed glass seal, a broken lock), price the repair against the warranty. If it’s the interface (flashing, framing, rough opening), repair the interface before you consider the unit – and remember that a product warranty won’t cover it, but a workmanship warranty will.
- How old is the unit? A window or door past the useful life of its seals and hardware will chase repair after repair. A unit still in its useful range but with a worn seal is a repair, not a replacement.
- How many things have failed? A single failed seal is a repair. A failed seal plus corroded hardware plus a rotting frame is a replacement, because your repair costs are stacking up.
If the answer is “this unit is at the end,” that’s a sized and permitted job and the work should be done with a written quote and the whole scope defined up front. That means rough opening sizing, flashing, trim, and the hardware all matched to the coastal conditions and specified as one scope. For the wider read on how this fits into a full home project, our Newport Beach window and door installation work ties the rough opening detail to the rest of the project so there are no surprises later.
One more factor in Newport Beach: permitted work. Window and door replacements that change the size of an opening, in a home within the coastal zone, require the local permit process, and a properly documented rough opening and flashing detail is exactly what inspections look for. The installer who skips the flashing detail is the same one who skips the permit. The brand choice matters here too: quality units are easier to source replacement parts for, which keeps the door to repair open years down the road. If your project grows past windows and doors, we handle add-a-room and ADU scope on the same crew with the same written guarantee, so the interface detail stays consistent from foundation to finish line.
Common Mistakes to Avoid
- Caulking over a water stain. Caulk looks like a fix but it traps moisture and makes the rot worse. Any stain means a flashing problem, and it needs the rough opening checked.
- Treating surface condensation as a window failure. Interior surface fog is usually humidity – bath fans and ventilation. Calling a window company first is a waste of a service visit.
- Replacing a drafty window that needs flashing. If the air is entering at the rough opening, a new window goes back into the same bad installation and the draft returns. Fix the interface before you spend on the unit.
- Confusing product warranty with workmanship warranty. If you don’t know who installed the unit and what warranty they gave, you have no documented path for the installation failure. Get it in writing.
- Ignoring coastal hardware maintenance. A few minutes of cleaning and a dry lubricant on tracks saves hardware replacement costs. Salt air doesn’t take a season off – neither should your maintenance.
- Hiring the cheapest flashing detail. The low bid is often the one that skips the head flashing because the home is already closed in and it’s not visible on the final walk. That’s the cost you don’t see for a year.
- Letting a sticking door get repaired without measuring. A sticking door on a settling frame can be an early sign of a foundation concern. Measure before you sand the edge.
See the difference
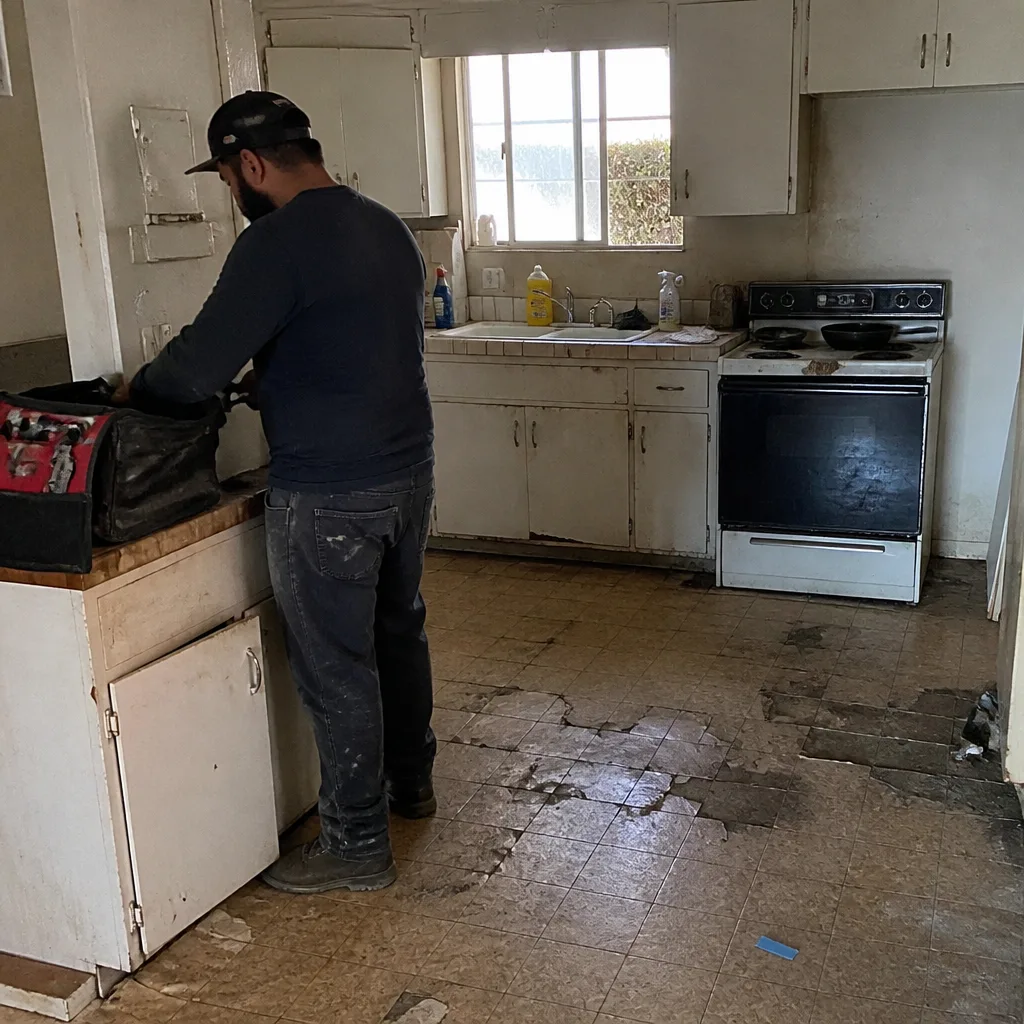 Before
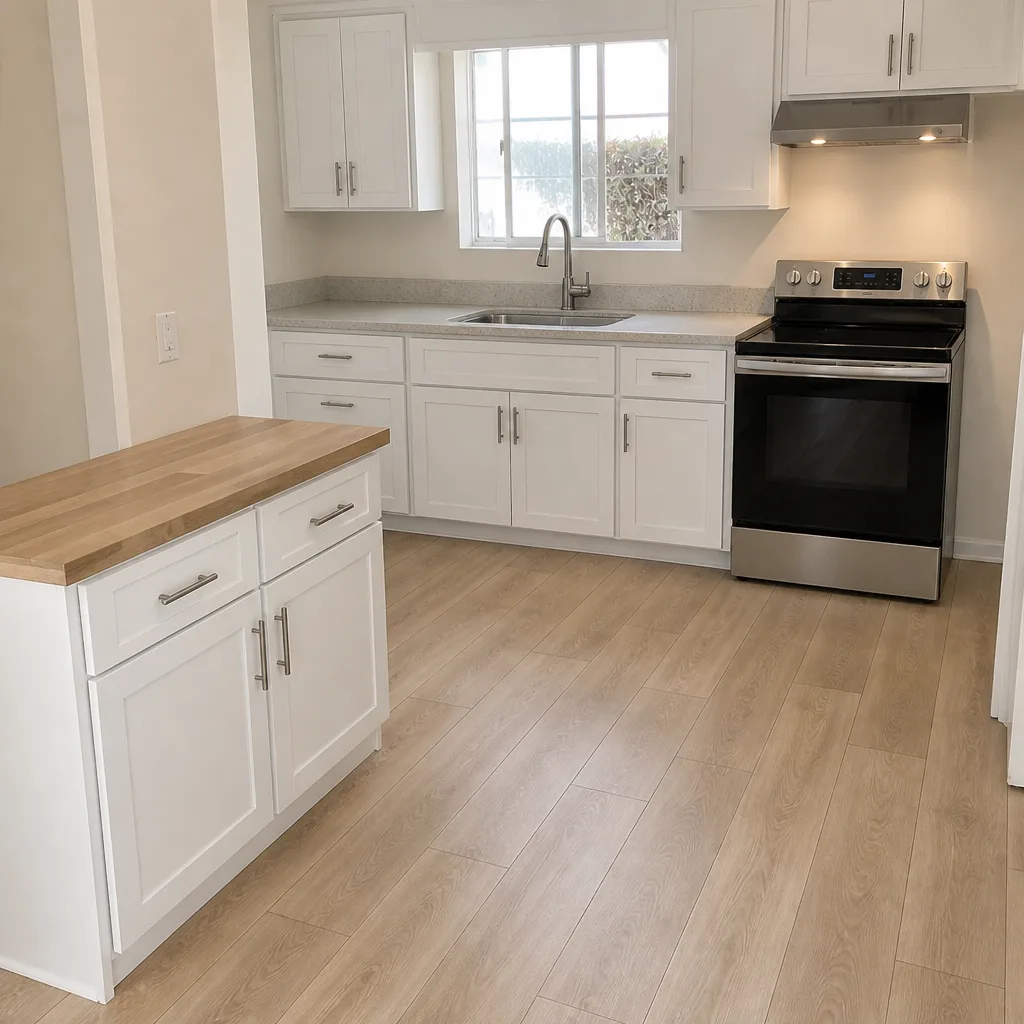 After
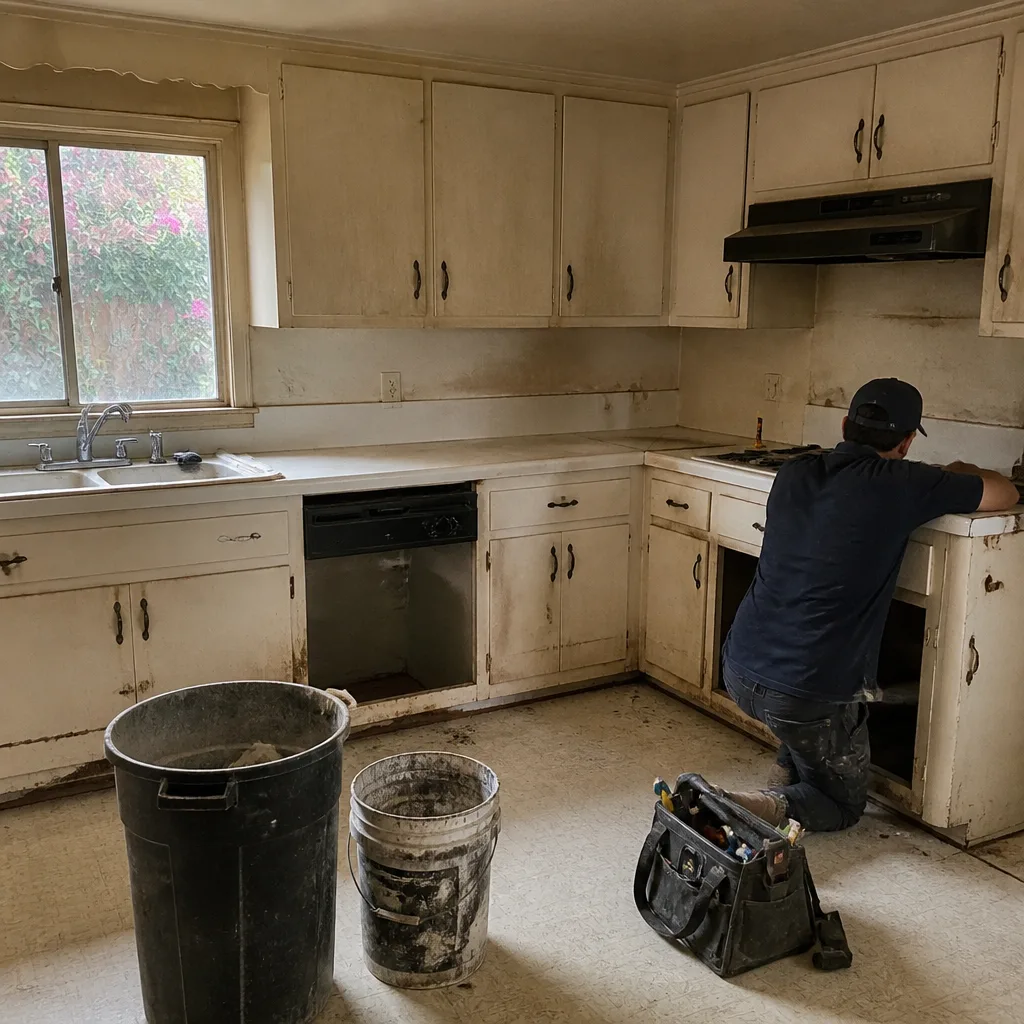 Before
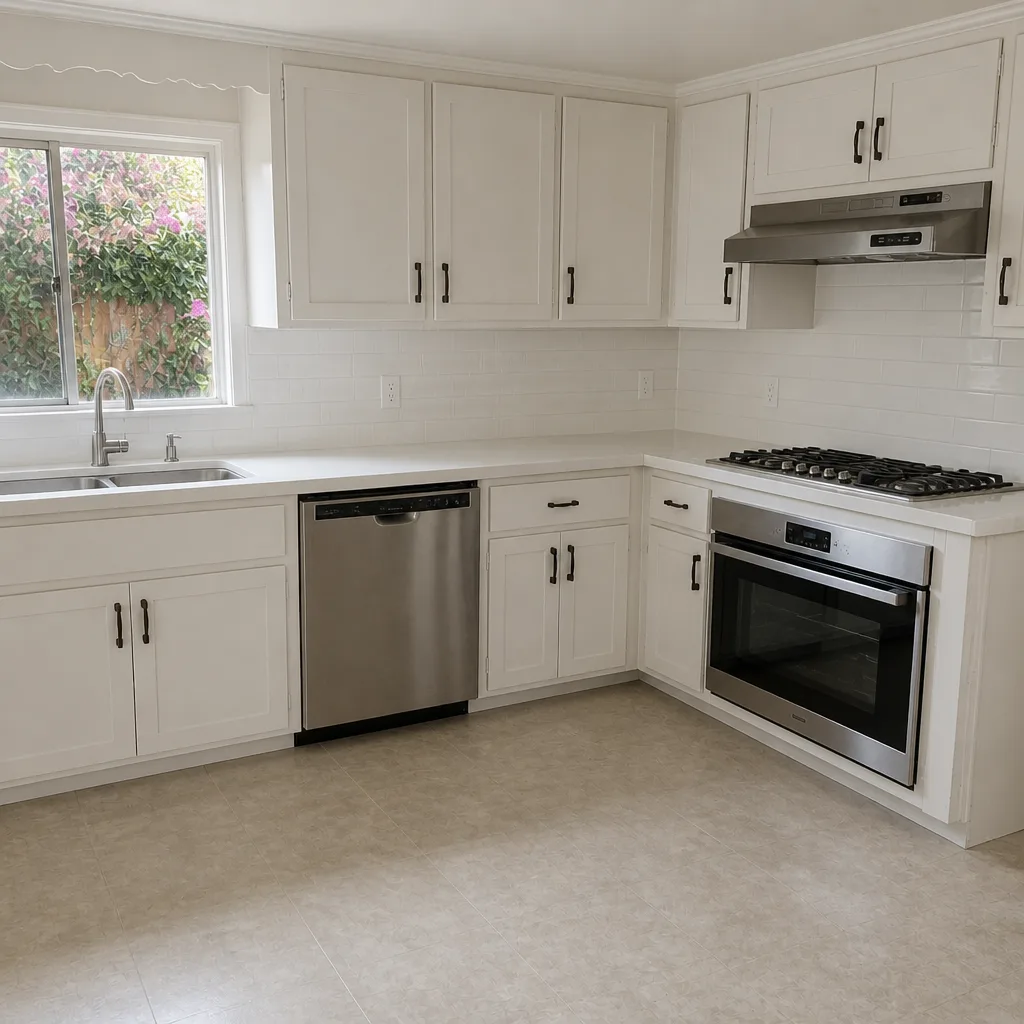 After
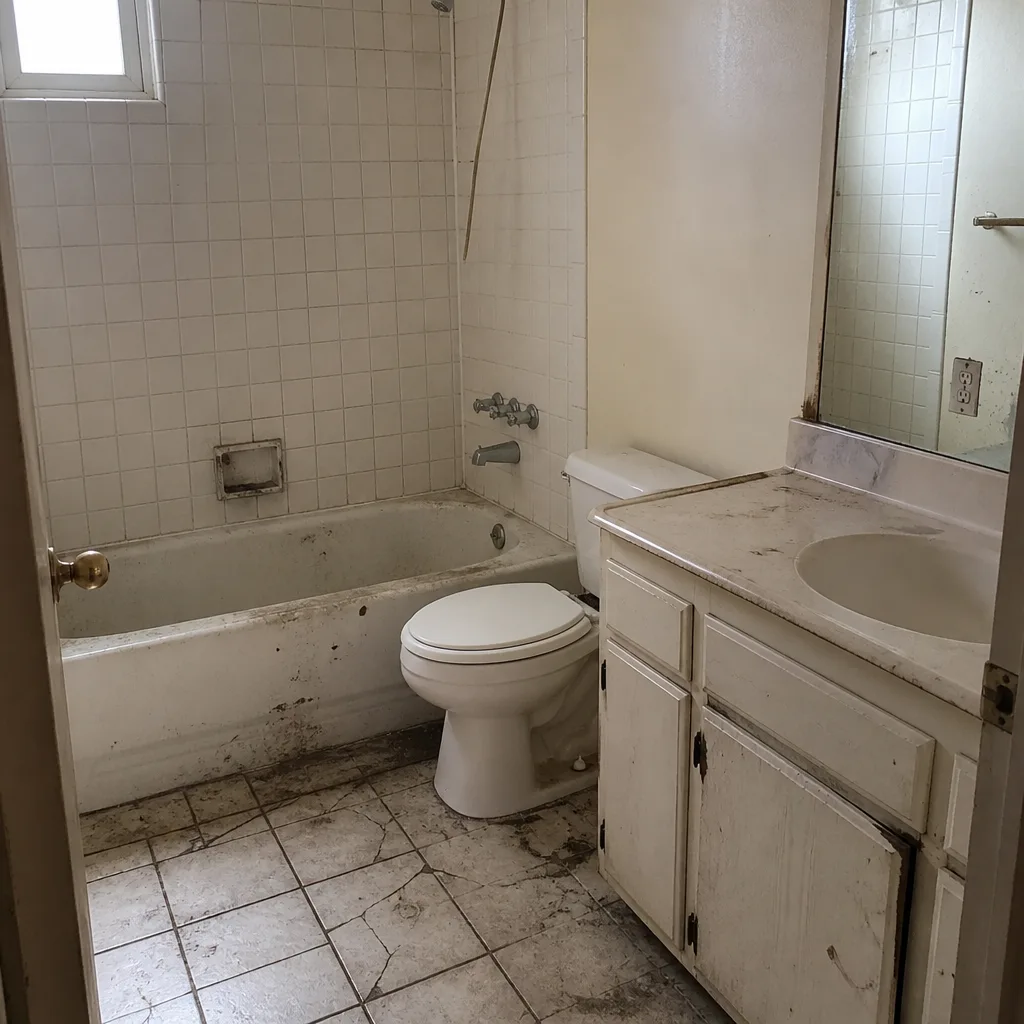 Before
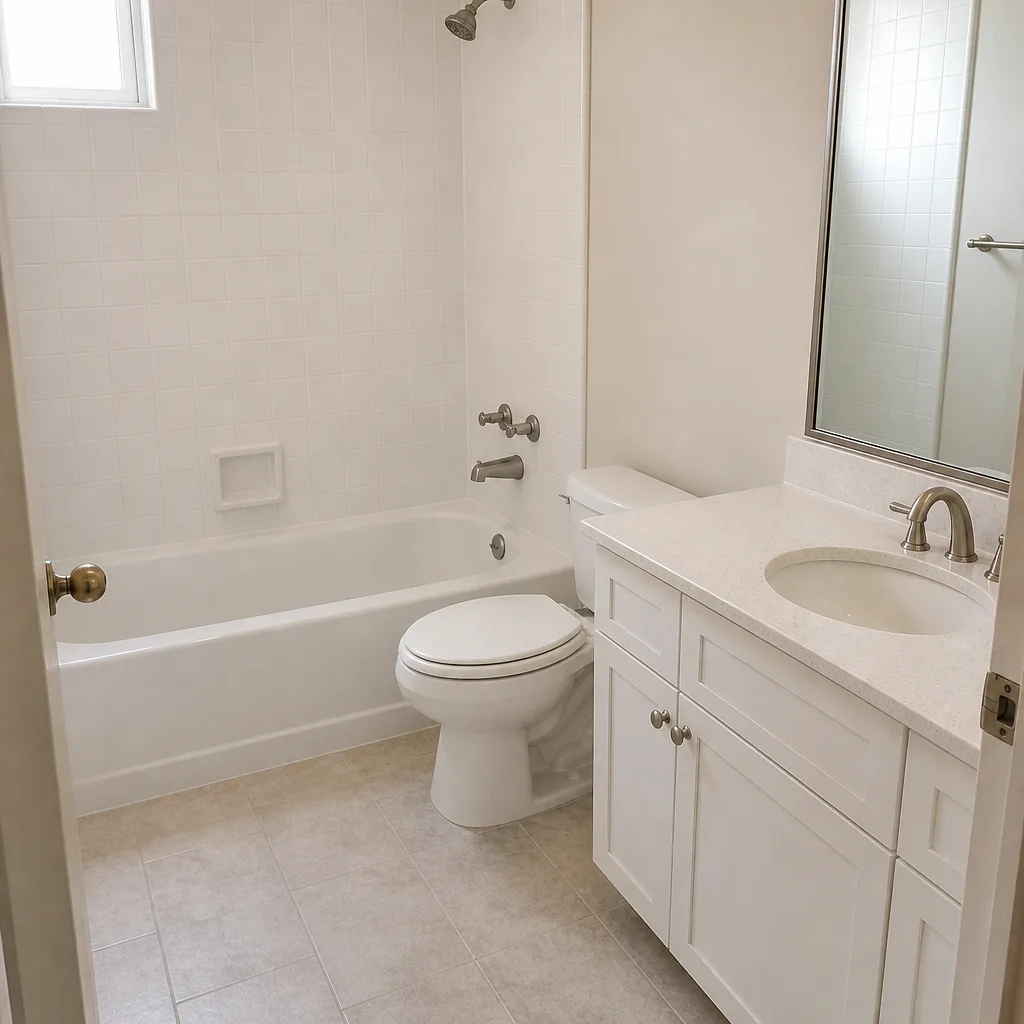 After
When to Call a Professional
Some troubleshooting belongs in the homeowner’s hands – checking the weatherstripping, cleaning the tracks, testing the seal, measuring the gaps. Others carry real risk. Any water intrusion pattern needs the rough opening opened up, and opening a wall is a framing and finish job that should be done by a professional. Hinge and frame repairs on an exterior door are a good DIY repair; chasing a water leak behind drywall is not. And a door or window on a damaged frame can be a surprise weight hazard – a door that’s dropped off its hinges can fall, and window units are heavy. Never try to remove or reinstall a window yourself.
Groundwork Construction Co. of Newport Beach offers free estimates in Newport Beach – call (833) 749-3967 to schedule yours. Our technicians have up to 12 years of experience, we answer the phone with a live person 24/7, and every install is covered by the 730-Day Done Right Promise. Every estimate is written line-item, priced up front, with no surprises. Background-checked, uniformed technicians are on every project, and we offer 0% financing for 18 months along with $1,000 off projects over $10,000. If you’re also weighing a bigger project while you’re at it, our Groundwork Construction Co. of Newport Beach home covers the full range, and if the shell of your home is part of the repair scope, our Home Additions & ADU in Newport Beach team handles the framing and rough opening work that the flashing detail depends on. Homeowners also tie exterior repairs to a wider plan, from a Fence Installation in Newport Beach to a Driveway & Pavers in Newport Beach project, so the exterior detail is coordinated instead of piecemeal.
Frequently Asked Questions

Test the leak path with a tissue or incense stick on a windy day. If the air enters at the center of the window, it’s the weatherstrip or seal. If it’s at the perimeter, under the trim, or at the corners, it’s the rough opening interface – an installation problem, not a window problem. Call (833) 749-3967 for a free diagnostic estimate.
Condensation between the panes means the insulated glass unit’s seal has failed, which is a product failure covered by the manufacturer’s warranty, not the contractor’s workmanship warranty. It requires replacing the glass unit, not adjustment. Surface condensation that you can wipe away is a humidity issue and does not require replacement.
Paint bubbling near a window or door almost always means water is entering at the rough opening and moving behind the paint film, not that the paint itself has failed. The source is a flashing failure at the head or a seal failure at the framing interface. Repainting hides the symptom; the flashing needs to be checked. Call (833) 749-3967 for an estimate before you repaint.
On ocean-facing facades in Corona del Mar and along the peninsula, unprotected hardware can show surface corrosion within a year or two, and sliding door tracks can seize or drag within that window if salt and grit aren’t cleaned out. Monthly cleaning and a dry lubricant on the tracks extend hardware life and are the cheapest maintenance you can do.
If the corrosion is pitting the extrusion or the wood frame is soft, replace the unit. If the frame is solid and only the hardware and seals are worn, repair is the right call and costs a fraction of replacement. Probe the lower corners with a screwdriver: if the tip sinks in, the wood is gone.
Often yes. A door that’s out of alignment because of a hinge failure or worn plate can usually be adjusted with new hinge screws or hinges. A door that’s out of plumb by more than about 1/8-inch over its height or out of square by 1/4-inch at the diagonals is usually a settling framing issue, and those need to be assessed at the frame. Call us for a free estimate before you sand the edge.
The Bottom Line
Most window and door problems you’ll be called to troubleshoot aren’t the product – they’re the installation interface. Read the symptoms by location: condensation between the panes is a glass-seal failure, interior staining and paint bubbling near the trim is a flashing failure, draft at the perimeter is a rough opening issue, and a sticking door is a measurement problem before it’s a doorway problem. Distinguish product warranty from workmanship warranty, keep an eye on coastal hardware and seals, and know when a repair is throwing good money after a unit that’s already past its service life. Get the flashing and rough opening detail right the first time, and most of these problems don’t come back.
Written by the team at Groundwork Construction Co. of Newport Beach.